There’s something magical about digging into the soil and pulling out plump, golden potatoes grown with your own hands. For home gardeners, few crops are as rewarding and versatile as the humble potato. They’re not only easy to grow but also incredibly useful in the kitchen—from mashed potatoes to crispy fries, hearty soups, and creamy casseroles. If you’ve ever dreamed of turning your backyard into a mini food paradise, potatoes are the perfect place to start.
In this comprehensive guide, we’ll walk through everything you need to know to transform your backyard into a thriving potato paradise—from soil preparation and seed selection to harvest tips and storage secrets.
Why Potatoes Deserve a Place in Your Garden
Potatoes (Solanum tuberosum) are one of the most rewarding crops for both beginner and seasoned gardeners. They grow quickly, adapt well to various climates, and can thrive in a small patch of land or even in containers.
Here are a few reasons to make potatoes the star of your backyard:
- High Yield: A single seed potato can produce several pounds of tubers.
- Nutrient-Rich: Potatoes are packed with carbohydrates, potassium, vitamin C, and fiber.
- Storage-Friendly: When stored properly, potatoes can last for months—reducing grocery costs and food waste.
- Culinary Versatility: From baked to boiled, fried to roasted, potatoes fit into almost any meal plan.
Step 1: Planning Your Potato Paradise
Before diving in, take a moment to visualize your backyard potato patch. Potatoes need sunlight, space, and loose, well-draining soil.
Site Selection:
Choose a sunny location that receives at least 6 to 8 hours of sunlight per day. Avoid low-lying areas where water tends to collect; excess moisture can cause the tubers to rot.
Soil Preparation:
Potatoes love loose, fertile soil. If your garden soil is clay-heavy or compacted, consider raised beds or grow bags. The ideal pH range for potatoes is 5.0 to 6.0, which helps prevent scab disease.

Enrich the soil with organic compost, aged manure, or leaf mold. This improves texture and boosts nutrients for strong, healthy growth.
Garden Layout:
Potatoes grow underground, so they need depth. Plan rows or mounds that allow you to “hill” soil over growing plants later on. A spacing of 30 cm between plants and 60–70 cm between rows works well for most varieties.
Step 2: Choosing the Right Potato Variety

One of the joys of backyard gardening is experimenting with different potato varieties. Each type offers unique flavors, textures, and growing requirements.
Common Categories:
- Early Varieties: Mature in about 60–80 days. Great for quick harvests. Examples: Yukon Gold, Red Norland.
- Mid-Season Varieties: Take around 90–110 days. Examples: Kennebec, Chieftain.
- Late Varieties: Ideal for long storage; take 110–135 days. Examples: Russet Burbank, German Butterball.
If your climate has short summers, opt for early or mid-season types. Warmer regions can enjoy multiple plantings throughout the year.
Step 3: Preparing Seed Potatoes
Skip store-bought potatoes meant for eating—these are often treated with sprout inhibitors. Instead, buy certified seed potatoes from a trusted nursery or garden center.
Before planting, “chit” (pre-sprout) your seed potatoes by placing them in a bright, cool spot for 2–3 weeks. Allow small green shoots to emerge.

For larger tubers, cut them into chunks about 5 cm wide, ensuring each piece has at least one or two eyes. Let the cut pieces dry for a day or two before planting to prevent rot.
Step 4: Planting Time
Timing is key to success. Potatoes prefer cool weather—they grow best in temperatures between 15°C and 20°C.
In most temperate regions, plant potatoes 2–3 weeks before the last expected frost. In warmer climates, you can plant again in the fall for a second harvest.
Planting Method:
- Dig a trench about 10–15 cm deep.
- Place the seed pieces cut-side down, eyes facing upward.
- Cover with 5–7 cm of soil.
As the plants grow, you’ll gradually add more soil to keep the tubers covered.
Step 5: Caring for Your Potato Plants
Potatoes aren’t overly demanding, but they do appreciate consistent care.
Watering:
Keep the soil evenly moist but never soggy. Deep watering once or twice a week is better than frequent shallow watering. Uneven watering can lead to cracked or misshapen tubers.
Hilling:
When your potato plants reach about 20 cm tall, gently mound soil or compost around the base of each plant, covering the lower stems and leaves. Repeat this every few weeks as they grow.
This technique, known as hilling, encourages more tuber growth and prevents sunlight from turning them green (which makes them inedible).

Fertilizing:
Feed your potatoes with an organic, low-nitrogen fertilizer or compost tea every few weeks. Avoid excessive nitrogen—it promotes lush foliage but fewer tubers.
Weeding & Pest Control:
Keep weeds under control to prevent competition for nutrients. Watch out for common pests like Colorado potato beetles, aphids, and wireworms. Neem oil or companion planting with marigolds and beans can help deter them naturally.
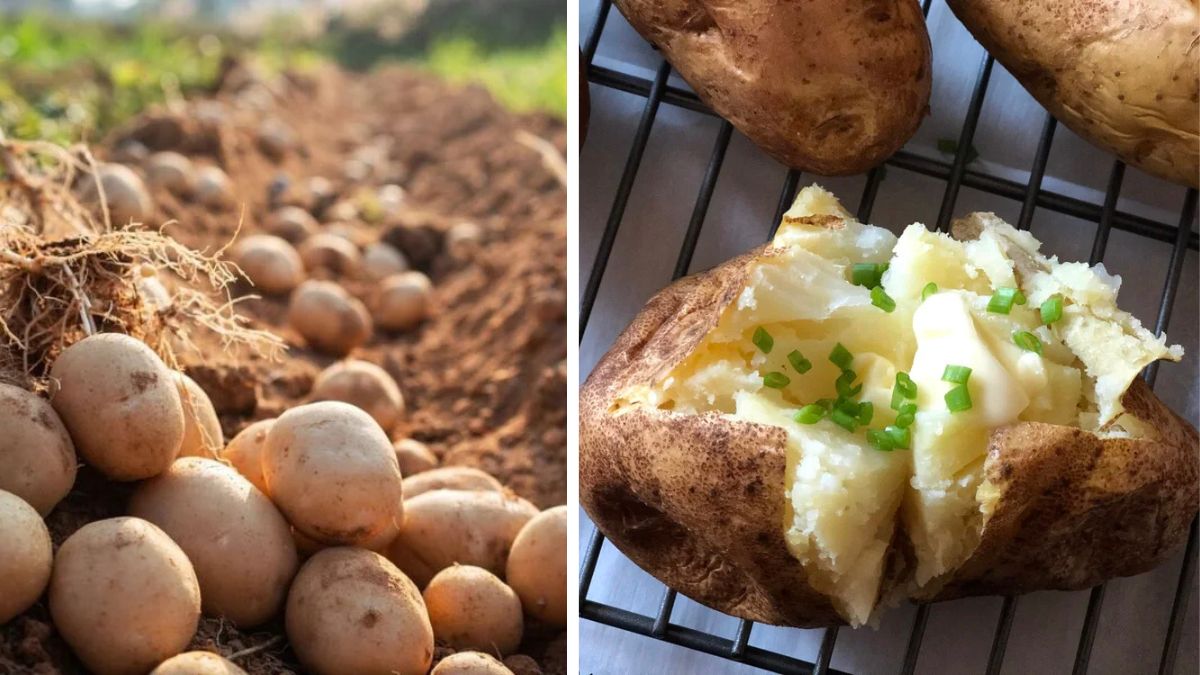
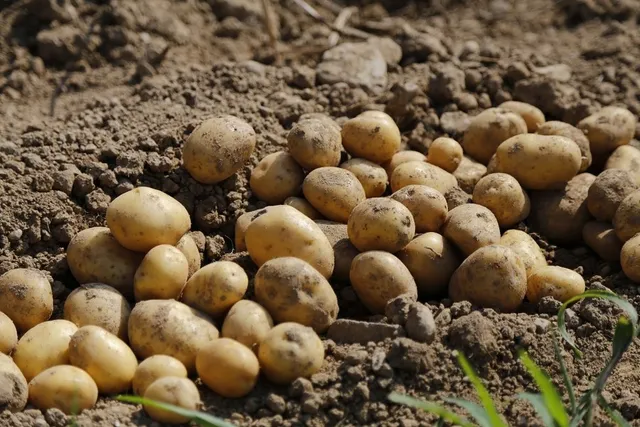
Step 6: Harvesting Your Homegrown Potatoes
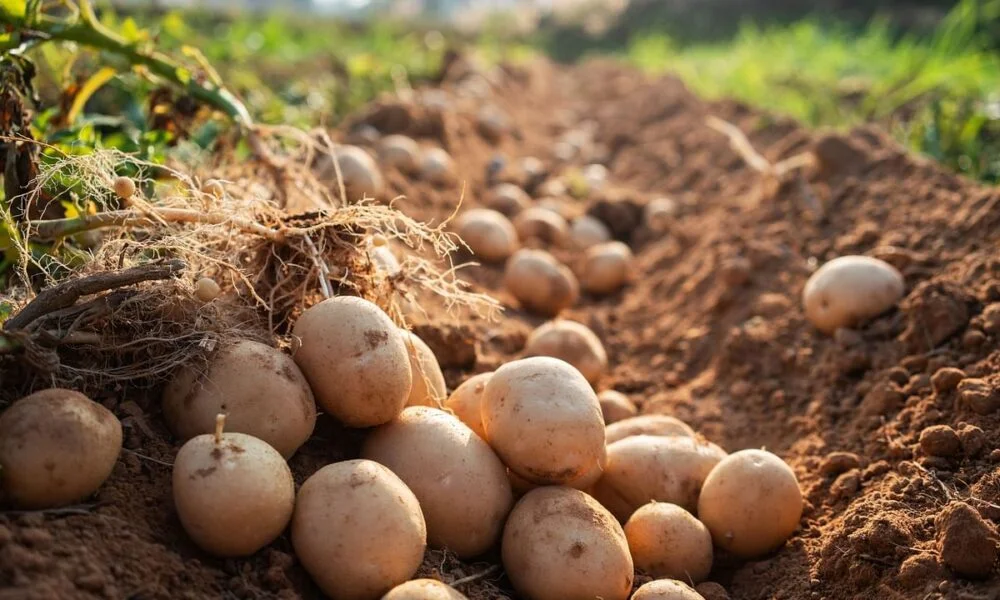
After a few months, your plants will begin to flower—this signals that tubers are forming underground.
For new potatoes (small, tender ones), you can carefully dig around the base 2–3 weeks after flowering. For mature potatoes, wait until the foliage turns yellow and begins to die back.
Gently dig around each hill using a garden fork or your hands to avoid damaging the tubers. Shake off excess soil but avoid washing them immediately if you plan to store them.
Step 7: Curing and Storing Potatoes
Freshly harvested potatoes need to cure to toughen their skins for storage. Spread them in a single layer in a dark, well-ventilated area for 1–2 weeks.
Once cured, move them to a cool (4–10°C), dark, and humid location—such as a cellar or pantry. Avoid storing potatoes near onions, as they release gases that cause spoilage.

Properly stored, your homegrown potatoes can last up to six months without losing quality.
Creative Growing Ideas for Small Backyards
Even if space is limited, you can still enjoy a potato paradise. Try these space-saving ideas:
- Grow Bags or Buckets: Use large containers with drainage holes. Add soil gradually as plants grow.
- Stacking Towers: Build or buy stackable potato planters that let you harvest layer by layer.
- Raised Beds: Perfect for well-drained soil and easy access.
These methods also make harvesting cleaner and more convenient.
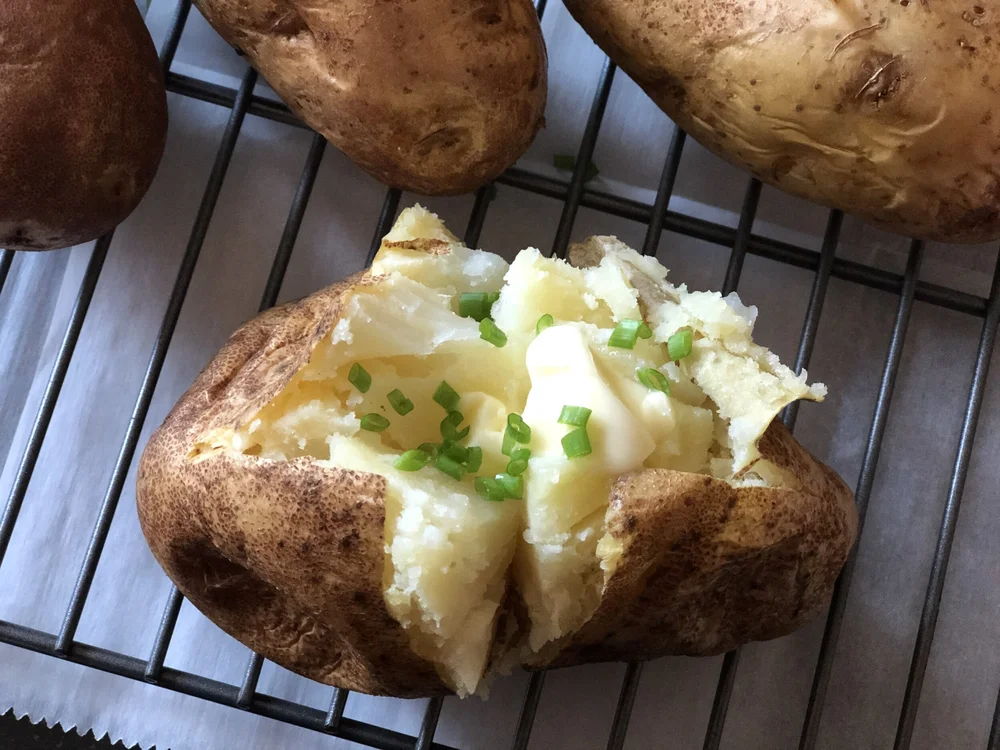
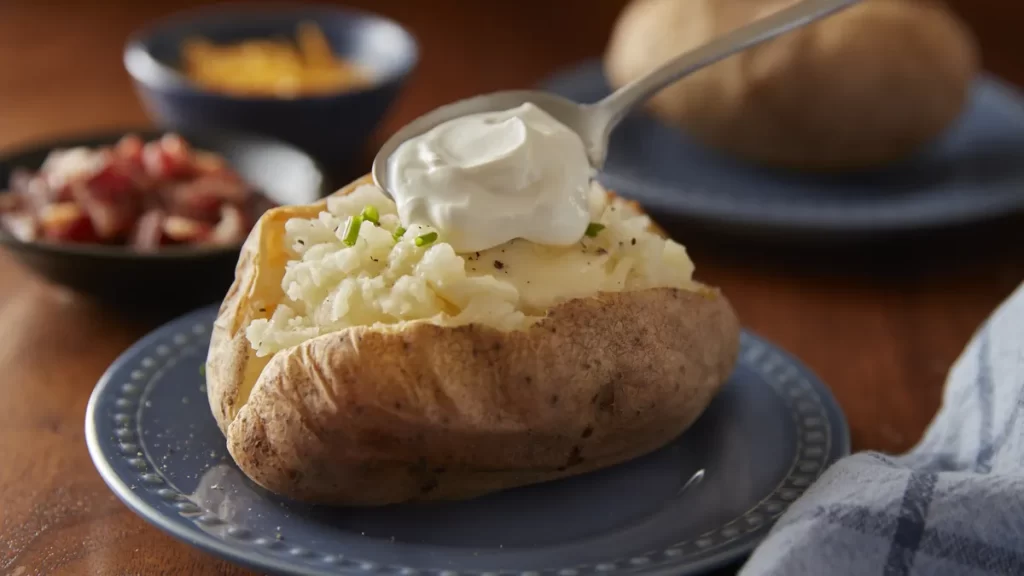
Step 8: Cooking and Enjoying Your Harvest
Now comes the best part—turning your backyard bounty into comforting meals. Homegrown potatoes have a rich, earthy flavor that store-bought ones simply can’t match.
Try classic recipes like:
- Garlic Mashed Potatoes: Creamy, fluffy, and perfect for any dinner.
- Roasted Potato Medley: Toss with olive oil, rosemary, and sea salt.
- Homemade Fries: Crispy on the outside, soft inside—use your freshest potatoes.
- Potato Soup or Chowder: Comforting and nutritious for cooler evenings.
Each meal becomes a reminder of your hard work and connection to the earth.
The Sustainable Edge
Growing your own potatoes isn’t just about flavor—it’s an act of sustainability. Backyard gardening reduces your carbon footprint, eliminates packaging waste, and ensures you know exactly how your food was grown.

By composting kitchen scraps, recycling rainwater, and avoiding chemical fertilizers, you create a closed-loop food system right in your backyard.
It’s a small but meaningful step toward self-reliance, food security, and eco-friendly living.
Conclusion: Your Potato Paradise Awaits
Transforming your backyard into a potato paradise doesn’t require acres of land or professional expertise—just a bit of patience, creativity, and care. With the right preparation, your garden can provide a steady supply of fresh, organic potatoes year after year.
From the joy of planting to the satisfaction of harvest and the delight of cooking, potatoes bring the complete “garden-to-table” experience right to your home. So grab your gloves, dig in, and start cultivating your own potato paradise today!