Growing potatoes is something many gardeners dream of—but not everyone has the space for traditional garden beds. As someone who loves experimenting with small-space gardening, I decided to try something different: growing potatoes in a simple plastic tub. I expected a modest outcome, maybe a handful of potatoes… but what I harvested left me absolutely stunned.
If you’ve ever wondered whether potatoes can thrive in containers, the answer is a loud and enthusiastic YES—provided you follow the right method. In this article, I’ll walk you through the entire process, from preparing the tub to the moment you pull out your very first golden potato. Whether you’re a beginner or a seasoned gardener, this technique will open your eyes to just how productive container gardening can be.
Why Grow Potatoes in a Tub?
Container gardening offers many advantages, especially for urban growers or anyone with limited space. Growing potatoes in a tub is:
✔ Space-Saving
A single tub can yield kilos of potatoes even on a balcony.
✔ Clean & Controlled
No soil contamination, fewer pests, and easy management.
✔ Highly Productive
Layering soil and adding more space for roots encourages more tubers.
✔ Beginner-Friendly
Even first-time gardeners can master this method.

Plus, watching potatoes form layer by layer is incredibly satisfying!
Step 1: Choosing the Right Tub
The container you choose makes a huge difference.
Ideal Tub Size:
- Height: 40–45 cm (16–18 inches)
- Width: 30–35 cm (12–14 inches)
- Material: Plastic, fabric grow bags, or food-grade barrels
Add Drainage Holes
Potatoes hate waterlogging, so ensure the tub has at least 8–10 holes at the bottom.
Bonus Tip:
Raise the container using bricks to improve airflow and drainage.
Step 2: Preparing Seed Potatoes
Potatoes don’t grow from seeds—they grow from seed tubers.
✔ Choose Healthy Tubers
Pick potatoes with at least 2–3 “eyes” or sprouts.
✔ Cut & Cure (Optional)
If using large tubers:

- Cut them into pieces with 1–2 eyes each.
- Let them dry for 24 hours to prevent rot.
This step reduces disease risk and increases the number of plants.
Step 3: The Perfect Soil Mix for Huge Harvests
Potatoes need loose, airy soil to expand and form big tubers.
Best Soil Mix:
- 40% garden soil
- 40% compost or well-rotted manure
- 20% sand, cocopeat, or rice husk
This ensures drainage and room for tubers to grow.
Add to the Mix:
- A handful of wood ash → boosts potassium
- Crushed eggshells → adds calcium
- Neem cake → protects from soil pests
Step 4: Planting the Potato Tubers
- Fill the tub with 10–12 cm of soil.
- Place the seed potatoes on top, sprouts facing upward.
- Space them 10–15 cm apart.
- Cover with another 8–10 cm of soil.
- Water gently—don’t soak.
Why Start With a Shallow Layer?
Potatoes grow best when soil is gradually added. Starting shallow allows new tubers to form all the way up as you add more soil.
Step 5: The Secret to High Potato Yields — Hilling!
“Hilling” means adding more soil as the potato plant grows.
As the sprouts reach 10–15 cm:
- Add more soil around the stems until only the top leaves show.
- Repeat every time the plant grows another 10–12 cm.
This encourages the plant to produce multiple layers of tubers, dramatically increasing harvest size.
Pro Tip:
Don’t bury the leaves entirely—plants need sunlight to stay healthy.

Step 6: Watering & Sunlight
Potatoes need:
☀ 6–8 hours of sunlight daily
This boosts photosynthesis and tuber formation.
💧 Watering Tips
- Keep soil moist, not soggy.
- Water deeply 2–3 times per week.
- Reduce watering once flowering starts; this prevents rot.
Mistake to Avoid
Waterlogged soil = rotted tubers.
Always check moisture before watering.
Step 7: Feeding the Potato Plants
To boost tuber growth, feed the plants with:
✔ Compost tea
✔ Banana peel water (high potassium)
✔ Fish emulsion (optional)
✔ Wood ash sprinkled lightly
Feed every 2–3 weeks to keep plants vigorous.
Step 8: Managing Pests Naturally
Container pots attract fewer pests, but you may still encounter:
🐛 Common Potato Pests
- Aphids
- Caterpillars
- Leaf miners
- Airborne fungi during wet seasons
Natural Solutions
- Neem oil spray every 10 days
- Soapy water for aphids
- Remove damaged leaves early
- Keep soil surface dry between waterings
These simple steps keep plants healthy without chemicals.

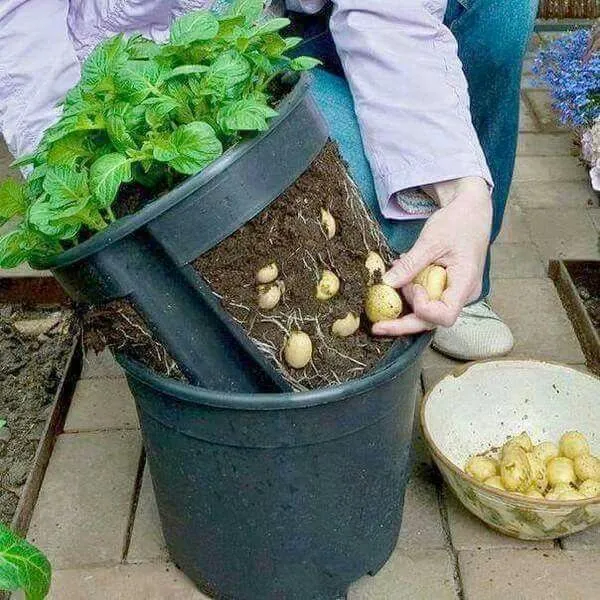
Step 9: Knowing When Potatoes Are Ready to Harvest
Time to get excited—the tub is full of hidden treasure!
Signs of Harvest Readiness:
✔ Plants begin to yellow and dry
✔ Flowering ends and vines collapse
✔ Soil cracks slightly on top
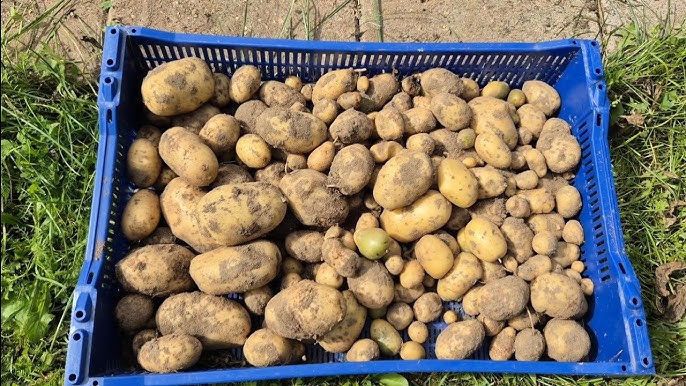
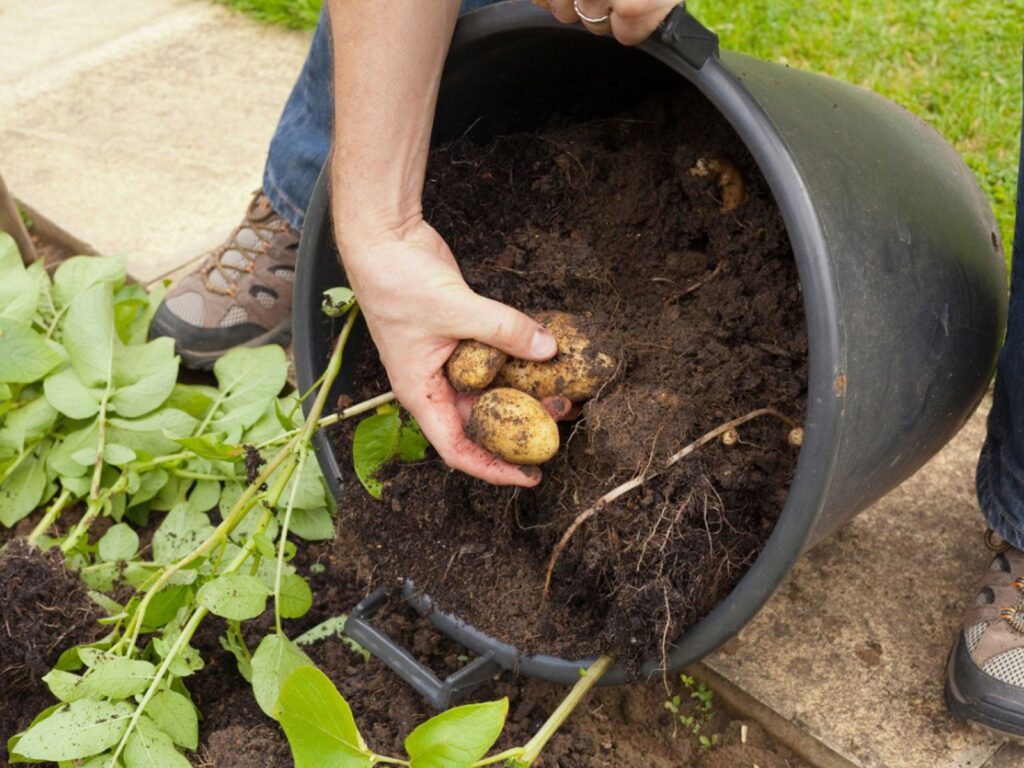
How to Harvest:
- Tip the tub gently sideways.
- Loosen soil with your hands.
- Pull potatoes out one by one.
- Brush off dirt but don’t wash yet.
- Let potatoes dry for a few hours before storage.
This cure-drying helps toughen the skin and improves shelf life.
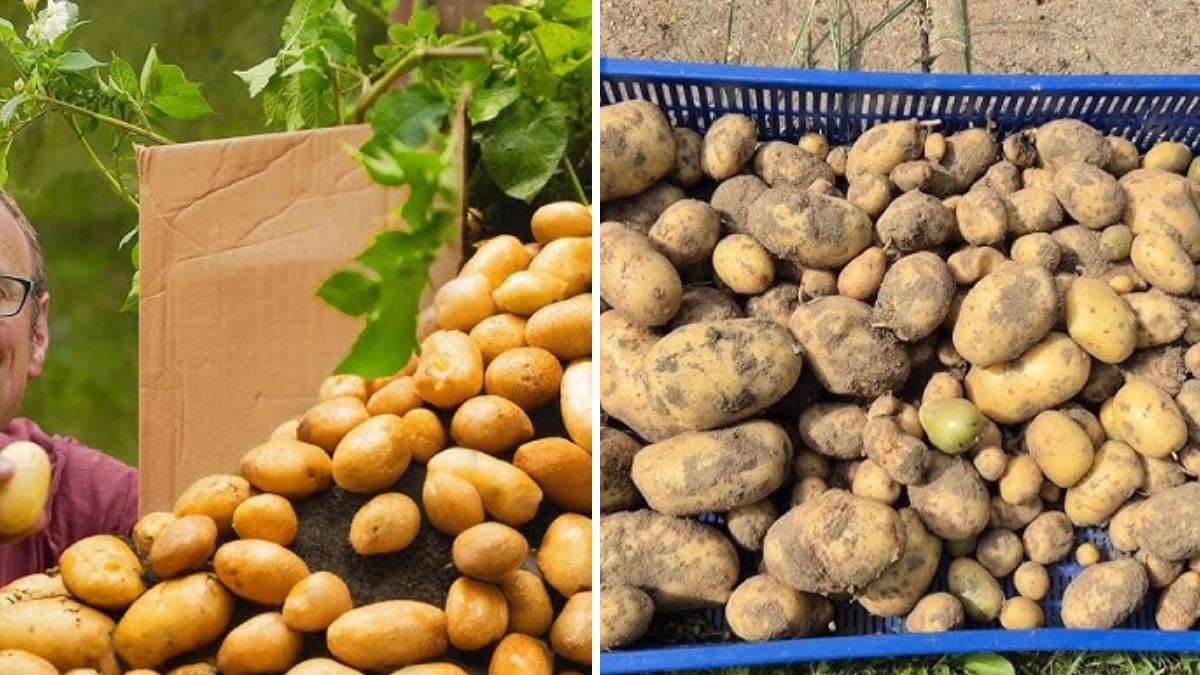
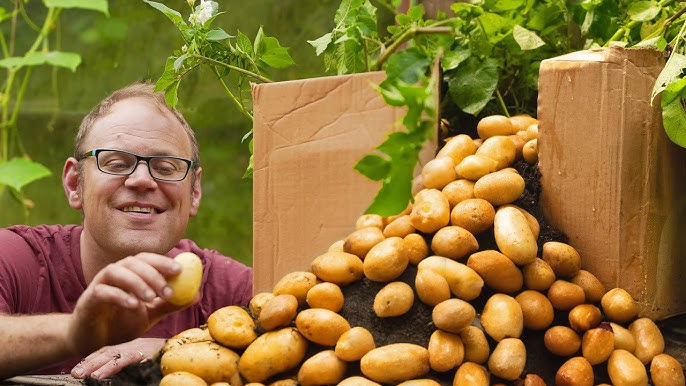
Step 10: My Shocking Harvest Results
When I tipped my tub over, I expected a few small potatoes…
Instead, I found dozens of plump, golden tubers, filling almost the entire container!
Some were so big they didn’t even look real—smooth, heavy, and perfectly shaped. I harvested nearly three times more than I expected.
The best part?

They were sweeter, fresher, and richer than anything I’d ever bought from a store.
It was at that moment that I understood the magic of tub gardening.
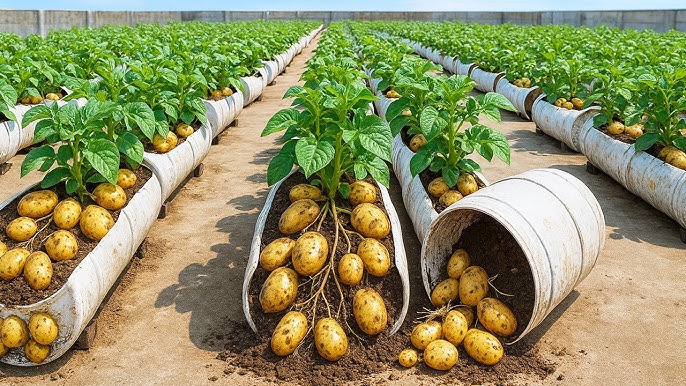
Why This Tub Method Works So Well
✔ Deep rooting from gradual soil layering
✔ Perfect moisture and drainage control
✔ Protection from soil pests
✔ Potatoes grow in multiple layers
✔ Warmer soil speeds up tuber formation
This technique practically guarantees a satisfying harvest—even for beginners.
Final Thoughts
Growing potatoes in a tub isn’t just easy—it’s shockingly productive. Anyone with a balcony, terrace, patio, or even a sunny window area can do it. One tub can yield enough potatoes to feed a family, and the whole process is exciting from start to finish.
If you’ve never tried container potato gardening before, now is the perfect time. The method is simple. The space required is minimal. And the results? Truly amazing.
Give it a try—you’ll be just as shocked by your harvest as I was!