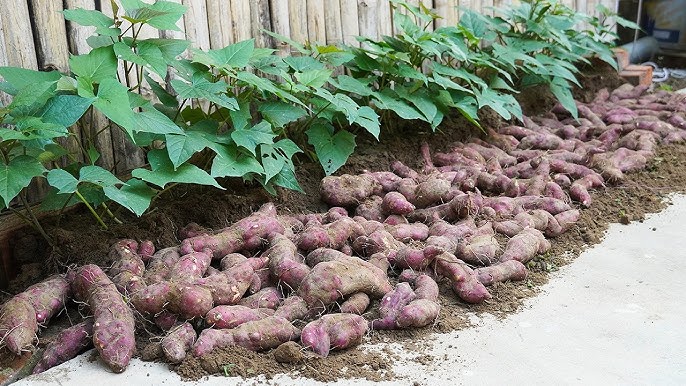
Sweet potatoes are one of the easiest, most rewarding crops to grow—even if you don’t have a large garden. With the right method, you can harvest big, healthy, delicious tubers from even the smallest space. That’s what makes this wonderful growing technique so exciting: it’s simple, effective, and results in a surprisingly huge harvest.
Whether you are a beginner gardener, a balcony grower, or someone who wants to use containers instead of soil beds, this method will help you grow sweet potatoes like you’ve never seen before.
Why Sweet Potatoes Are Perfect for Home Gardening
Sweet potatoes are among the most adaptable vegetables:
✔ Thrive in containers
✔ Require minimal maintenance
✔ Produce nutrient-rich food
✔ Grow well in warm climates
✔ Provide edible leaves AND tubers
It’s a 2-in-1 crop—delicious roots and nutritious greens!
The Secret Method: Growing Sweet Potatoes Using Shoots and Loose Soil Mix
Sweet potatoes don’t grow from seeds. They grow from slips (sprouts), and with this method, you’ll produce strong slips and grow them in a container where they develop huge, healthy root clusters.

Let’s break down the entire process.
STEP 1: Prepare Strong Sweet Potato Slips
Option 1: Grow slips in water
- Take a medium-sized sweet potato.
- Insert three toothpicks around its middle.
- Suspend the potato in a glass of water with the bottom half submerged.
- Place it in a bright location but away from direct sun.
- In 7–10 days, roots appear; in 15–20 days, shoots grow long and leafy.
Option 2: Grow slips in a tray of moist sand
- Lay the potato flat on moist sand.
- Cover lightly and keep it damp.
- Shoots develop even faster and stronger.
Harvest the slips:
When shoots reach 15–20 cm, gently twist them off and keep them in water until new roots form. These rooted slips are your future sweet potato plants.
STEP 2: Prepare the Perfect Growing Container
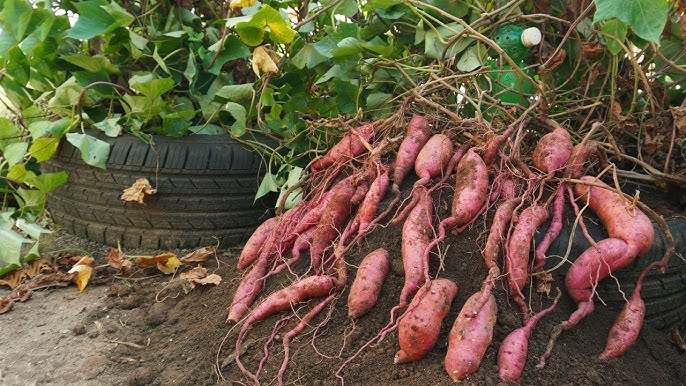
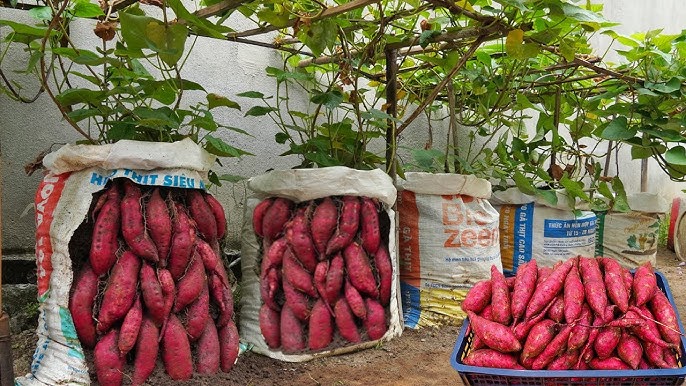
Sweet potatoes need space for tubers to expand. The best containers include:
✔ Large plastic tubs
✔ Fabric grow bags
✔ Paint buckets
✔ Wider pots (minimum 12–14 inches deep)
Drainage holes are essential, otherwise roots rot quickly.
STEP 3: Create the Ideal Soil Mix
Sweet potatoes love loose, airy, well-drained soil. Tight soil = small tubers.

Best Soil Mix:
- 40% garden soil
- 40% compost/cow manure
- 20% sand, cocopeat, or rice husk
This combination allows tubers to expand easily, resulting in bigger yields.
Pro Tip:
Add a handful of wood ash or crushed eggshells—this boosts potassium and calcium, giving you sweeter, healthier tubers.
STEP 4: Plant the Rooted Slips
- Make a small hole in the soil.
- Insert the rooted slip 4–5 inches deep.
- Press soil gently around the stem.
- Plant at least 3–4 slips per large tub—they enjoy growing closely.
- Water lightly after planting.
STEP 5: Sunlight & Watering
Sweet potatoes LOVE sunshine.
☀ Provide 6–8 hours of sunlight daily
This encourages strong leafy growth and big root formation under the soil.
💧 Watering Rule:
- Keep soil slightly moist during the first 2 weeks.
- After plants establish, water only when soil feels dry.
- Too much water = vines only, no tubers.
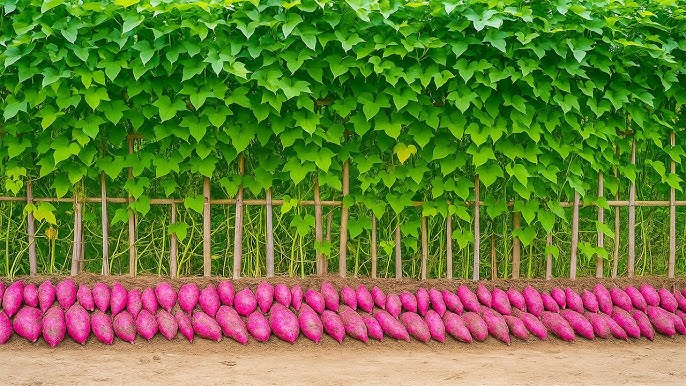
STEP 6: Train the Vines for Maximum Yield
Sweet potato vines grow vigorously. Here’s how to use this to your advantage:

🌿 Bury Vine Nodes
Wherever the vine touches the soil, cover that area lightly with soil.
Each buried node produces extra roots, which leads to more tubers.
Gardeners often overlook this, but it is one of the BEST ways to increase yield!
STEP 7: Natural Fertilizers for Huge, Sweet Tubers
Sweet potatoes don’t need heavy feeding. But a few natural boosters work wonders:
✔ Banana peel water — adds potassium for bigger tubers
✔ Compost tea — strengthens leaves and roots
✔ Wood ash — boosts sweetness
✔ Cow dung compost — increases overall yield
Feed lightly every 3–4 weeks.
STEP 8: Prevent Pests Naturally
Sweet potatoes are hardy, but a few pests may appear:

🐞 Common pests:
- Caterpillars
- Beetles
- Aphids
Natural Solutions:
- Spray neem oil once every 10 days.
- Use garlic-chili spray for leaf eaters.
- Keep soil dry on top—pests hate dry upper soil.
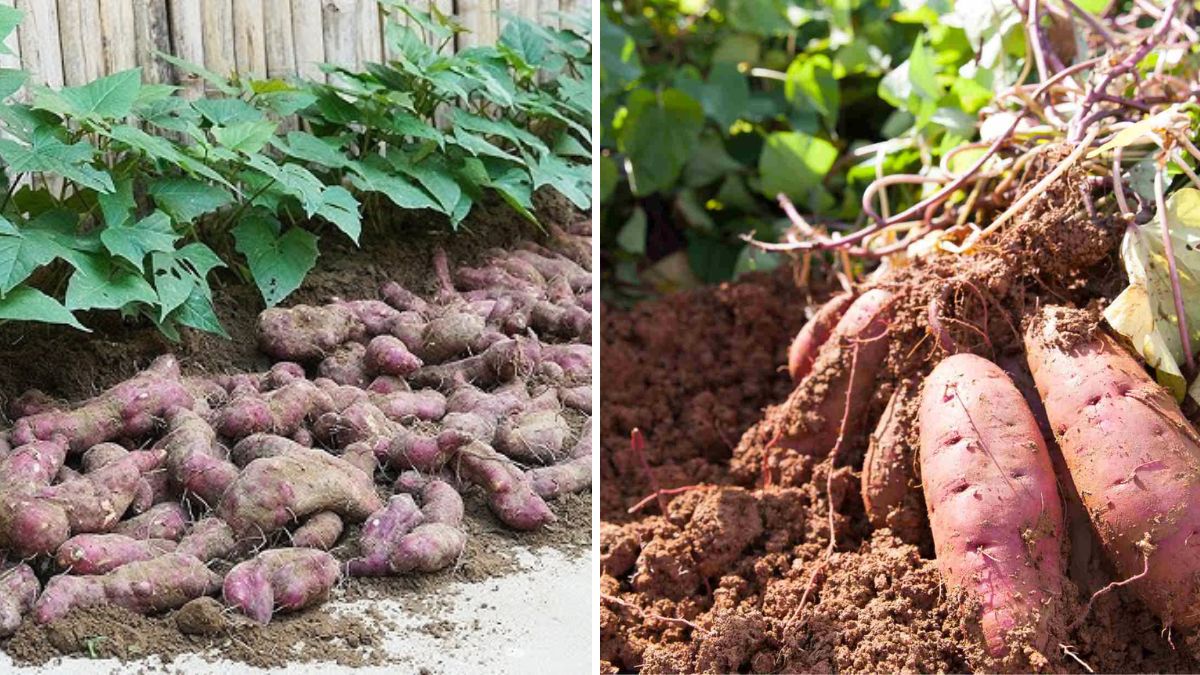
STEP 9: When & How to Harvest
Sweet potatoes usually mature in 90–120 days.
Signs they’re ready:
✔ Leaves start turning yellow
✔ Vines slow down
✔ Soil cracks slightly around stems
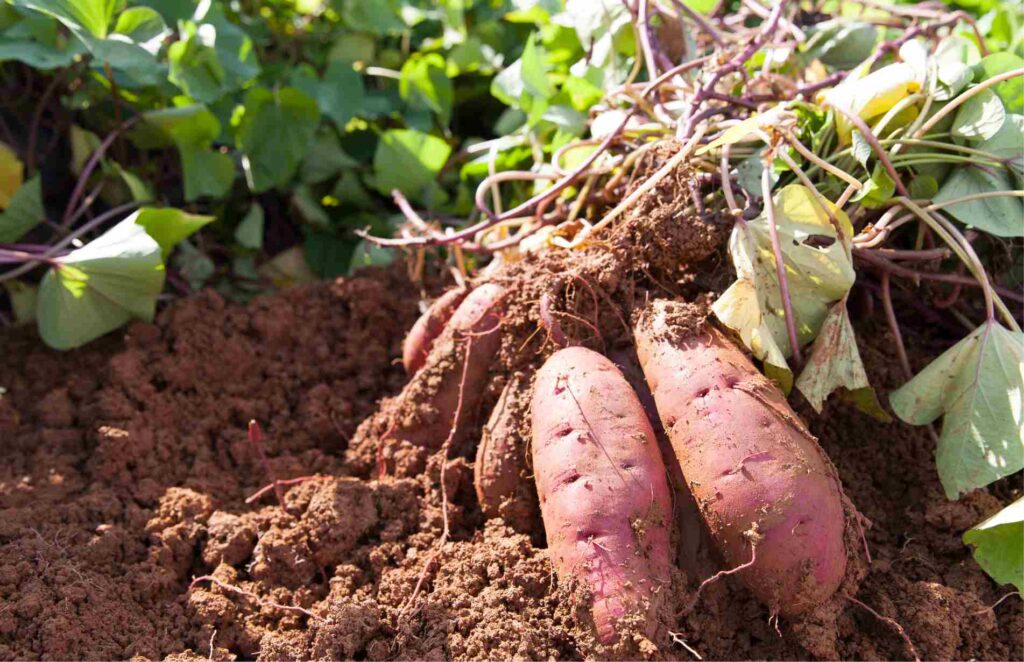
How to harvest:
- Loosen soil gently with your hands.
- Pull out each plant from the base.
- Brush off extra soil—don’t wash immediately.
- Let the tubers dry for a day to toughen the skin.
This improves sweetness and storage life.
STEP 10: Enjoy a Continuous Sweet Potato Harvest
To have sweet potatoes all year:
- Save a few tubers for re-growing slips
- Plant new slips every 2–3 months
- Use different containers for staggered planting
Your balcony or backyard becomes a mini sweet potato farm!

🌱 Why This Method Works So Well
✔ Encourages strong root growth
✔ Soil stays loose, allowing large tubers
✔ Natural fertilizers enhance flavor
✔ Buried vine nodes multiply yields
✔ Container method avoids soil pests
This is why gardeners worldwide love this simple sweet potato technique.
Final Thoughts
Growing sweet potatoes at home is easier than many people think—but using this wonderful method makes it almost effortless. With just slips, loose soil, sunshine, and some natural fertilizers, you can grow huge, delicious sweet potatoes even if you only have a balcony or small yard.
Once you try this method, you’ll say:
“Why didn’t I do this earlier?”
Because the results are truly amazing—and you’ll never regret learning it!