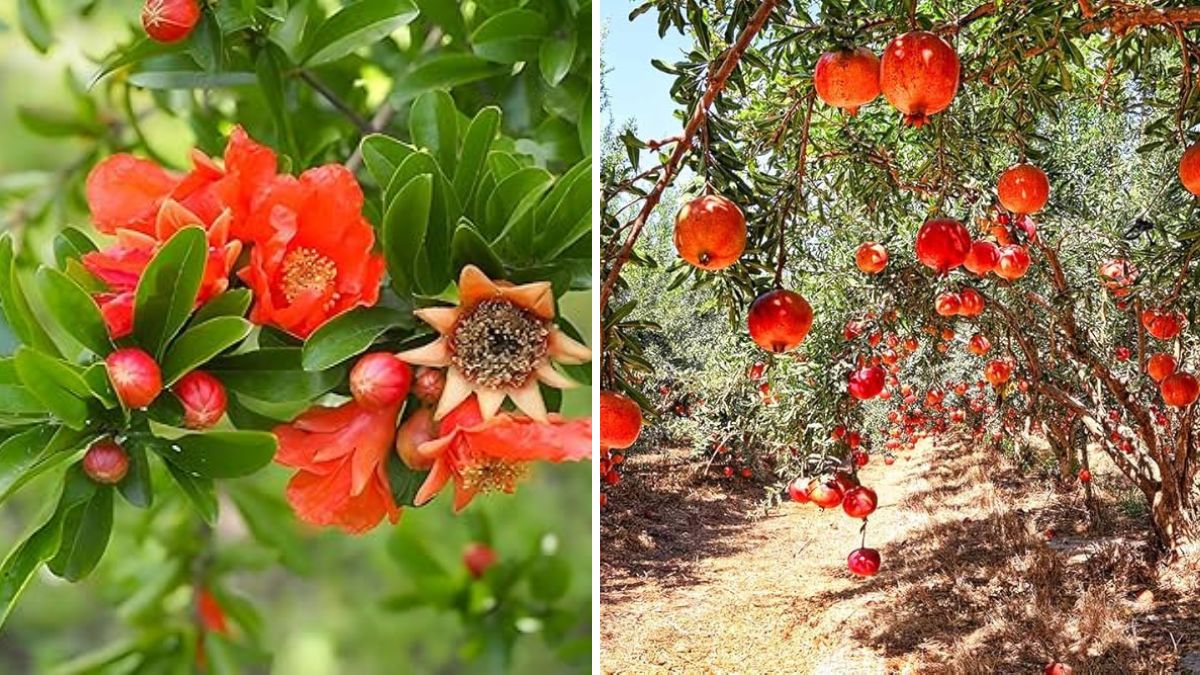
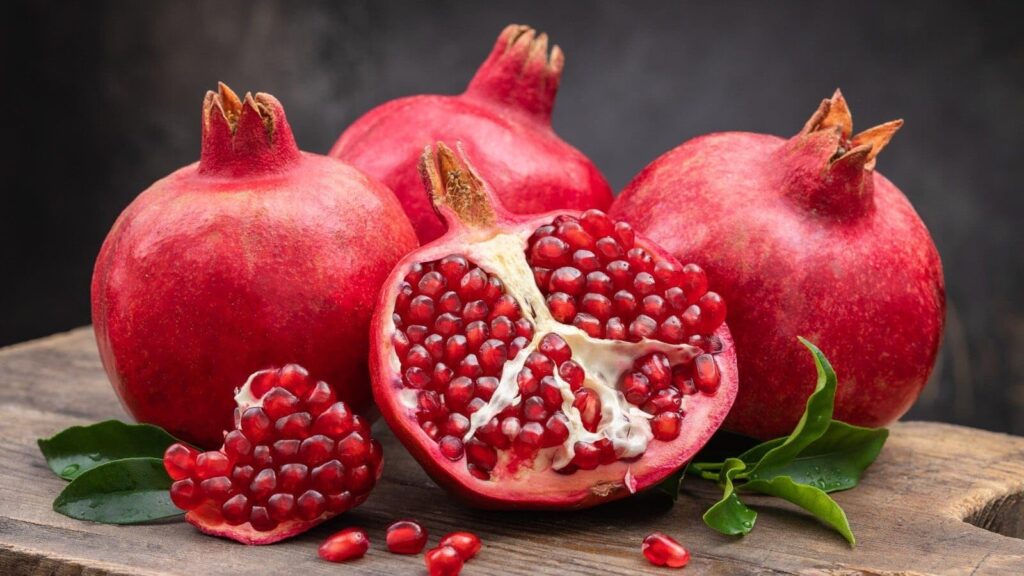
Pomegranate—known for its vibrant red arils, sweet-tart flavor, and powerful health benefits—is one of the easiest fruit plants to grow at home. Whether you have a large backyard, a small terrace, or even a few pots on your balcony, you can successfully grow your own pomegranate tree using simple cuttings.
Growing pomegranate from seed takes years and may not always produce fruits of the same quality as the parent plant. But using cuttings, you ensure fast growth, quick fruiting, and a genetically identical plant. In this detailed guide, you’ll learn exactly how to choose, prepare, root, and plant pomegranate cuttings—even if you are a beginner.
🌿 Why Choose Pomegranate Cuttings?
Growing pomegranate from cuttings has huge advantages:
✔ Fast Growth
Cuttings root quickly (within 3–4 weeks) and start fruiting earlier than seedlings.
✔ True-to-Type Plants
The new plant will be 100% identical to the mother plant—same taste, size, and fruit quality.
✔ Low Maintenance
Pomegranate is hardy and drought-tolerant, perfect for Indian weather.
✔ Grows Well in Pots
Even a 12–16 inch pot is enough to grow a full-fruiting pomegranate plant.
🌱 Step 1: Choose the Perfect Cutting
The success of your plant depends heavily on choosing the right branch. Here’s what to look for:

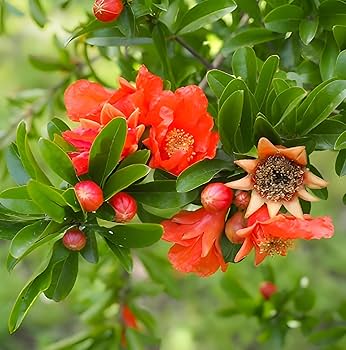
🌳 Choose a Healthy Mother Plant
Pick a plant that is:
- Disease-free
- Producing plenty of fruits
- At least 2–3 years old
✂ Best Type of Cutting
Select a semi-hardwood branch:
- Thickness: Like a pencil
- Length: 8–10 inches
- Age: 6–12 months old
- Should have at least 3–4 nodes
🚫 Avoid
- Too soft green stems (rot easily)
- Very old woody stems (root slowly)
- Branches with flowers or fruits
✂ Step 2: Prepare Your Pomegranate Cutting
Once you’ve chosen the cutting, proper preparation is essential.
🧼 1. Clean the Cutting
Wash with clean water to remove dust or insects.
🍂 2. Remove Leaves
Remove all leaves from the lower half and keep only 1–2 small leaves at the top.
Leaves increase moisture loss, so keep them minimal.
🔪 3. Make a Clean Cut
Cut just below a node at a 45-degree angle.
This increases rooting surface.

🌿 4. Apply Rooting Hormone (Optional but Helpful)
Dip the lower end in:
- Store-bought rooting hormone
OR - Homemade rooting booster such as: ✔ Honey
✔ Aloe vera gel
✔ Cinnamon powder
This prevents rot and increases rooting chances.
🪴 Step 3: Prepare the Best Potting Mix

Pomegranate cuttings root best in a light, airy, fast-draining mix.
Best Potting Mix (Recommended)
- 40% cocopeat
- 30% sand
- 20% garden soil
- 10% compost
Alternative Mix
- 50% sand
- 50% compost
Sand ensures aeration and prevents rotting.
Pot Selection
Use a small pot or plastic cup with holes for rooting:
- Height: 6–8 inches
- Good drainage
🌧 Step 4: Planting the Cutting
🌱 How to Plant
- Make a small hole in the potting mix.
- Insert the cutting 3–4 inches deep.
- Firm the soil around it so the cutting stands upright.
- Water lightly to moisten the soil.
💡 TIP
Do NOT overwater. Slightly moist soil is perfect.
🌤 Step 5: Create a Mini Greenhouse

Pomegranate cuttings root best in humid conditions.
You can create a simple greenhouse effect:

- Cover the pot with a plastic bag or
- Place a transparent bottle over it (cut from bottom)
This traps humidity and speeds up root formation.
Placement
- Keep in bright indirect light
- Avoid harsh sunlight
- Ideal temperature: 20–32°C
⏳ Step 6: Rooting Time – What to Expect?
After 7–10 days
The cutting remains firm (good sign).
After 3–4 weeks
New leaves start to appear—rooting is successful!
After 6–8 weeks
The cutting is strong enough to be transplanted into a larger pot.
To confirm rooting, gently tug the cutting—if it resists, roots have formed.
🪴 Step 7: Transplanting Into a Bigger Pot
Once the cutting grows new leaves, move it to a permanent home.
Ideal Final Pot
- Size: 12–16 inches
- Drainage holes required
Best Soil Mix
- 40% garden soil
- 30% compost
- 20% sand
- 10% cocopeat
Planting Steps
- Fill the pot ¾ with soil mix.
- Place rooted cutting upright.
- Add soil around it.
- Water lightly.
Place in full sunlight for at least 6 hours daily.
🌳 Caring for Your Young Pomegranate Plant
🌞 Light
Pomegranate loves full sun—more sunlight = more flowers.

💧 Water
- Keep soil slightly moist
- Reduce watering in winter
- Never let water stand in the pot
🌱 Fertilizer
Feed once every month:
- Vermicompost
- Mustard cake water
- Cow dung compost
- Banana peel fertilizer
✂ Pruning
Prune lightly to encourage branching.
More branches = more fruits!
🐝 Pollination
Pomegranate is self-pollinating.
But keeping it outdoors helps bees do the job better.
🍎 When Will Fruits Come?
From cuttings:
- Flowering starts: 6–9 months
- Fruit setting: 1 year
- Full fruiting: 2 years
Growing from seed takes 3–4 years, so cuttings are always better.
🐛 Common Problems and Solutions
❌ Leaves Turning Yellow
Cause: Overwatering
✔ Reduce watering, increase sunlight
❌ Cutting Rotting
Cause: Too much moisture
✔ Add more sand to soil
✔ Improve drainage

❌ No New Leaves
Cause: Low temperature
✔ Keep in warm area
🍀 Why Pomegranate Is Perfect for Home Gardening?
- Looks beautiful as an ornamental plant
- Grows well in pots
- Resistant to pests
- Low maintenance
- Produces highly nutritious fruits
Pomegranate symbolizes:
✨ Prosperity
✨ Fertility
✨ Good health
So having one at home is both useful and auspicious.
🌟 Conclusion: Grow Your Own Pomegranates Easily!
Growing pomegranate from cuttings is one of the simplest, most rewarding gardening projects you can start today. With just a healthy branch, a small pot, and the right soil mix, you can grow a beautiful fruit-bearing tree at home.
Whether you’re a beginner or an experienced gardener, these easy cutting ideas will help you enjoy fresh pomegranates right from your balcony or terrace.