Growing guavas at home is already rewarding, but grafting guava trees takes it to a whole new level. When I first tried grafting guavas, the results surprised me so much that I still call it one of the most exciting gardening experiments of my life. Not only did the grafted plants grow faster, but they also produced sweeter, bigger fruits much earlier than expected.
If you’ve ever wondered whether guava grafting is worth trying, the answer is a big, juicy YES. This detailed guide will walk you through my experience—what worked, what didn’t, and how you too can master guava grafting even if you’ve never grafted a plant before.
Why I Decided to Graft Guava Trees
Guava is a hardy fruit tree, easy to grow and super productive. But there’s a catch: guavas grown from seeds often take years to bear fruit and sometimes do not resemble the parent plant. Seed-grown plants can be unpredictable—they may produce tiny fruits, sour fruits, or weak yields.
Grafting solves all of these problems.
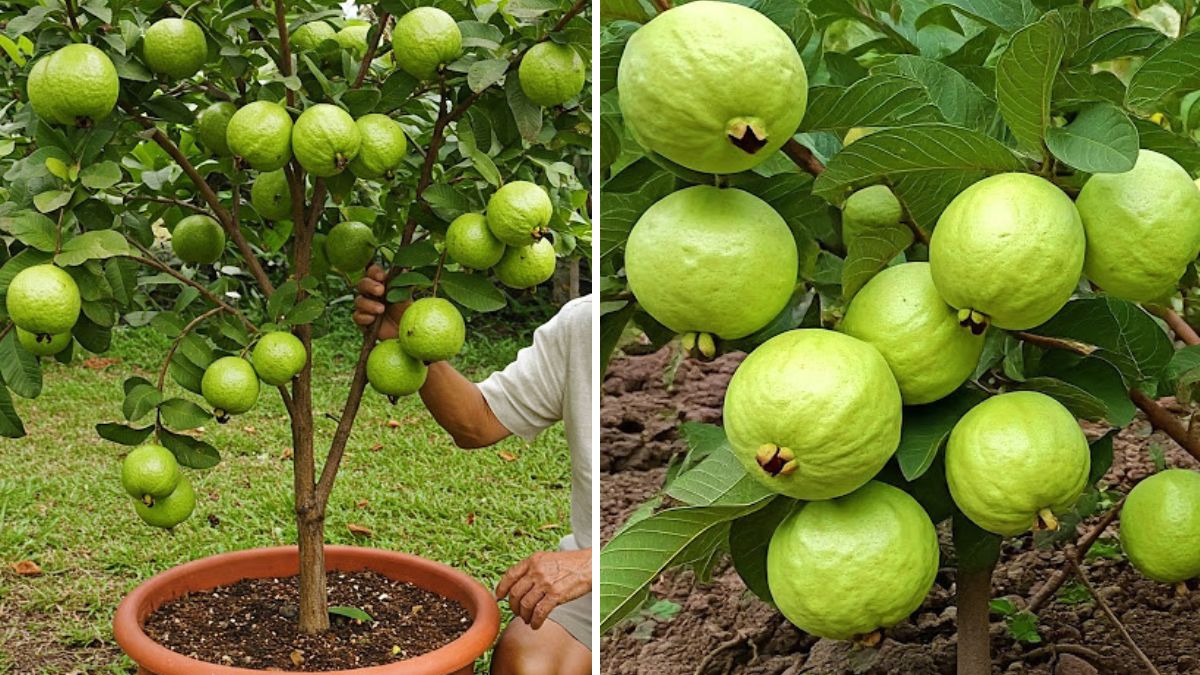
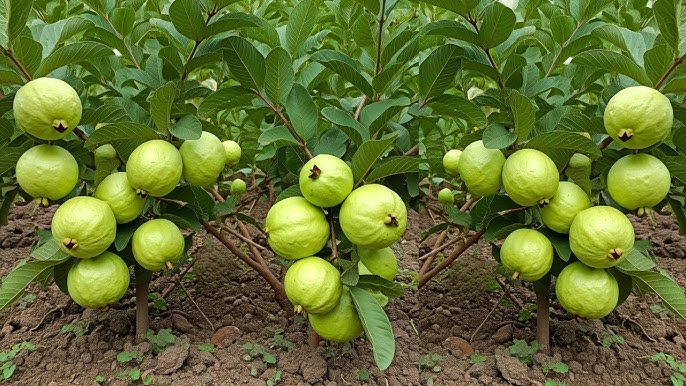
When you graft a high-quality guava variety (like Thailand Giant, Allahabad Safeda, or Pink Flesh) onto a strong rootstock, you combine the best qualities of both:
✔ Strong, disease-resistant roots
✔ Early fruiting
✔ High-quality, uniform fruits
✔ Stronger yield year after year
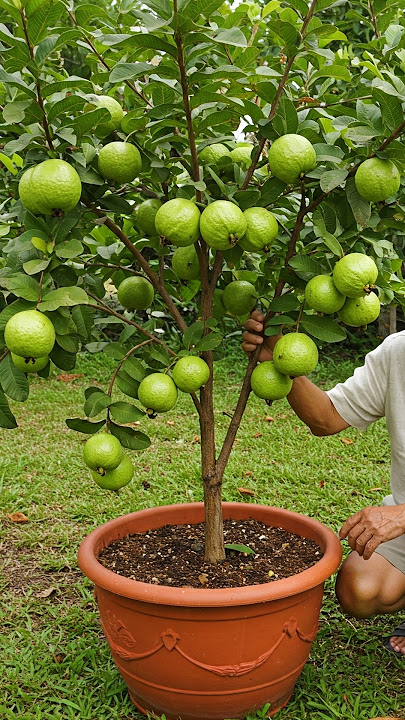
This was exactly what motivated me to try it. I wanted to transform my basic guava saplings into premium fruit-bearing machines.
Choosing the Perfect Rootstock and Scion

My success started with selecting the right materials. Grafting is 50% technique and 50% choosing the right wood.
Rootstock (Base Plant):
I selected a 1-year-old healthy guava plant that was grown from seed. It had a thick stem and strong roots. A good rootstock must be:
- disease-free
- at least pencil thickness
- well-hydrated
- vigorous
Scion (Top Cutting from Fruit Variety):
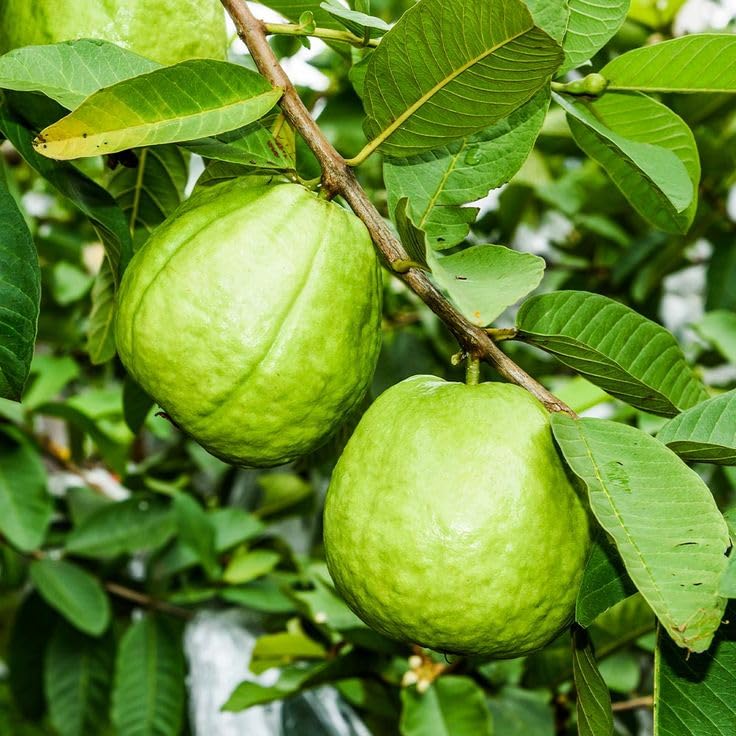
For the scion, I chose a mature branch from a high-yielding guava variety—one that produced large, sweet, pink fruits. Ideal scion wood should be:

- freshly cut
- about 3–5 inches long
- with 2–3 buds
- semi-hardwood (not too soft, not too woody)
This combination ensures the graft union heals quickly and the new plant grows vigorously.
The Grafting Method That Worked for Me: Cleft Grafting
There are many methods for grafting fruit trees, but after experimenting, I found that cleft grafting works best on guava. It’s beginner-friendly and has a high success rate.
Step-by-step How I Did It:
1. Preparing the Rootstock
Using a sharp, sanitized knife, I cut the rootstock straight across at about 1 foot above soil level.
Then I made a clean vertical slit (around 1 inch deep) in the middle of the cut stem.
This slit becomes the “cleft” that holds the scion.
2. Shaping the Scion
I trimmed the lower end of the scion into a wedge shape—sharp on both sides, like a pencil tip.
This ensures maximum contact between both cambium layers, which is the key to successful grafting.
3. Joining Both Pieces
I gently inserted the scion wedge into the cleft. The most important part is aligning at least one side of the cambium layers. Even partial alignment is often enough for guava.
4. Wrapping the Union Tightly
I used grafting tape to wrap the union from top to bottom. The wrap needs to be tight to:
- prevent air entry
- keep moisture inside
- avoid infection
Finally, I covered the whole union with grafting film to prevent drying.
5. Placing the Plant in Partial Shade
A newly grafted plant needs warmth but no harsh sunlight. I kept it in a semi-shaded area for about 3 weeks.

The Waiting Game: Here’s What Happened Next!
The real magic started after two weeks.
Week 2: Bud Swelling
Tiny buds on the scion began to swell. This is usually the first sign that the graft is taking.
Week 4: Leaves Appearing
Little green leaves started emerging! I knew at this point that the graft had successfully joined.
Week 6: Strong Growth
The new shoot increased in size and thickness. I removed some of the suckers growing below the graft point so that all the plant’s energy would go into the scion.
Month 3: Rapid Branching
The grafted scion was now growing faster than the original seed-grown guava ever did. It was producing healthy branches and seemed stronger than expected.
Month 6–7: First Flower Buds
This is where things got unbelievable. A normal seed-grown guava takes 3–4 years to flower. My grafted one flowered in just seven months!
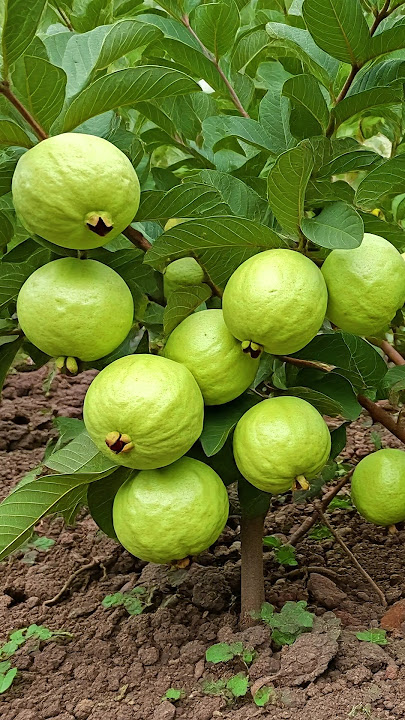
Month 9–10: First Fruits
The fruits grew bigger, firmer, and sweeter than the fruits from the parent tree. I was amazed—grafting didn’t just save time; it unlocked the full potential of the plant.
Why Grafted Guavas Grow Faster and Better
The science behind it is simple:
1. Mature wood = faster fruiting
A scion is taken from a tree that is already producing fruits, so it carries “maturity memories.”

2. Strong roots = powerful growth
The rootstock is usually tough, disease-resistant, and adapted to local soil.
3. Disease resistance improves
Grafted plants are generally more resistant to soil-borne diseases.
4. Higher yields
Because the grafted variety is already proven to produce well.
This combination makes grafted guava a supercharged plant compared to seed-grown ones.
Common Mistakes I Made (So You Don’t Repeat Them)
Even though my first graft was a success, I made some mistakes along the way:
❌ Cutting scions too early or too late
Dry or overly soft scions often fail.
❌ Leaving the plant under full sun after grafting
This can dry out the scion.
❌ Using a dull knife
Rough cuts slow healing.
❌ Forgetting to remove rootstock suckers
These compete with your scion for nutrients.

Learning from these mistakes drastically improved my future grafting success rates.
Tips to Increase Your Grafting Success Rate
Here are some of the best tricks I learned:
✔ Always disinfect your knife before cutting
Prevents infections and fungal issues.
✔ Choose morning time for grafting
Plants are more hydrated.
✔ Keep grafting union sealed completely
Moisture control is everything.
✔ Don’t overwater after grafting
Excess moisture can cause rot.
✔ Shade the plant for at least 2–3 weeks
Soft sunlight helps scion activation.
When is the Best Time to Graft Guavas?
The ideal time for grafting guava trees is:
🌱 Late winter
🌱 Early spring
🌱 Early monsoon (not during heavy rains)
Temperature plays a big role. 20–32°C is perfect for graft healing.

Final Thoughts: Was It Worth Trying Guava Grafting? Absolutely!
What started as a simple experiment turned into one of the most rewarding gardening experiences of my life. Not only did I get faster results, but the quality of the fruits was outstanding.
If you want:
- faster fruiting
- bigger and sweeter guavas
- stronger, disease-resistant plants
- long-term productivity
then guava grafting is something you must try at least once.
Whether you’re a beginner or an experienced home gardener, this method can transform your guava-growing journey and give you professional results right in your backyard.