Plant propagation is one of the most rewarding skills every home gardener should learn. Whether you want to multiply your favorite rose bush, expand your indoor plant collection, or grow new fruit trees without buying seedlings, rooting through layering and cuttings in pots offers simple, effective, and highly successful techniques.
Both methods allow you to create strong, healthy new plants using parts of an existing plant. With the right approach, these techniques work beautifully even for beginners. In this complete 1200-word guide, you’ll learn the secrets to rooting plants successfully—using layering and cuttings in pots, two of the most reliable techniques used by gardeners around the world.
1. Understanding Rooting: Why Layering and Cuttings Work

Both layering and cuttings rely on the plant’s natural ability to form new roots when given the right conditions.
🌿 Layering
You root the plant while it’s still attached to the parent plant.
This method is:
- Highly successful
- Low risk
- Ideal for woody plants
🌱 Cuttings
You cut a stem or branch and root it independently in pots.
This method is:
- Faster
- More flexible
- Suitable for soft, semi-hard, and hardwood stems
Understanding both helps you choose the correct method for any plant.
2. Layering: The Most Foolproof Technique for Beginners
Layering is considered one of the easiest and most reliable propagation methods. It works because the branch continues to receive nutrients from the mother plant while simultaneously producing new roots.
A. Types of Layering
1. Simple Layering
You bend a branch to the ground or into a pot and cover a section of it with soil.
2. Air Layering (Marcotting)
You root the branch while it is still attached—but without bending it. You wrap the wounded section with moist soil or moss.
3. Tip Layering
The tip of a long vine is buried, and it roots quickly.
B. Best Plants for Layering
- Roses
- Jasmine
- Bougainvillea
- Guava
- Pomegranate
- Grapes
- Ficus
- Hibiscus
- Blackberries and raspberries
If you struggle with rooting cuttings, layering will give you much higher success.

3. How to Do Simple Layering in Pots – Step-by-Step
Simple layering is perfect when you want to root a branch directly into a pot without disturbing the ground.
Materials Needed
- Healthy plant
- 8–12 inch pot filled with potting mix
- Knife or blade
- Rooting hormone (optional)
- Wire, pin, or small stone
- Mulch
Step 1: Select a Healthy Low Branch
Choose a flexible, disease-free branch that can be bent easily without breaking.
Step 2: Make a Small Wound
Scrape off the outer bark to reveal the green layer.
This encourages root formation.
Tip: Do not remove too much bark. A 1–2 cm scratch is enough.
Step 3: Dip in Rooting Hormone (Optional)
This speeds up root formation but is not mandatory.
Step 4: Bend and Bury the Wounded Part into a Pot
Fill the pot with a good rooting medium:

- Cocopeat
- Sand
- Compost
- Perlite mixed together
Place the pot under the branch and bury the injured section 3–5 cm deep.
Step 5: Secure the Branch
Use a pin, U-shaped wire, or a small stone to keep the branch pressed into the soil.
Step 6: Water and Maintain Moisture
Keep the pot moist for 4–8 weeks.
During this period, the branch develops roots while still being supported by the mother plant.
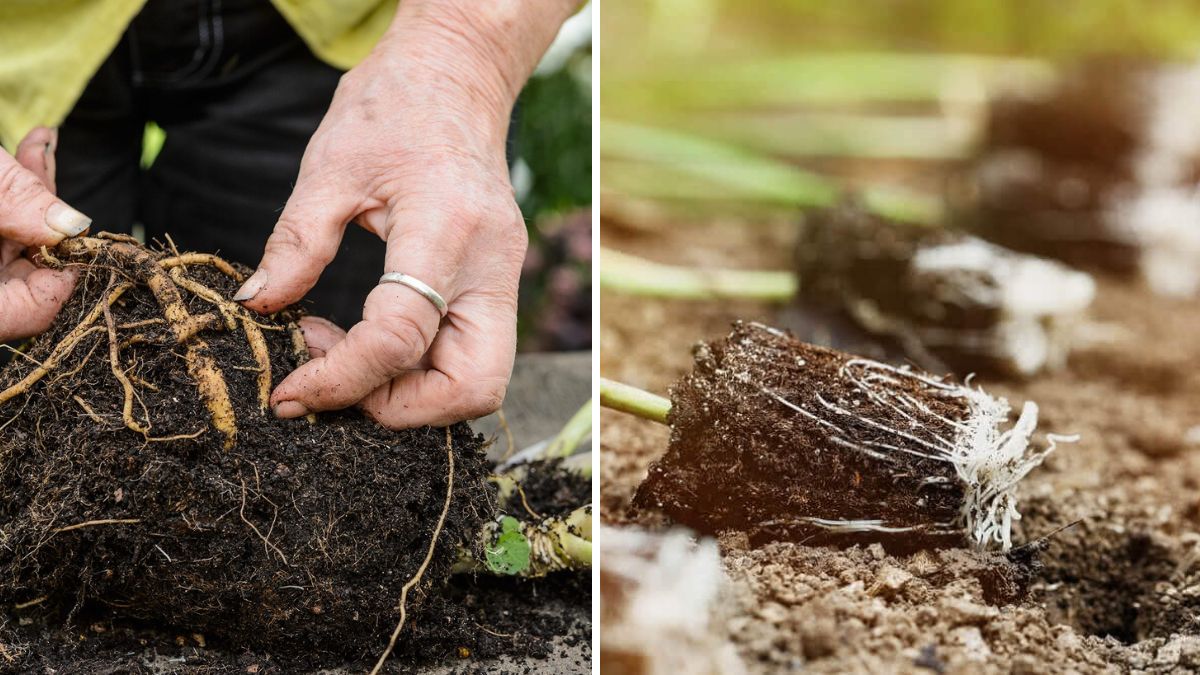
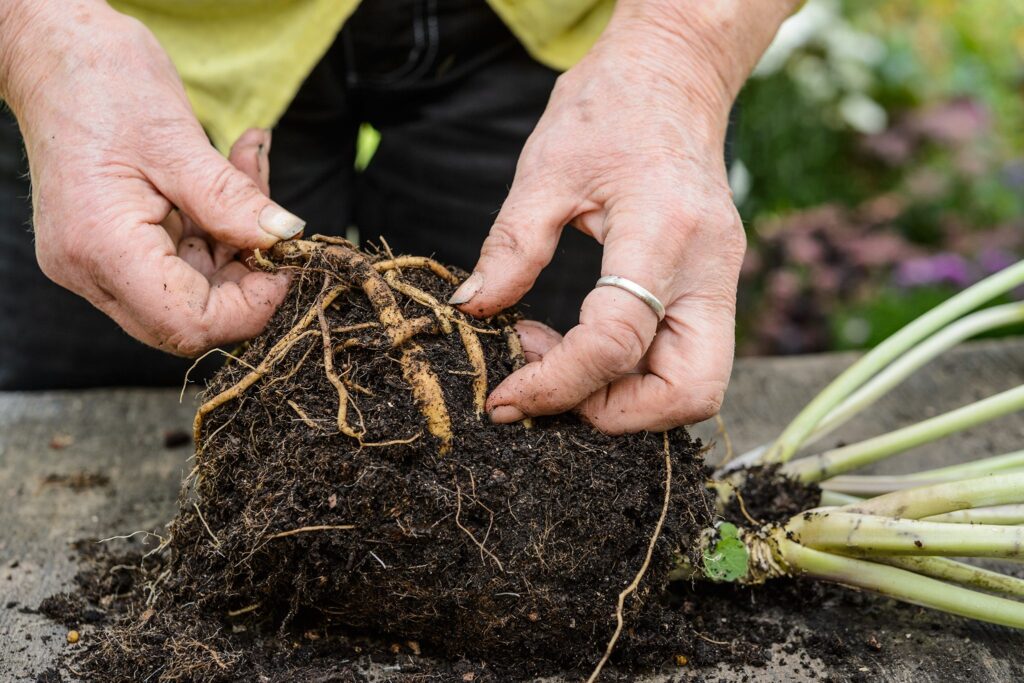
Step 7: Cutting and Transplanting
After 6–8 weeks, gently tug the branch.
If resistance is felt, roots have formed.

Cut the new plant from the mother and transplant it into its own pot.
4. Air Layering: Rooting Plants Without Bending Branches
Air layering is especially useful for thick or woody branches.
Materials
- Sharp knife
- Moist cocopeat or sphagnum moss
- Plastic wrap or foil
- Rope, tape, or string
- Rooting hormone
Steps
Step 1: Select a Healthy Branch
Semi-hardwood or hardwood stems work best.
Step 2: Remove a 2 cm Ring of Bark
Expose the green cambium layer.
This stops nutrients from returning to the plant and stimulates root formation.
Step 3: Apply Rooting Hormone
Speeds up rooting and increases success rate.
Step 4: Wrap Moist Moss Around the Wound
Ensure it is damp, not dripping.
Step 5: Cover with Plastic Wrap
Seal both ends tightly to retain moisture.
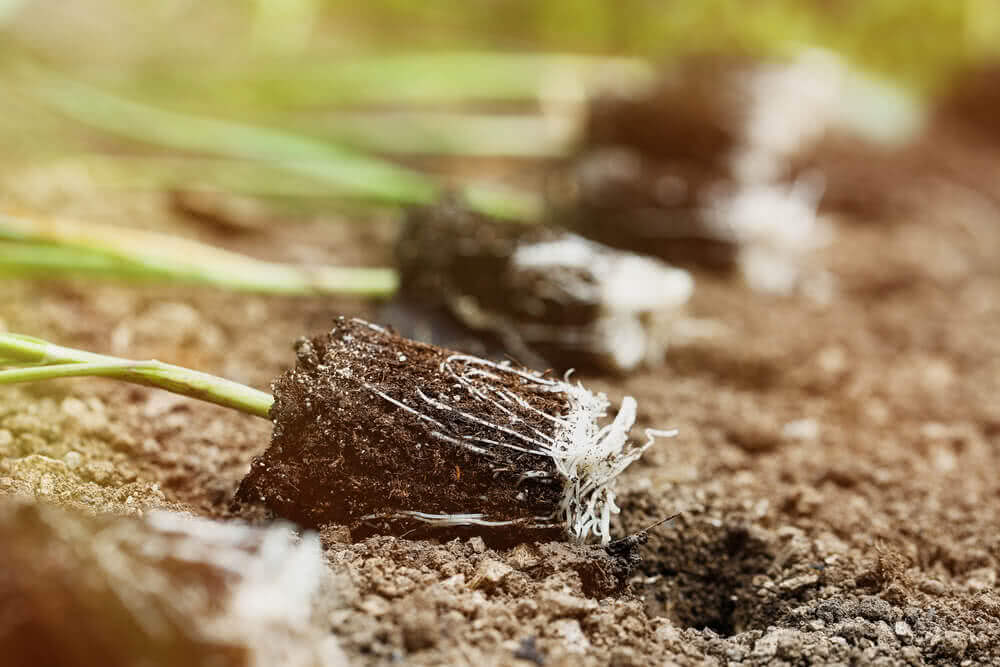
Step 6: Wait 4–12 Weeks
Roots will start forming and become visible through the wrap.
Step 7: Cut and Plant
Once roots are mature, cut below the root ball and plant in a pot.
5. Rooting Cuttings in Pots: Fast, Simple & Effective
Cuttings are perfect for multiplying plants quickly, especially herbs and softwood plants.
A. Types of Cuttings
1. Softwood Cuttings
Tender, green stems
—Mint, basil, coleus, hydrangea

2. Semi-hardwood Cuttings
Partially matured stems
—Roses, hibiscus, bougainvillea
3. Hardwood Cuttings
Fully matured woody stems
—Grapes, pomegranate, fig
6. Step-by-Step: Rooting Cuttings in Pots
Materials Needed
- Sharp pruning shears
- 6–12 inch pot
- Rooting medium
- Rooting hormone powder
- Transparent cover or plastic bottle
Step 1: Select a Healthy Stem
Choose a disease-free stem with 3–6 nodes.
Step 2: Cut at a 45° Angle
This increases surface area and encourages root growth.
Step 3: Remove Lower Leaves
Only keep 1–2 leaves at the top.
This reduces water loss.
Step 4: Dip in Rooting Hormone
Optional but greatly improves success.
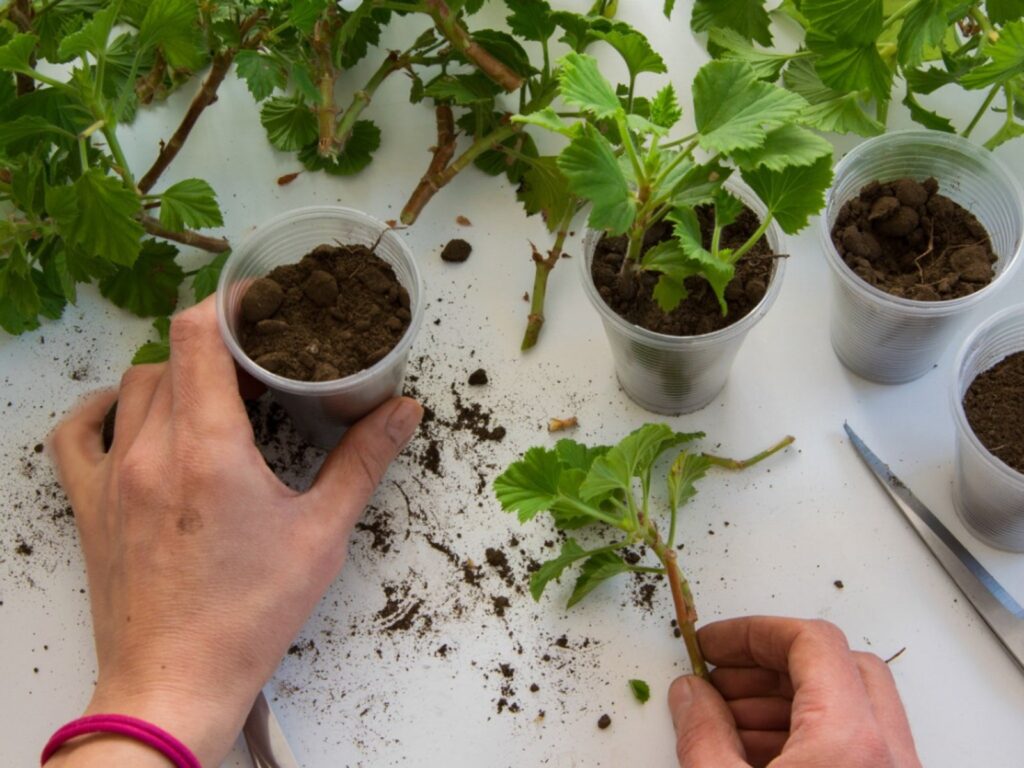
Step 5: Plant the Cutting
Insert 2–3 nodes into the rooting mix:
- 50% cocopeat
- 30% sand
- 20% compost
This mix is airy, moist, and ideal for root formation.
Step 6: Water Gently
Moisten the soil without making it soggy.
Step 7: Create a Mini Greenhouse
Cover the pot with:
- A transparent bag
- A plastic bottle
- A mini greenhouse box
This traps humidity, which is crucial for rooting.

Step 8: Place in Bright Indirect Light
Avoid strong direct sun.
Roots begin forming in 2–6 weeks depending on the plant.
Step 9: Transplanting
Once the plant has developed a strong root system, repot into nutrient-rich soil.
7. Best Rooting Mediums for Layering & Cuttings
A good rooting medium must be:
✔️ Light
✔️ Well-draining
✔️ Moisture-retentive
✔️ Sterile
Recommended Mediums
- Cocopeat
- Sand + compost mix
- Perlite + soil mix
- Vermiculite
- Sphagnum moss (for air layering)
Avoid heavy garden soil; it suffocates new roots.
8. Watering Tips for Successful Rooting
New roots are delicate.
They need moisture but hate waterlogging.
Watering Rules
- Keep soil consistently moist
- Use a spray bottle
- Never let the medium completely dry
- Reduce watering once roots develop
Overwatering is the #1 cause of failure.
9. Temperature & Light Requirements
Cuttings and layering root best in:
🌡️ Temperature: 20–28°C
☀️ Light: Bright indirect light
Avoid harsh sunlight because it dries out the stem and soil.
You may use:
- Shade nets
- Balcony shade
- Morning sunlight only
This gives the ideal rooting environment.

10. Common Mistakes to Avoid
❌ Using heavy soil
❌ Overwatering
❌ Selecting diseased stems
❌ Cutting too short or too long
❌ Exposing cuttings to strong sunlight
❌ Using dull tools
Avoiding these ensures rapid and successful root formation.
11. Plants That Root Easily Using These Methods
Perfect for Beginners
- Mint
- Basil
- Rose
- Hibiscus
- Money plant
- Spider plant
- Jasmine
- Bougainvillea
- Ficus
- Coleus
Using layering and cuttings, you can multiply any of these plants effortlessly.
12. Final Tips for Guaranteed Success
🌿 Always use sterilized tools
🌿 Choose healthy mother plants
🌿 Maintain humidity
🌿 Provide warmth
🌿 Be patient—roots take time
🌿 Use rooting hormone for difficult plants
With consistent care, success is guaranteed.
🌿 Conclusion: Multiply Your Garden the Easy Way
Layering and taking cuttings in pots are two of the most powerful, reliable, and satisfying methods of propagating plants at home. These techniques allow you to grow strong, healthy new plants without spending money—and without specialized gardening knowledge.
Whether you’re a beginner gardener or an experienced plant lover, mastering these simple methods opens the door to endless plant multiplication and greener spaces in your home.