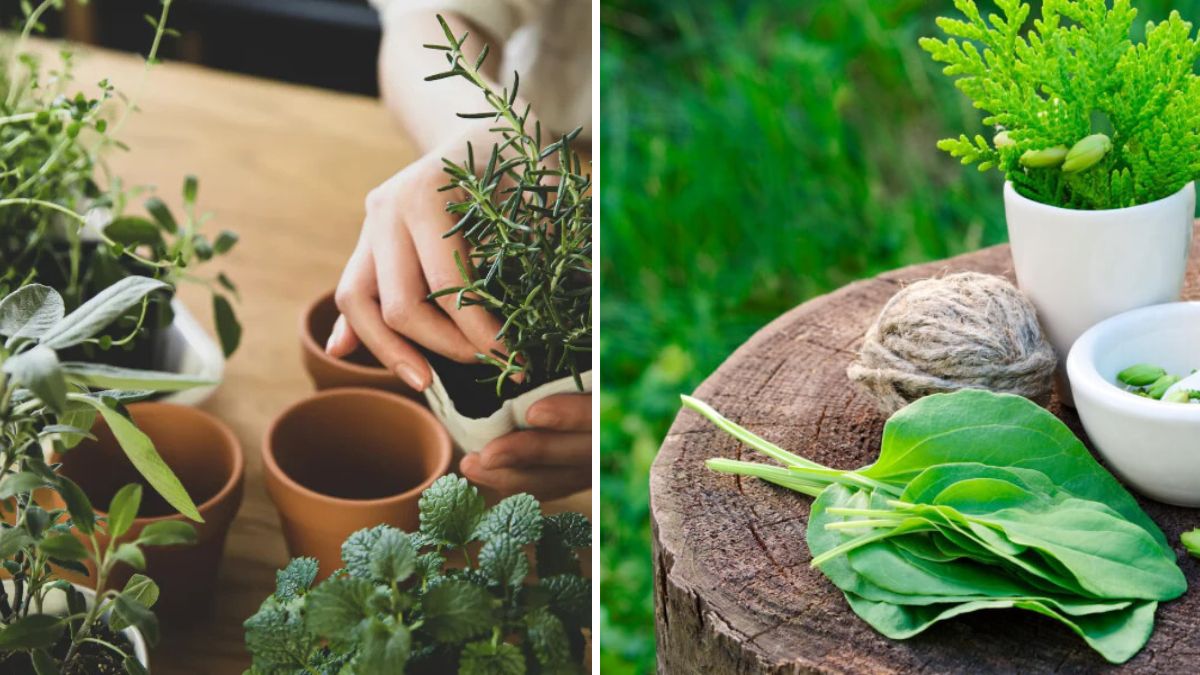
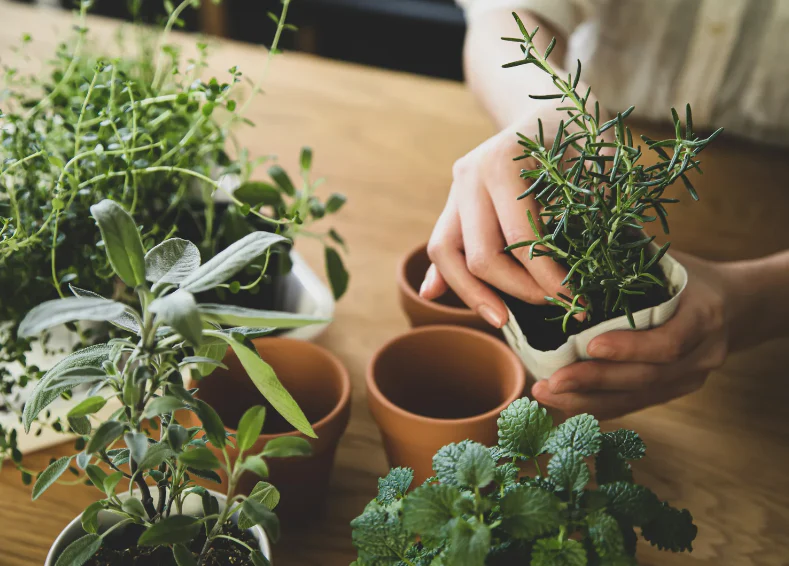
Healthy plants are the heart of every thriving garden, but even the most well-cared-for greenery can face stress, disease, or damage. Cuts, broken stems, pest attacks, or fungal infections can slow down growth or even kill a plant if left untreated. Fortunately, gardeners can create a simple, natural healing paste that helps plants recover, protects wounds, and promotes rapid growth. Using a healing paste is like giving your plants first aid—strengthening their defenses and accelerating their recovery. This guide will teach you how to make the best healing paste for your plants and how to apply it effectively.
Why Use a Healing Paste for Plants?
A plant healing paste provides several important benefits:
- Protects Wounds: Just like a bandage for humans, it seals cuts, broken stems, or grafting sites from harmful pathogens.
- Promotes Healing: Contains natural ingredients that encourage tissue regeneration and growth.
- Prevents Disease: Acts as a barrier against fungal infections, bacteria, and pests.
- Supports Grafting and Pruning: Essential for newly grafted plants, pruned branches, or damaged stems.
- Eco-Friendly: Homemade pastes use natural, non-toxic ingredients safe for plants and the environment.
By applying a healing paste promptly, gardeners can minimize plant stress and prevent long-term damage.
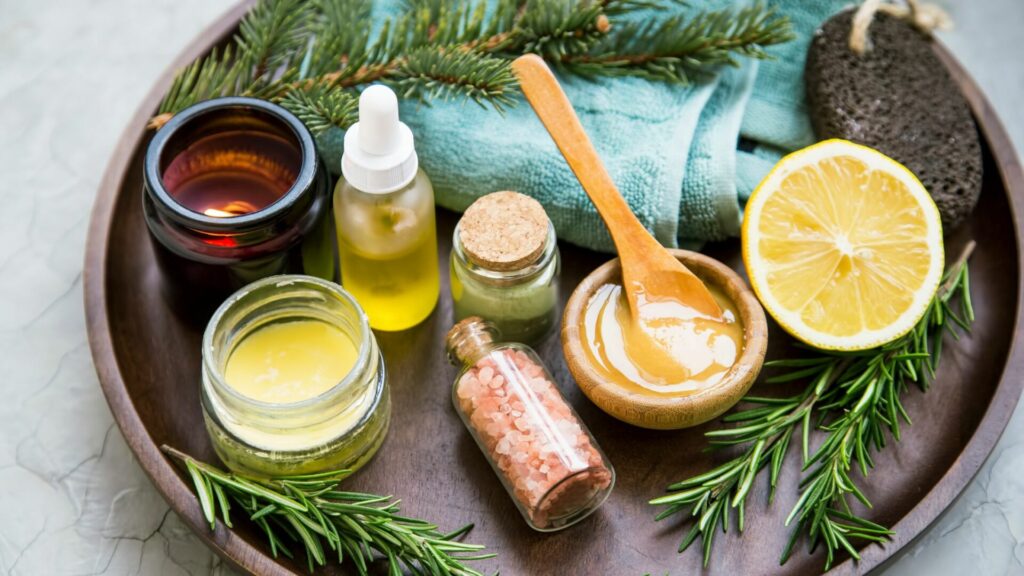
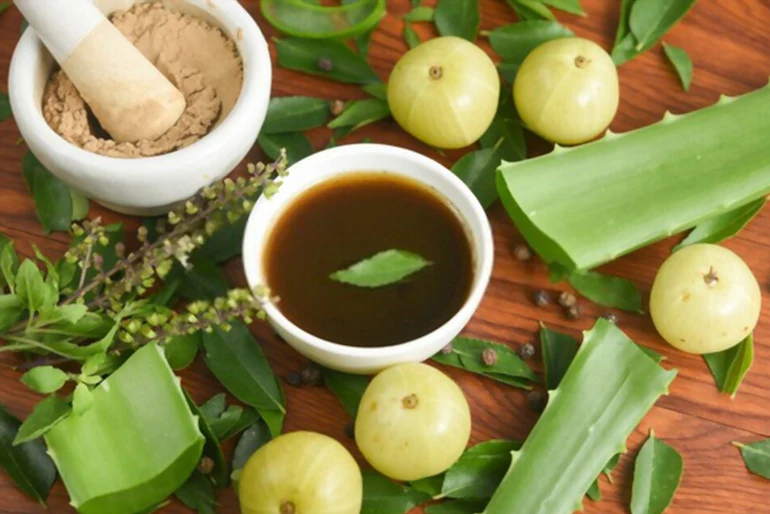
Step 1: Gathering Ingredients for the Healing Paste

The best plant healing pastes use natural, readily available ingredients. Common options include:

- Neem Oil: Natural antifungal and antibacterial agent.
- Aloe Vera Gel: Promotes healing and acts as a protective barrier.
- Vegetable Oil or Coconut Oil: Moisturizes and seals wounds.
- Turmeric Powder: Known for antifungal and antibacterial properties.
- Charcoal Powder: Helps prevent infection in cut areas.
- Clay or Bentonite: Creates a thick, protective coating.
These ingredients can be combined to make a versatile paste suitable for most garden plants.
Step 2: Preparing the Base for the Paste
A smooth, sticky base ensures that the paste adheres to plant wounds effectively:
- Choose a Medium: Aloe vera gel or bentonite clay works well as a base.
- Mix Consistency: Combine with a small amount of water or oil to create a thick, spreadable consistency.
- Optional Additives: Add turmeric, charcoal, or neem oil for enhanced antifungal and antibacterial properties.
The base should be thick enough to stay on stems, branches, or grafting sites without dripping.
Step 3: Mixing the Healing Paste
Follow these steps to make an effective plant healing paste:

- Combine Base Ingredients: Start with 2–3 tablespoons of aloe vera gel or clay in a clean bowl.
- Add Antimicrobial Agents: Mix in 1 teaspoon of turmeric powder, 1 teaspoon of charcoal powder, and 1 teaspoon of neem oil.
- Blend Thoroughly: Use a spatula to mix until smooth, forming a thick, uniform paste.
- Adjust Consistency: If too runny, add more clay or aloe; if too thick, add a few drops of water or oil.
A well-mixed paste ensures maximum contact with plant tissue and effective healing.
Step 4: Preparing the Plant for Application
Proper preparation of the plant ensures the paste works effectively:
- Clean the Wound: Remove any dirt, broken tissue, or diseased parts using sterilized scissors or a knife.
- Dry Gently: Dab excess moisture from the wound to allow the paste to adhere better.
- Sterilize Tools: Use alcohol or boiling water to sterilize cutting tools and avoid spreading infections.
A clean wound increases the effectiveness of the healing paste and reduces the risk of infection.
Step 5: Applying the Healing Paste
Now comes the most important part—application:

- Apply Generously: Use a spatula, brush, or your fingers to coat the wound fully with paste.
- Cover All Exposed Areas: Make sure the paste reaches all cut edges and damaged tissue.
- Smooth Layer: Spread evenly to form a protective barrier.
- Repeat if Needed: For larger wounds or grafting sites, reapply the paste every few days until healing progresses.
Proper application ensures the paste acts as a protective seal and accelerates recovery.
Step 6: Additional Care After Application

Healing paste works best when combined with proper plant care:
- Watering: Keep the plant hydrated but avoid overwatering, which can wash away the paste or encourage fungal growth.
- Sunlight: Ensure the plant receives adequate sunlight, but avoid exposing freshly applied wounds to harsh midday sun.
- Pest Monitoring: Check regularly for insects or fungal growth around the treated area.
- Pruning Dead Tissue: Remove any dead or diseased tissue near the wound to prevent reinfection.
Additional care enhances the paste’s effectiveness and helps the plant recover quickly.
Step 7: Using Healing Paste for Grafting
Healing paste is especially valuable for grafting plants:

- Seal the Graft Site: After joining scion and rootstock, apply the paste around the graft junction.
- Prevent Infection: Acts as a barrier against fungal spores and bacteria during the critical healing period.
- Encourage Callus Formation: Supports the growth of tissue that binds the scion and rootstock together.
By using a healing paste, grafts are more likely to succeed and develop into healthy plants.
Step 8: Using Healing Paste for Pruning and Broken Stems
Plants are often damaged during pruning, storms, or accidental handling:
- Large Cuts: Apply paste to thicker branches or stems after pruning to prevent decay.
- Small Breaks: For minor stem injuries, coat the exposed area to seal it from pathogens.
- Trees and Shrubs: Healing paste helps protect trees and shrubs from rot after heavy pruning or storm damage.
This reduces stress on the plant and accelerates the healing process.
Step 9: Tips for Making the Best Healing Paste
- Always use fresh, natural ingredients for maximum effectiveness.
- Sterilize tools and containers to avoid contamination.
- Store leftover paste in a clean, airtight container in a cool, dry place.
- Adjust paste consistency based on wound size and plant type.
- Apply paste immediately after pruning or injury for best results.
- Monitor treated plants regularly and reapply as needed.
Following these tips ensures your healing paste provides maximum protection and recovery.

Step 10: Benefits of Using Healing Paste
- Faster Recovery: Wounds heal more quickly, reducing plant stress.
- Disease Prevention: Protects against fungi, bacteria, and insects.
- Supports Growth: Healthy plants grow stronger and produce more flowers or fruits.
- Eco-Friendly: Natural ingredients are safe for plants, pets, and the environment.
- Versatile: Can be used on flowers, vegetables, shrubs, trees, and grafted plants.
A well-prepared healing paste is a gardener’s essential tool for plant care.
Conclusion
Making a healing paste for your plants is a simple, natural, and highly effective way to protect and repair wounds. By using ingredients like aloe vera, turmeric, charcoal, neem oil, and clay, gardeners can create a versatile paste that seals cuts, prevents infection, and accelerates plant recovery. Applying the paste immediately after pruning, grafting, or accidental damage ensures healthy growth and reduces the risk of disease.
This easy, eco-friendly solution strengthens your plants’ resilience, encourages faster healing, and promotes overall vitality. With proper preparation, application, and follow-up care, your plants will thrive and remain strong, beautiful, and productive. Keep this homemade healing paste on hand, and you’ll always be ready to give your plants the care they need.