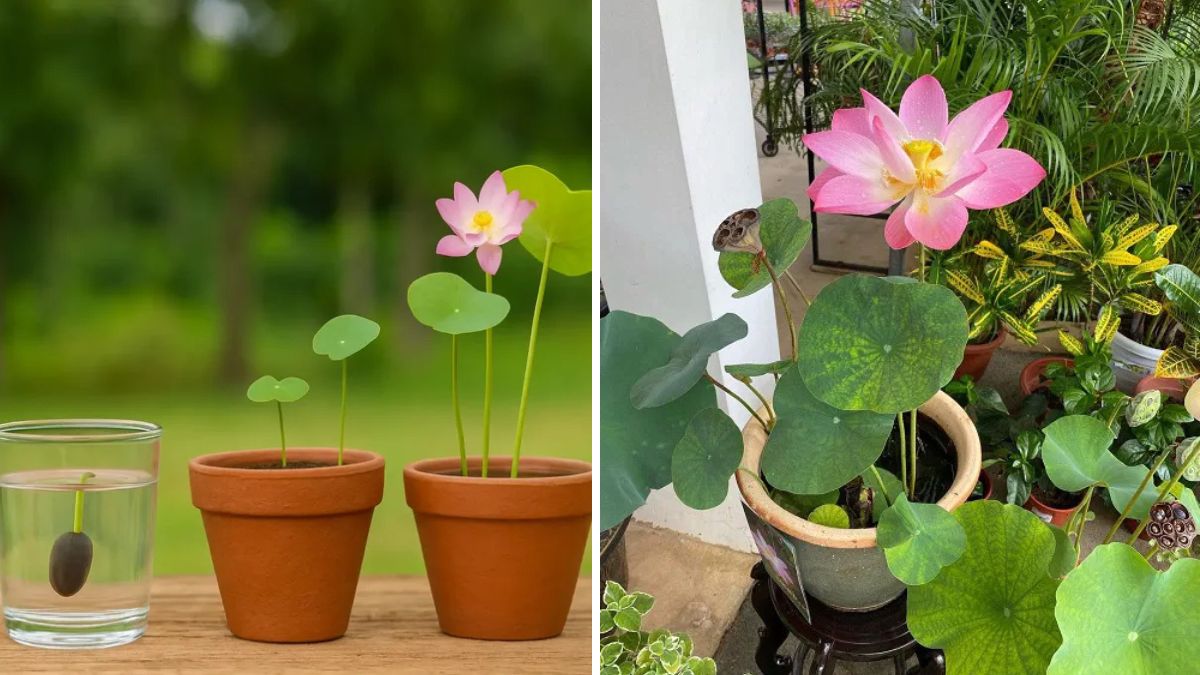
The lotus plant is not only a symbol of purity and beauty but also an enchanting addition to any home garden. Growing a lotus at home may seem challenging due to its aquatic nature, but with the right method, anyone can cultivate this mesmerizing flower quickly and easily. In this guide, we will walk you through a step-by-step process to grow lotus plants at home, share practical tips, and provide updates for continuous success.
Why Grow Lotus at Home?
Lotus plants (Nelumbo nucifera) are more than just ornamental flowers. They have cultural, spiritual, and medicinal significance across many regions. Here’s why you should consider growing lotus at home:
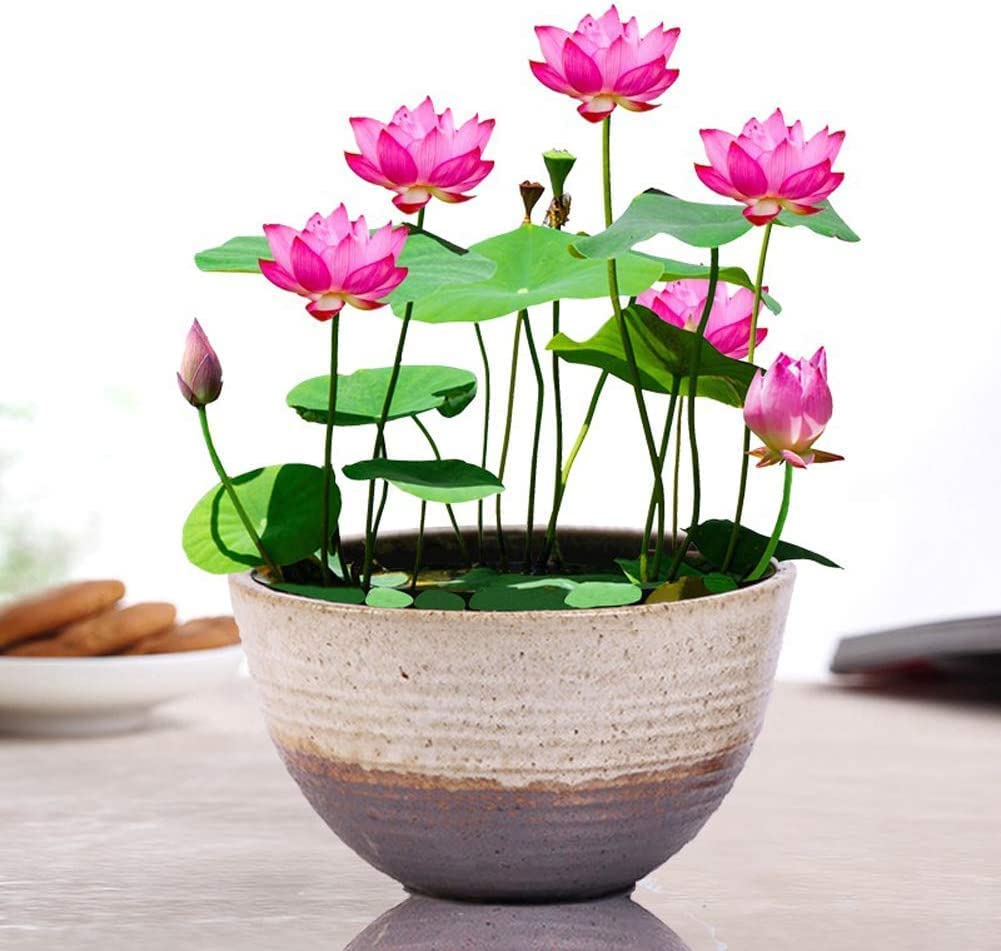
- Aesthetic Appeal: Their large, fragrant flowers and striking green leaves make a beautiful centerpiece for ponds or water containers.
- Easy Maintenance: Once established, lotus plants require minimal care.
- Health Benefits: Lotus seeds and roots are edible and rich in nutrients.
- Stress Relief: Caring for aquatic plants and watching them bloom can be therapeutic.
Materials Needed to Grow Lotus at Home
To begin your lotus-growing journey, you’ll need a few essential materials:
- Healthy Lotus Seeds or Tubers – Preferably fresh seeds or tubers from a trusted source.
- Container or Water Pot – Wide and shallow containers are ideal. A minimum of 12–15 inches in diameter is recommended.
- Soil – Use heavy clay soil or aquatic planting soil. Avoid garden soil that is too light or sandy.
- Water – Clean, dechlorinated water is best.
- Fertilizer – Slow-release aquatic fertilizer.
- Optional: Gravel or small pebbles for decoration and soil stabilization.
Step-by-Step Guide to Growing Lotus at Home

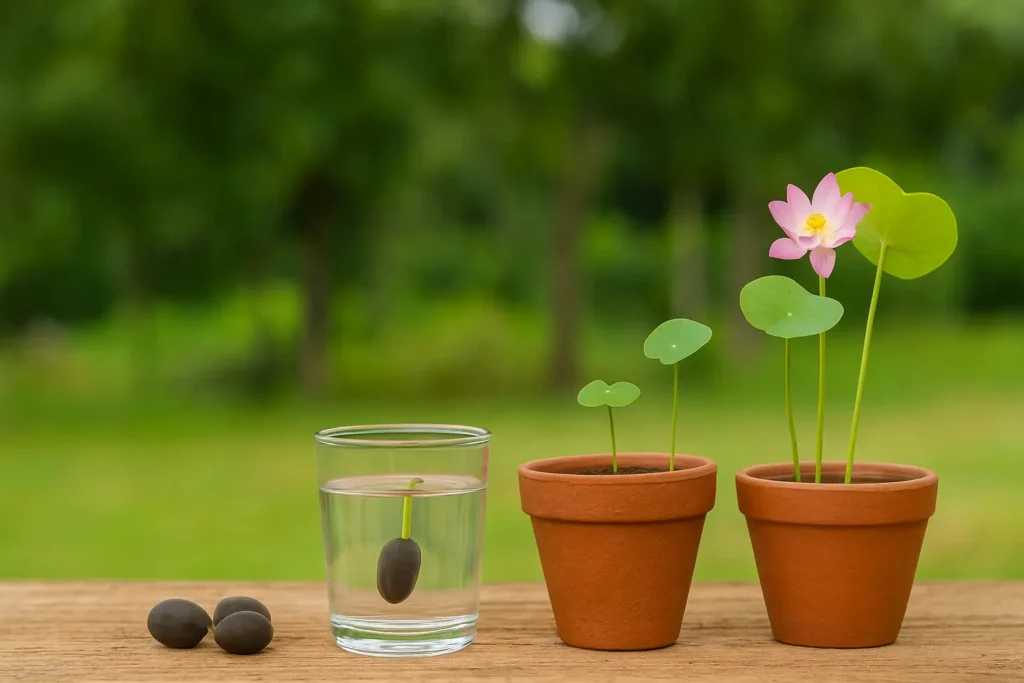
Step 1: Preparing the Seeds
Lotus seeds have a hard shell that prevents germination unless scarified. Here’s how to prepare them:

- Gently rub the seed with sandpaper or a nail file until you see a small white spot. Avoid damaging the inner part.
- Soak the scarified seeds in a bowl of warm water for 2–3 days. Change the water daily to prevent bacterial growth.
- Wait until the seeds sprout. Sprouting is indicated by a small white shoot emerging.
Update Tip: If seeds fail to sprout within a week, gently re-scarify and soak again. Patience is key!
Step 2: Selecting the Right Container
Lotus plants thrive in wide, shallow containers. Avoid deep narrow pots as they restrict tuber growth.
- Choose containers with a depth of 12–18 inches.
- Clean the container thoroughly before planting.
- Avoid pots with drainage holes; lotus roots need submerged conditions.
Step 3: Planting the Sprouted Seeds or Tubers
Using Seeds:
- Fill the container with 3–4 inches of heavy clay soil.
- Gently press the sprouted seeds into the soil, root side down.
- Cover lightly with a thin layer of soil (0.5–1 inch) or just let it rest on top.
Using Tubers:

- Lay the tuber horizontally on the soil with the growing tip pointing upward.
- Cover lightly with 1–2 inches of soil, leaving the growing tips exposed.
- Anchor the tuber with small stones to prevent floating.
Update Tip: Avoid burying the tubers too deep, as this can stunt growth.
Step 4: Adding Water
After planting, carefully fill the container with water until it’s 2–3 inches above the soil. Gradually increase water level as the plant grows.
- Water temperature should ideally be 70–85°F (21–29°C).
- Use rainwater or dechlorinated water if possible.
- Keep water clean to prevent algae growth.
Update Tip: For faster growth, use a shallow water layer initially and gradually increase depth as leaves emerge.
Step 5: Providing Sunlight
Lotus plants are sun-loving. For best results:

- Place the container in a spot that receives at least 5–6 hours of direct sunlight daily.
- Avoid shaded areas as the plant may grow slowly and flowers may not bloom.
Step 6: Fertilization

Lotus plants are heavy feeders. Feed them after leaves start growing:
- Use slow-release aquatic fertilizer tablets.
- Place fertilizer 3–4 inches away from the plant base to prevent root burn.
- Fertilize every 3–4 weeks during the growing season.
Update Tip: Avoid fertilizing in the early seedling stage to prevent chemical damage.
Common Issues and How to Fix Them
- Yellow Leaves – Usually caused by poor sunlight or over-fertilization. Move the pot to a sunnier spot and reduce fertilizer.
- No Flowers – Often due to insufficient sunlight or immature tubers. Be patient; flowering typically occurs in the second season.
- Algae Growth – Reduce water exposure to sunlight and clean the container weekly.
- Pests – Aphids and snails may attack leaves. Remove pests manually or use mild, safe insecticidal sprays.
Propagation and Maintenance
Once your lotus plant is established:
- Divide tubers every 2–3 years to encourage flowering.
- Trim dead leaves regularly to maintain water quality.
- In winter, move the container indoors if you live in a cold climate. Lotus can survive mild frost but may die in severe freezing temperatures.
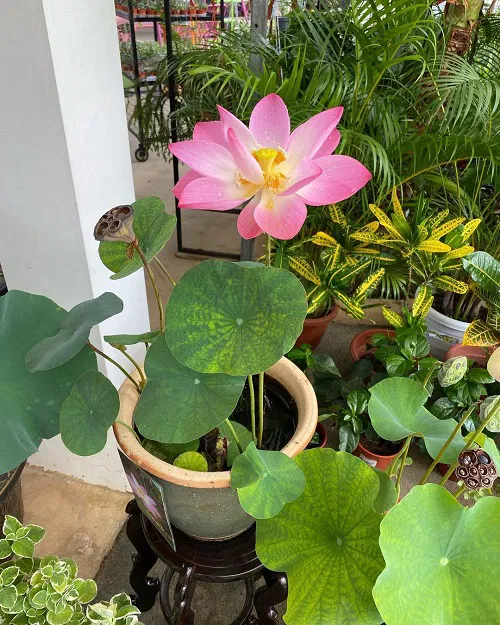
Enjoying Your Home Lotus Garden
Once blooming, your lotus plant will bring serenity and beauty to your home. You can:

- Use the flowers as indoor decoration.
- Harvest seeds for snacks or replanting.
- Pair lotus with other aquatic plants like water lilies for a stunning water garden effect.
Update Tip: Document each stage with photos to track growth and blooming patterns. This helps improve your technique year by year.
Conclusion
Growing lotus plants at home is a rewarding experience that combines patience, care, and a love for nature. By following this fast and easy method with our practical updates, even beginners can cultivate beautiful lotus flowers in containers or small water gardens. With the right sunlight, water, and fertilization, you can enjoy the tranquility and elegance of lotus blooms all season long.
Start today, and soon you’ll have a serene home oasis adorned with your very own lotus plants
