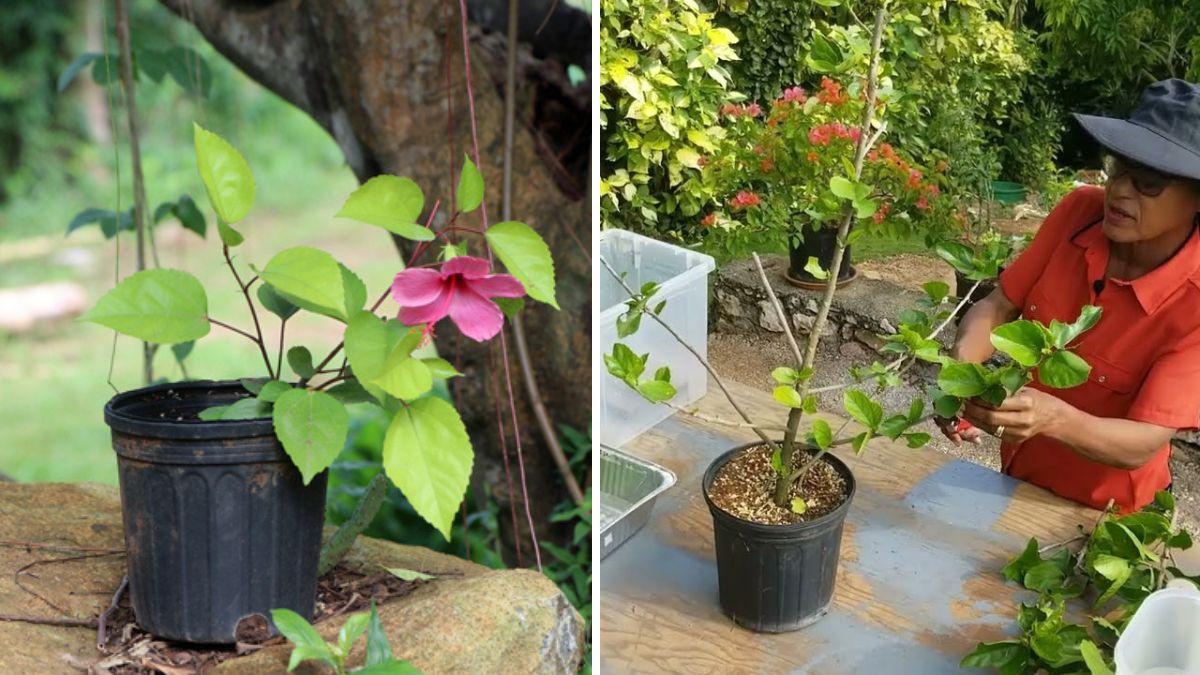
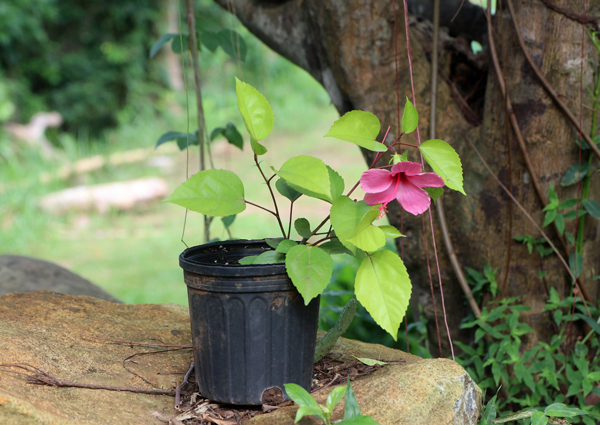
Hibiscus is a stunning flowering plant admired for its large, colorful blooms and lush foliage. Its vibrant flowers can brighten gardens, patios, and balconies, making it a favorite among gardeners. While hibiscus can be grown from seeds, propagating from cuttings is faster, easier, and ensures the new plants retain the parent’s flower color and quality.
This comprehensive guide explains the easiest method to grow hibiscus from cuttings, including step-by-step instructions, care tips, soil preparation, and troubleshooting. Whether you’re a beginner or an experienced gardener, you can multiply your hibiscus plants successfully with minimal effort.
Why Grow Hibiscus from Cuttings?
Hibiscus propagation from cuttings offers several advantages:
- Faster Flowering: Plants grown from cuttings bloom much sooner than seed-grown plants.
- Cost-Effective: Multiply your favorite hibiscus plants without buying new ones.
- Preserve Flower Traits: New plants retain the color, size, and shape of the parent.
- Easy for Beginners: Requires minimal tools and materials.
- Space Efficient: Grow multiple plants in pots or small garden spaces.
By using cuttings, gardeners can expand their hibiscus collection quickly and reliably.
Materials Needed for Hibiscus Propagation
Before starting, gather the following materials:

- Healthy hibiscus plant for cuttings
- Sharp, sterilized pruning shears or knife
- Small pots or containers with drainage holes
- Well-draining soil mix (garden soil, sand, and compost mix works well)
- Rooting hormone (optional but recommended for faster rooting)
- Water spray bottle or small watering can
- Plastic bag or clear cover (to maintain humidity)
Having these materials ready ensures a smooth propagation process with high success rates.
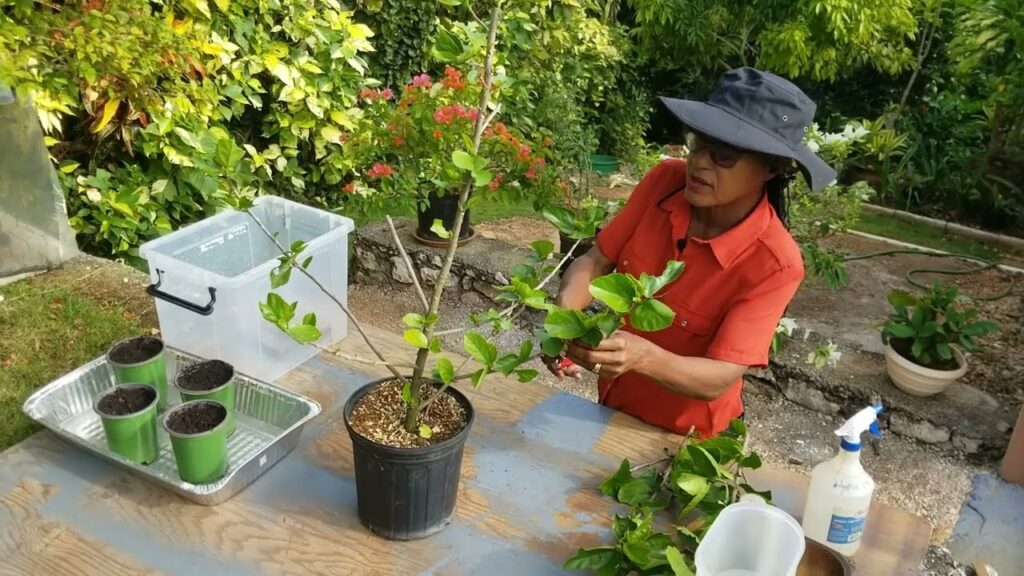
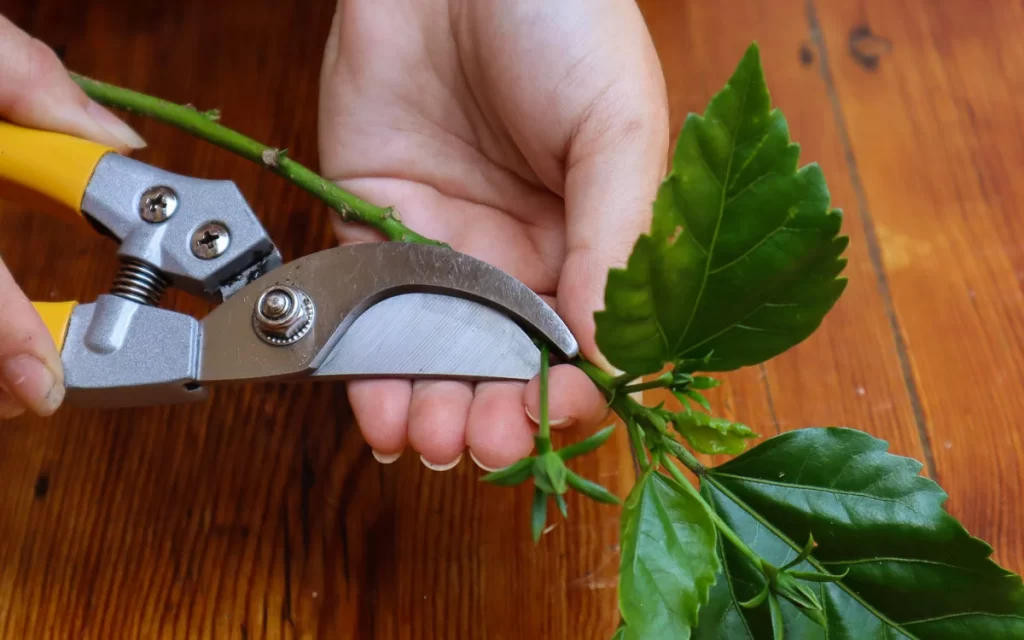
Step 1: Selecting the Right Cutting
Choosing the right cutting is crucial for successful propagation:
- Select healthy, semi-hardwood stems—not too soft or too woody.
- Cut a 4–6 inch section just below a leaf node.
- Make sure the cutting has at least 2–3 leaves at the top.
- Avoid stems with flowers or buds, as energy should go into root development.
Pro Tip: Choose new growth from the current season for best results, as it roots faster than older stems.
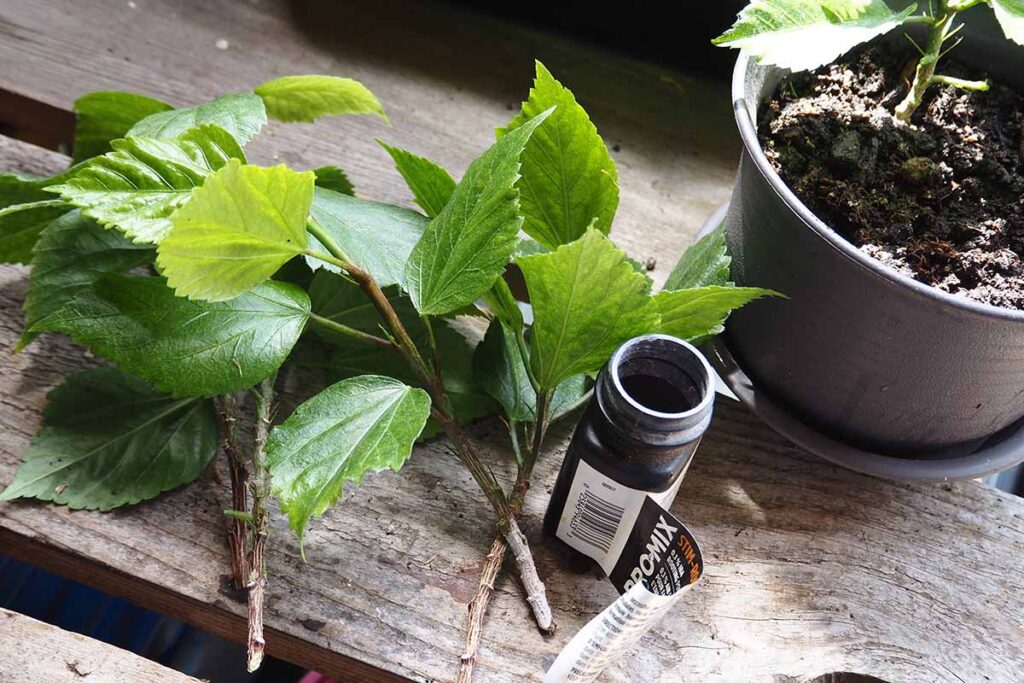
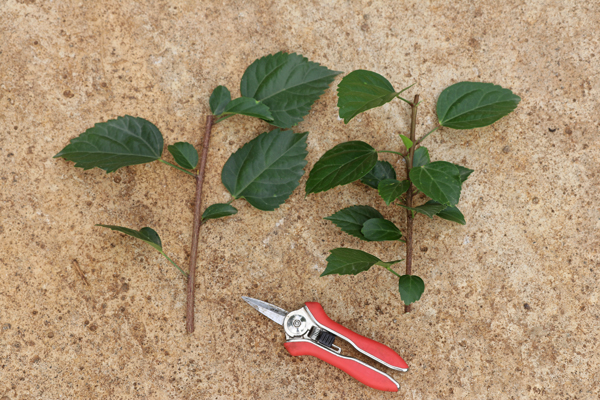
Step 2: Preparing the Cutting
Proper preparation helps prevent disease and encourages faster rooting:
- Remove the lower leaves from the cutting, leaving 1–2 leaves at the top.
- Trim large leaves in half to reduce water loss and stress.
- Allow the cutting to dry for a few hours to reduce sap leakage and prevent rot.
- Optional: Dip the cut end in rooting hormone to stimulate root growth.
These simple steps improve the chances of successful rooting and faster plant establishment.

Step 3: Preparing the Potting Mix
Hibiscus cuttings need well-draining soil to prevent waterlogging:
- Use a mix of garden soil, sand, and compost (1:1:1 ratio).
- Fill a small pot with the soil mix, leaving space for the cutting.
- Optional: Add perlite or vermiculite to improve aeration and drainage.
Healthy soil encourages root development and supports strong plant growth.
Step 4: Planting the Cutting
Plant the prepared cutting carefully:
- Make a small hole in the soil using your finger or a stick.
- Insert the cut end 2–3 inches deep.
- Gently press the soil around the base to secure the cutting.
- Water lightly to settle the soil without over-saturating it.
Pro Tip: Avoid direct sunlight for the first week to prevent stress. Place the pot in bright, indirect light.
Step 5: Creating a Humid Environment
Hibiscus cuttings root faster in a humid environment:

- Cover the pot with a plastic bag or clear dome.
- Ensure the cover does not touch the leaves.
- Open the cover for a few minutes each day to allow air circulation.
- Maintain a warm temperature (20–28°C or 68–82°F).
High humidity reduces water loss and helps the cutting focus on root development.
Step 6: Watering and Care
Proper care ensures successful rooting:
- Watering: Keep the soil lightly moist, not soggy. Overwatering can cause rot.
- Light: Provide bright, indirect sunlight. Direct sun can stress the cutting.
- Airflow: Good airflow prevents fungal infections.
- Check Roots: Roots typically develop in 3–5 weeks, depending on conditions.
With consistent care, your hibiscus cutting will develop a strong root system and start growing new leaves.
Step 7: Transplanting the Rooted Cutting
Once the cutting has developed roots, it can be transplanted:
- Gently remove the cutting from the propagation pot.
- Check for healthy roots—white or light-colored roots indicate strong growth.
- Transplant into a larger pot or garden bed with well-draining soil.
- Water thoroughly after transplanting and gradually acclimate the plant to direct sunlight.
Transplanted plants grow quickly and start producing flowers within a few months.

Step 8: Fertilization for Fast Growth and Flowering
To encourage vigorous growth and blooms:
- Use a balanced liquid fertilizer (NPK 10:10:10) every 2–3 weeks.
- Switch to a phosphorus-rich fertilizer (high middle number, e.g., 10:30:10) once buds appear.
- Avoid over-fertilizing, which can cause excessive leafy growth at the expense of flowers.
- Organic fertilizers like compost tea or well-rotted manure are also beneficial.
Proper fertilization supports lush foliage and abundant flowering.
Step 9: Pruning and Maintenance
Pruning is essential for healthy hibiscus plants and continuous blooms:
- Pinch growing tips to encourage bushier growth.
- Remove dead or yellowing leaves regularly.
- Prune lightly after flowering to stimulate new shoots.
- Maintain good spacing between plants to ensure airflow.
Regular maintenance keeps plants healthy and encourages more flowers.
Step 10: Seasonal Care Tips
- Spring/Summer: Active growth, frequent watering, and fertilization.
- Autumn: Reduce watering slightly, but continue feeding lightly.
- Winter: Protect from frost; reduce water and avoid fertilization.
- Flowering Tips: Deadhead faded blooms to encourage new flowers.
Following seasonal care ensures your hibiscus remains healthy and blooms profusely year-round.

Troubleshooting Common Problems
- Wilting Cuttings: Usually caused by overwatering or lack of humidity. Adjust watering and cover with a plastic bag.
- Yellow Leaves: May indicate nutrient deficiency or excessive sunlight. Fertilize and provide indirect light.
- Pest Issues: Aphids, whiteflies, or spider mites may appear. Use neem oil or insecticidal soap for treatment.
- Slow Rooting: Ensure the cutting is from healthy semi-hardwood stems and use rooting hormone if necessary.
By monitoring your cuttings and addressing issues promptly, you can achieve 100% success.
Conclusion
Growing hibiscus from cuttings is fast, easy, and highly rewarding. By following this step-by-step method—from selecting healthy cuttings, preparing soil, planting, and providing care—you can multiply your hibiscus plants with minimal effort. Within a few weeks, your cuttings will develop roots, grow new leaves, and eventually bloom, adding vibrant color and beauty to your garden or home.
Whether you want to expand your hibiscus collection, decorate your balcony, or gift plants to friends, this method ensures healthy, flowering plants every time. Start today, and enjoy the satisfaction of propagating your hibiscus the easiest way possible.