
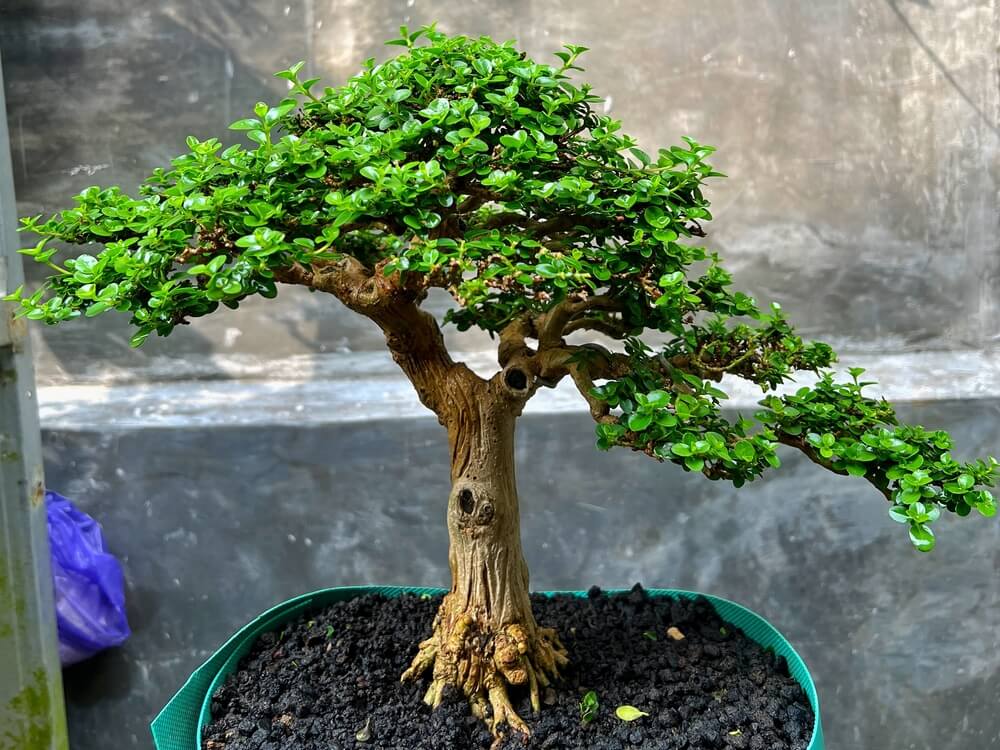
Bonsai is the art of growing miniature trees that capture the beauty and essence of nature in a small, elegant form. While bonsai may seem like a skill reserved for experienced gardeners, the truth is that anyone can create a stunning bonsai from a nursery plant. With a few simple techniques, patience, and creativity, you can transform an ordinary plant into a beautiful bonsai—fast and easily. This guide will take you step by step through the process of making your own bonsai from a nursery plant.
Why Use Nursery Plants for Bonsai?

Nursery plants are an excellent starting point for bonsai for several reasons:
- Healthy growth: Nursery plants are often well-nourished and disease-free.
- Accessibility: They are easy to find and inexpensive.
- Variety: Nurseries offer a wide range of plants suitable for bonsai, from ficus and hibiscus to adenium and bougainvillea.
- Faster results: Established nursery plants already have a trunk, branches, and roots, which makes shaping faster than starting from seeds.
Starting with a nursery plant allows you to focus on pruning, shaping, and styling rather than waiting for a seedling to grow.
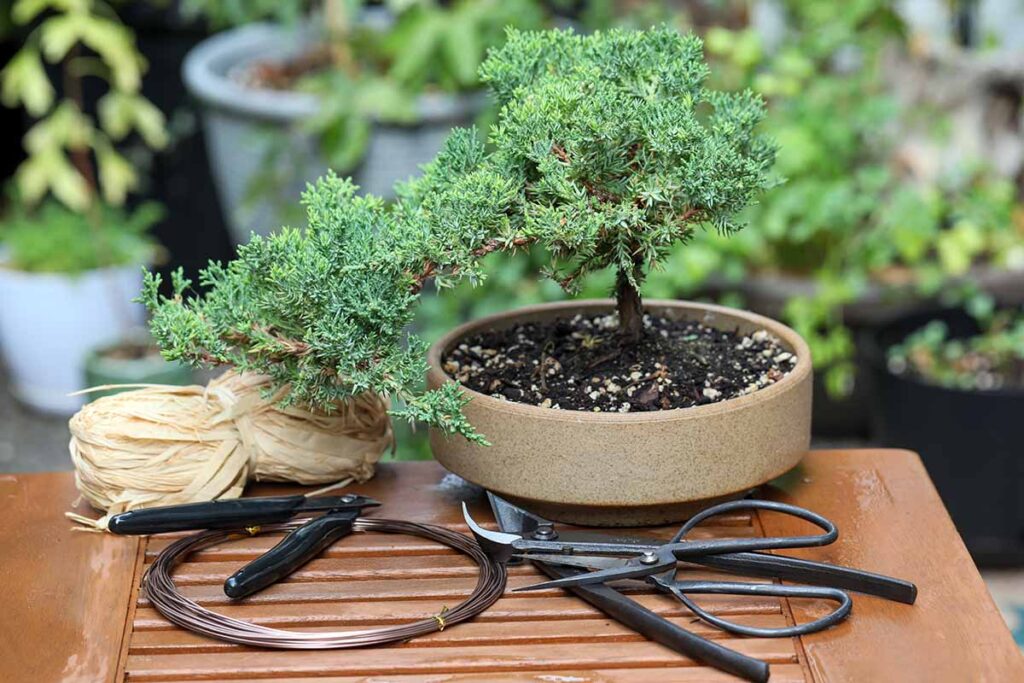
Materials You’ll Need
Before you begin, gather the following items:
- A healthy nursery plant – choose a plant with a strong trunk and flexible branches.
- Bonsai pot – shallow with drainage holes.
- Well-draining soil – a mix of garden soil, sand, perlite, or specialized bonsai soil.
- Pruning tools – sharp scissors, shears, or a small saw.
- Bonsai wire or soft twine – for shaping branches.
- Water and fertilizer – for post-transplant care.
Optional: Decorative stones, moss, or miniature ornaments to enhance the bonsai’s appearance.

Step 1: Choosing the Right Plant
Not all nursery plants are suitable for bonsai. Look for the following traits:
- Flexible branches: Easier to shape without breaking.
- Healthy roots: White and firm, without signs of rot.
- Compact growth: Plants that naturally grow slowly or can be pruned easily work best.
- Attractive trunk: A thick trunk or interesting natural curve adds character to your bonsai.
Tip: Popular nursery plants for bonsai include Ficus, Jade, Hibiscus, Bougainvillea, Adenium, and Carmona.
Step 2: Prepare Your Bonsai Pot and Soil
Proper soil and drainage are essential for a healthy bonsai:
- Select a shallow bonsai pot with drainage holes to prevent waterlogging.
- Prepare a well-draining soil mix. A combination of garden soil, sand, perlite, and organic compost works well.
- Add a layer of small stones or gravel at the bottom of the pot to improve drainage.
Good soil prevents root rot, encourages healthy growth, and allows your bonsai to thrive in a small space.
Step 3: Prune the Plant
Pruning is key to transforming a nursery plant into a bonsai:

- Remove unwanted branches: Cut off long, leggy, or weak branches to create a compact shape.
- Shape the canopy: Aim for a natural, asymmetrical design typical of bonsai.
- Encourage branching: Pinch or trim branch tips to stimulate lateral growth.
- Remove dead leaves: This improves airflow and directs energy to healthy parts of the plant.
Tip: Prune gradually. Drastic pruning may shock the plant, so make small changes over time for natural-looking growth.
Step 4: Root Pruning and Repotting
To fit the nursery plant into a bonsai pot and encourage healthy growth:
- Gently remove the plant from its nursery pot and shake off excess soil.
- Trim thick or long roots carefully, keeping the root system compact but healthy.
- Place the plant in the bonsai pot and cover roots with the prepared soil mix.
- Water lightly to help the plant settle.
Root pruning controls growth, prevents overcrowding, and allows the plant to thrive in a smaller space.
Step 5: Wiring and Shaping the Bonsai
For more artistic shaping, use bonsai wire or soft twine:
- Wrap wire gently around branches.
- Bend branches slowly into the desired shape, curves, or angles.
- Leave the wire in place for a few weeks, checking regularly to avoid cutting into the bark.
- Remove the wire once branches hold their shape.
Wiring allows you to create elegant forms, windswept looks, or cascading styles typical of traditional bonsai.

Step 6: Watering and Fertilizing
Post-transplant care is essential for the plant’s recovery and healthy growth:
- Watering: Keep the soil lightly moist but not soggy. Water when the top inch of soil feels dry.
- Sunlight: Most bonsai plants need 4–6 hours of sunlight daily. Adjust indoor or outdoor placement as needed.
- Fertilizer: Use a balanced liquid fertilizer every 2–4 weeks during the growing season. Organic options like compost tea or diluted fish emulsion work well.
Tip: Overwatering or excess fertilizer can harm the plant, so follow a balanced routine.
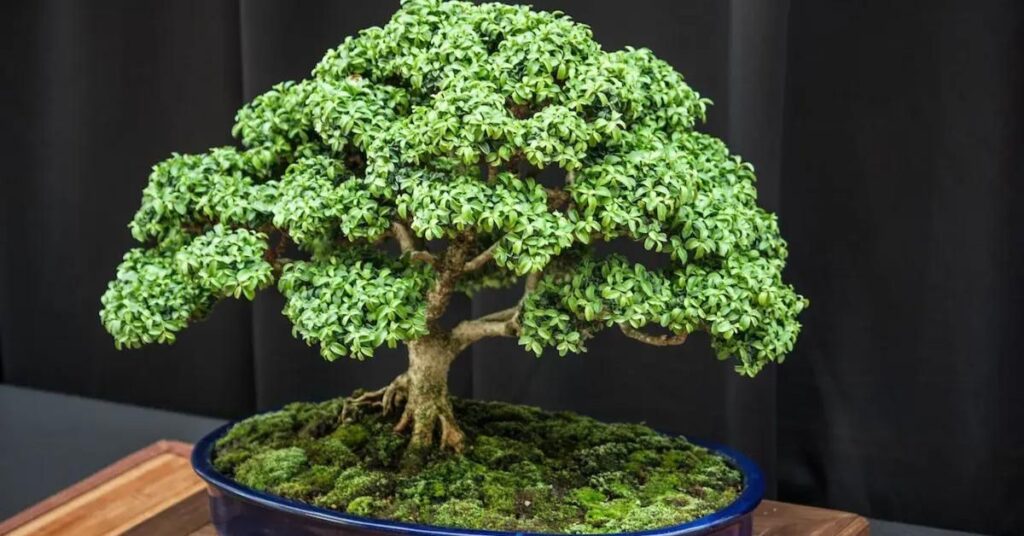
Step 7: Encouraging Flowering and Leaf Density
A bonsai is more attractive when it’s lush and vibrant:
- Pinch young shoots to encourage branching and fuller foliage.
- Prune flower buds carefully if needed to focus energy on growth and shaping first.
- Maintain sunlight and nutrition consistently to promote dense leaf growth.
A well-maintained bonsai with full foliage looks more realistic and artistic.
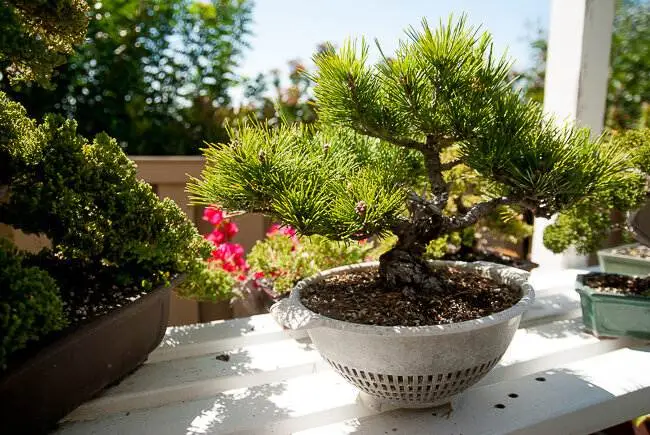
Step 8: Seasonal Care
Bonsai plants require seasonal adjustments for long-term health:

- Winter: Protect indoor bonsais from frost. Reduce watering and avoid fertilizing during dormancy.
- Summer: Ensure sufficient sunlight and regular watering. Use mulch to retain soil moisture.
- Pest control: Inspect leaves and stems regularly. Use natural remedies like neem oil for pests.
Seasonal care ensures your bonsai remains healthy and continues to develop its miniature tree appearance year after year.
Step 9: Adding Final Touches
Enhance your bonsai’s aesthetics with small details:
- Place moss or decorative stones around the base for a natural look.
- Choose a pot color and shape that complements the plant’s style.
- Consider adding miniature figures, bridges, or other ornaments for creativity.
Tip: Bonsai is living art. Your personal style and creativity make each plant unique.
Step 10: Patience and Observation
Creating a bonsai is an art of patience:
- Observe your bonsai regularly for growth patterns.
- Adjust pruning, watering, and sunlight as needed.
- Avoid rushing shaping; gradual progress produces the most natural results.
Tip: Keep a small journal to track pruning dates, fertilization, and changes in growth. This helps you learn and improve your bonsai techniques over time.

Conclusion
Transforming a nursery plant into a bonsai is easier than many beginners think. By carefully selecting a healthy plant, pruning, shaping, repotting, and providing consistent care, anyone can enjoy the beauty of bonsai at home. The process is not just about gardening—it’s a form of meditation, creativity, and living art.
Your bonsai will reward your patience with elegant curves, lush foliage, and perhaps even beautiful flowers. Starting with a nursery plant allows you to see results faster while learning the fundamentals of bonsai care.
So, pick a nursery plant, gather your tools, and start shaping your very own bonsai today. With these simple steps, you can create a miniature masterpiece that brings beauty, tranquility, and satisfaction to your home or garden.