Growing tomatoes at home is one of the most satisfying gardening experiences. Whether you live in an apartment with a balcony or have a full backyard garden, tomatoes grow well in containers, raised beds, or even grow bags. With proper care and the right steps, you can grow juicy, fresh, chemical-free tomatoes right at home.
This detailed guide will walk you through the complete process—from selecting seeds to harvesting ripe tomatoes—with realistic timelines, watering schedules, sunlight requirements, and troubleshooting advice.
Why Grow Tomatoes at Home?

- Organic and chemical-free produce
- Saves money
- Better taste and nutrition
- Continuous harvest for months
- Enjoyable gardening experience even for beginners
Tomatoes are versatile, fast-growing, and highly rewarding if given proper care.
What You Need Before Starting
- Tomato seeds (hybrid or desi variety)
- Seed tray or small nursery cups
- Large grow bags or pots (at least 12–18 inches deep)
- Potting soil mix
- Watering can
- Organic fertilizer (compost, cow dung, vermicompost, or seaweed)
Preparing the Soil
Tomatoes grow best in loose, fertile, and well-draining soil rich in organic matter.
Recommended soil mix:
- 40% garden soil or cocopeat
- 30% compost or vermicompost
- 20% sand or perlite
- 10% cow manure or leaf compost
Mix thoroughly and fill your pots or grow bags.

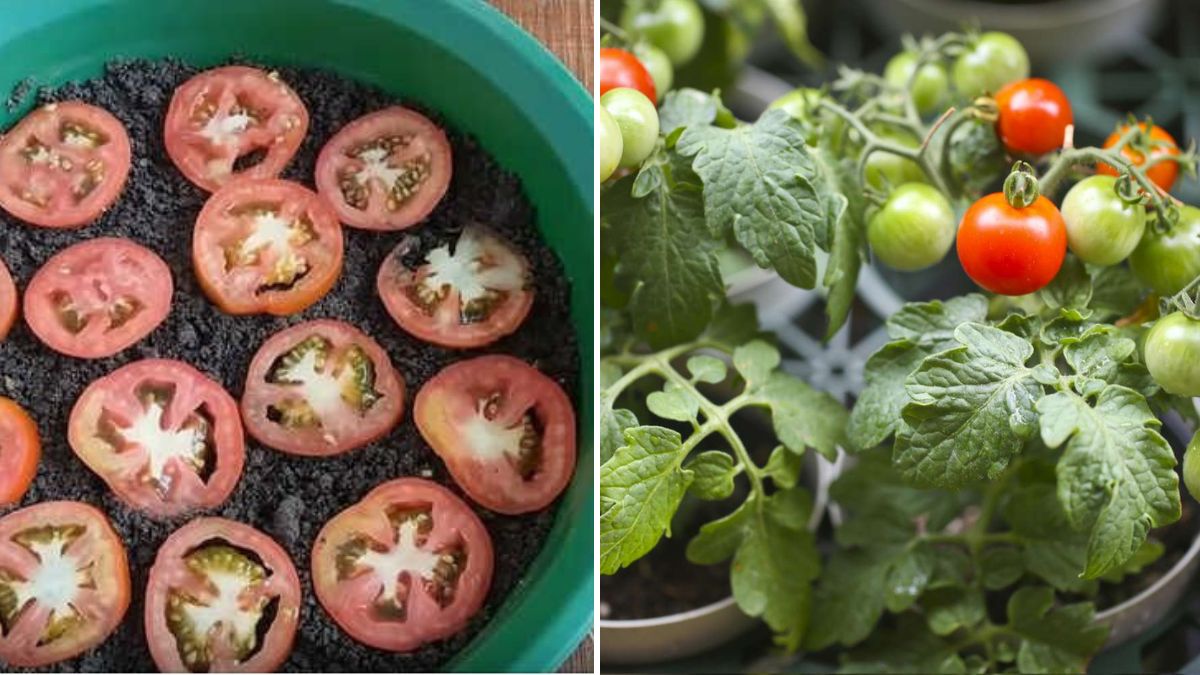
Step 1: Growing from Seeds
Tomato seeds germinate easily and quickly. To begin:
- Fill a seed tray with light potting mix.
- Make tiny holes about 1 cm deep and place one seed in each hole.
- Lightly cover with soil.
- Mist gently using a spray bottle.
Place the tray in indirect sunlight until seeds sprout.
Germination Timeline
| Day | Progress |
|---|---|
| Day 3–7 | Seeds start germinating |
| Day 10–15 | Small seedlings appear with first true leaves |
| Week 3–4 | Seedlings grow stronger and ready for transplanting |
Once seedlings reach 3–5 inches in height and have at least 3–4 true leaves, they can be transplanted.
Step 2: Transplanting
Transplant seedlings carefully without damaging roots.
Steps:
- Make a deep hole in the final pot.
- Bury the seedling deeper than before—almost up to the first leaves.
Tomato stems produce roots when buried, making the plant stronger. - Press soil gently and water lightly.
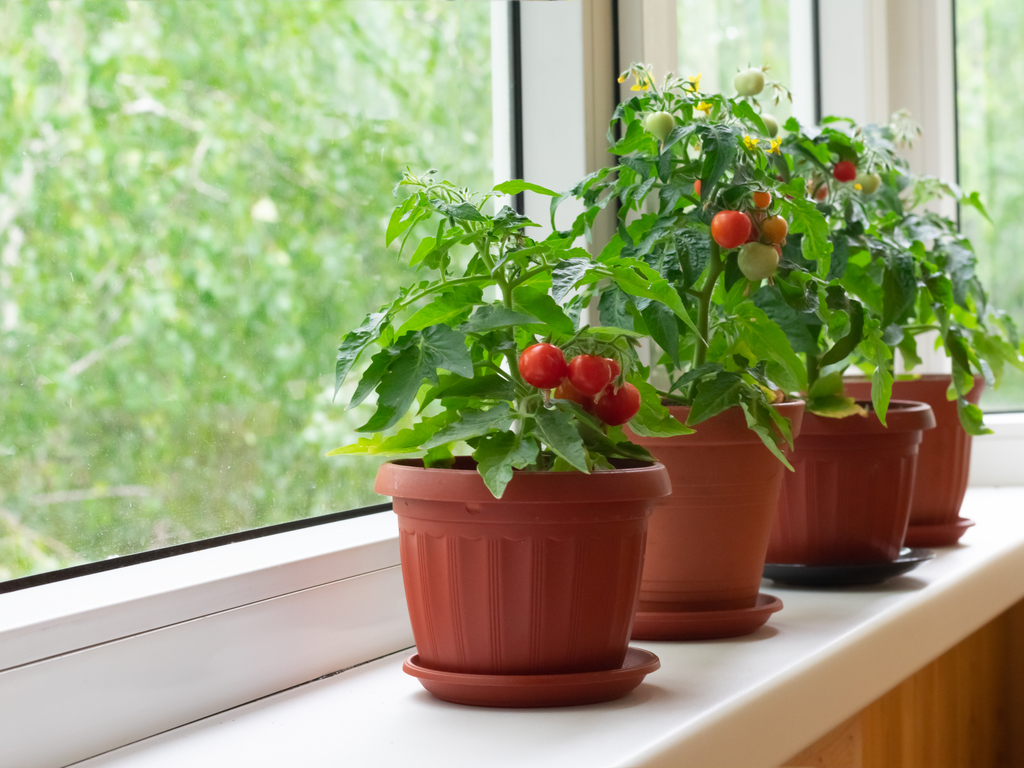
Place the pot in partial sunlight for one day after transplanting, then move to full sunlight.

Sunlight Requirements
Tomatoes need plenty of sunlight to grow and fruit properly.
- Minimum: 5–6 hours sunlight
- Ideal: 6–8 hours sunlight daily
Without sunlight, plants become weak and produce fewer tomatoes.
Watering Schedule
Water deeply but not too frequently.
- Keep soil moist, not soggy.
- Water when the topsoil feels dry.
- Avoid wetting leaves to prevent fungal diseases.
During fruiting stage, reduce watering slightly to enhance flavor.
Feeding and Fertilizing
Tomatoes are heavy feeders. Provide nutrients regularly.
Apply fertilizer schedule:

- At transplant: compost or cow dung
- After 3 weeks: liquid seaweed, compost tea, or NPK-free organic fertilizer
- During flowering: add bone meal, banana peel fertilizer, or phosphorus-rich feed
- During fruiting: vermicompost + Epsom salt (optional for magnesium)
Feed every 10–15 days for best results.
Support and Pruning
Tomato plants need support as they grow tall.
Options:
- Bamboo stakes
- Tomato cages
- Trellis systems
Tie the plant gently as it grows.
Pruning
Remove:
- Yellow or dried leaves
- Bottom leaves touching soil
- Excess suckers (extra side shoots)
This improves airflow and prevents disease.

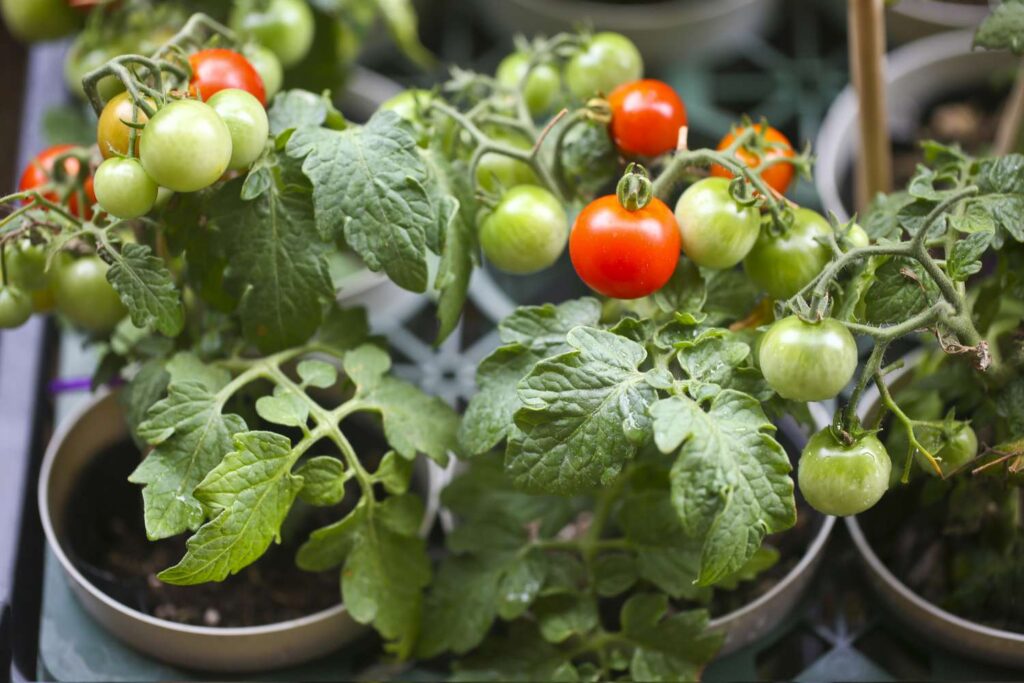
Flowering to Fruit Stage
Once flowers appear, the plant is ready to fruit. Natural pollination occurs through wind or bees.
If growing indoors, gently shake the plant every morning to assist pollination.
Growth Timeline After Transplant
| Time | Stage |
|---|---|
| Week 1–2 | Plant establishes roots |
| Week 3–5 | Rapid growth of stems and leaves |
| Week 6–8 | Flowers begin forming |
| Week 8–12 | Green tomatoes appear |
| Week 12–16 | Tomatoes ripen and are ready to harvest |
You may continue harvesting for 2–3 months depending on the variety.
Common Problems and Solutions
| Problem | Cause | Solution |
|---|---|---|
| Leaves turning yellow | Poor drainage or lack of nutrients | Reduce watering and add compost |
| Flowers falling | High heat or lack of potassium | Use banana peel fertilizer or seaweed spray |
| Curling leaves | Overwatering or pests | Adjust watering and check for insects |
| Slow growth | Lack of sun or small pot | Move to sunny area and ensure pot size |
Neem oil spray once weekly helps prevent pests naturally.
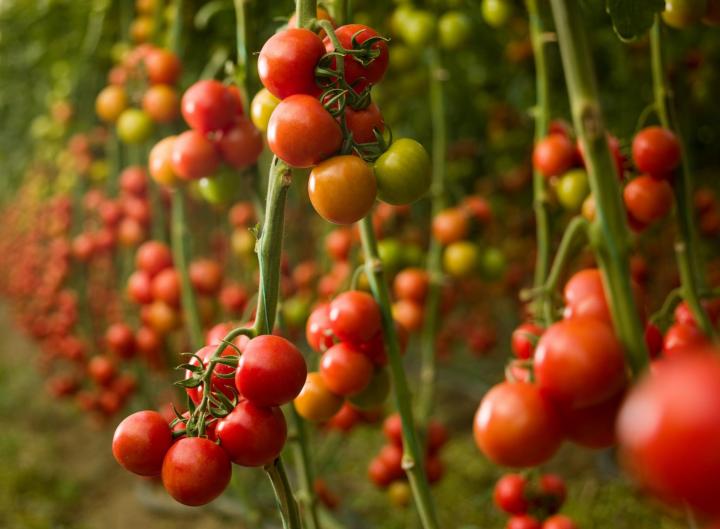
Harvesting
Tomatoes are ready to harvest when:
- They turn fully red (or yellow depending on variety)
- Skin becomes slightly soft
- Fruits detach easily with a twist
Harvest regularly to encourage new fruit production.

Saving Seeds (Optional)
If you want to grow the same variety next season:
- Scoop seeds from ripe tomato.
- Wash and dry completely.
- Store in a paper envelope.
Hybrid seeds may not grow true, but desi varieties do.
Final Results and Expectation
With consistent sunlight, proper watering, support, and timely fertilizing, you can harvest dozens of fresh tomatoes from just a single plant. The taste and satisfaction of homegrown produce are far superior to market tomatoes.
Conclusion
Growing tomatoes at home is simple, cost-effective, and fun. From a tiny seed to a fruit-bearing plant, the process teaches patience and offers delicious rewards. Whether you’re a beginner or an experienced gardener, tomatoes are one of the best plants to grow.
Start with a small pot, follow the steps carefully, and enjoy fresh tomatoes straight from your home garden.