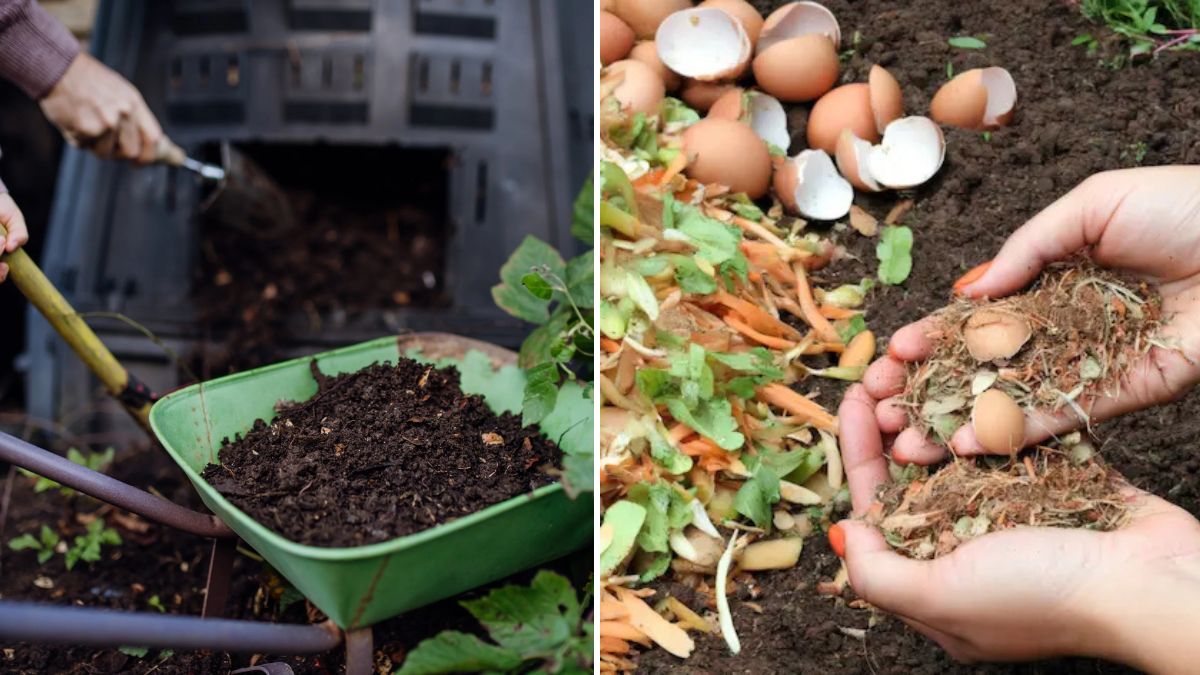
Composting is one of the simplest and most rewarding ways to reduce household waste while creating nutrient-rich soil for your plants. If you’ve ever wanted healthier, greener, and more productive plants—whether in the garden, on a balcony, or indoors—compost is the magic ingredient you’ve been missing.
The best part? You don’t need a huge backyard or special equipment to start composting. Most of what you need is already in your kitchen. From fruit peels and vegetable scraps to coffee grounds and eggshells, everyday waste can be transformed into “black gold”—a term gardeners use for compost because of its immense value in improving soil health.
In this comprehensive 1200-word guide, you’ll learn exactly how to make compost at home using kitchen waste, no matter your space, experience level, or climate.
Why Composting Is Essential for Healthy Plants

Compost does far more than simply break down waste. It adds life to your soil.
Key Benefits of Compost
- Improves soil structure, making it more aerated and easier for roots to grow
- Enhances water retention, reducing watering needs
- Boosts nutrient content, feeding plants naturally
- Supports beneficial microbes, fungi, and earthworms
- Reduces kitchen waste, minimizing your carbon footprint
By making your own compost, you’re taking an important step toward sustainable gardening and healthier plant growth.
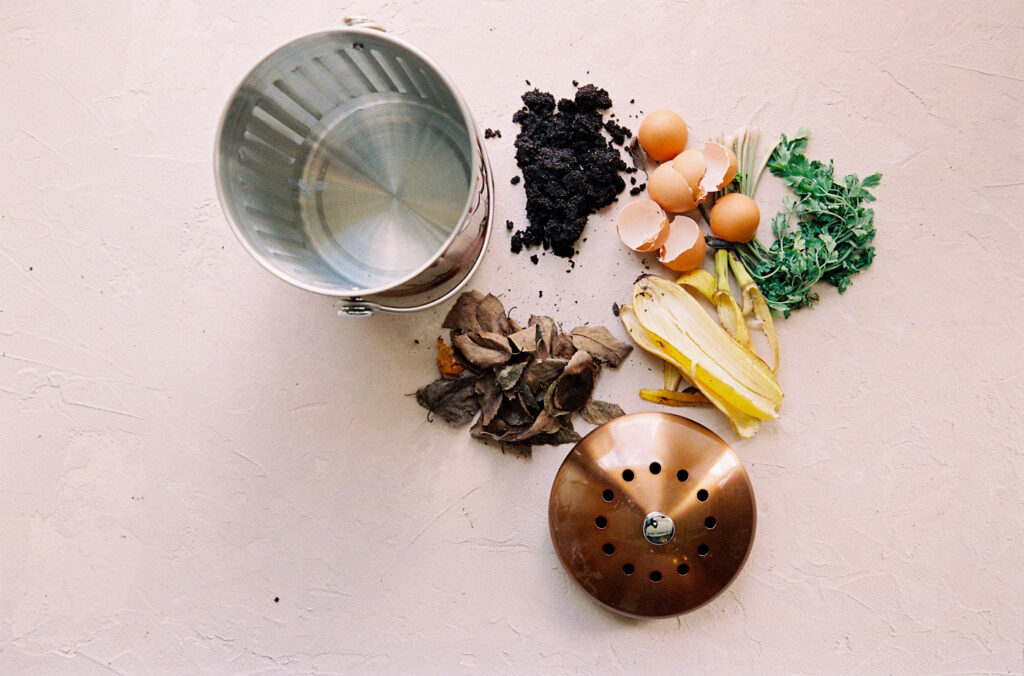
What Kitchen Waste Can Be Composted?

Before you begin, you need to know what belongs in your compost bin.
Green Materials (Nitrogen-rich)
These come mostly from fresh, moist kitchen waste:
- Vegetable scraps
- Fruit peels
- Coffee grounds
- Tea bags (without plastic)
- Fresh grass clippings
- Leftover salad
- Spoiled produce
- Eggshells (crushed)
Brown Materials (Carbon-rich)
These provide the dry matter that balances your compost:
- Dry leaves
- Paper napkins
- Cardboard
- Shredded paper
- Coconut coir
- Sawdust (untreated wood)
- Old flowers
- Straw
Items to Avoid
Not everything should go into compost:

- Meat, fish, or bones
- Dairy products
- Oily or greasy food
- Plastic, metal, or glass
- Cooked food with spices
- Diseased plants
- Pet waste
Avoiding these prevents foul smells, pests, and slowed decomposition.
Understanding the Green-to-Brown Ratio
Successful composting depends on the balance between green and brown materials.
- Greens = nitrogen (helps microbes grow and break down waste)
- Browns = carbon (provides energy for microbes)
A good rule of thumb is to use 1 part green to 2 parts brown.
If your compost is too wet and smells bad, you added too many greens.
If it’s too dry and slow to decompose, you need more greens.
Choosing a Composting Method
Whether you live in an apartment or have a large garden, there’s a composting method that fits your lifestyle.
1. Traditional Outdoor Compost Bin
Ideal for homes with a backyard or terrace.
How to Set It Up
- Choose a bin with good air circulation
- Place it on soil for natural drainage
- Start with a bottom layer of browns (dry leaves or cardboard)
- Add greens and browns in alternating layers
- Turn the compost every 1–2 weeks
This method can take 2–4 months depending on climate and maintenance.
2. Indoor Composting with a Kitchen Bin
Perfect for apartments or small spaces.
Steps
- Use a compost bin with a lid and charcoal filter
- Add kitchen scraps daily
- Add dry material like shredded paper to prevent odor
- Empty it into a larger outdoor bin or a community compost site
- Maintain proper moisture levels
Indoor bins can also be used along with Bokashi or vermicomposting.
3. Vermicomposting (Using Earthworms)
One of the fastest and most efficient composting methods.

Why It Works Well
- Earthworms eat organic waste and produce nutrient-rich worm castings
- Works indoors and outdoors
- Produces compost faster (in 1–2 months)
What You Need
- A ventilated bin
- Red wigglers (Eisenia fetida)
- Bedding (shredded newspaper, cardboard, coconut coir)
- Kitchen scraps
What NOT to Feed Worms
- Citrus peels
- Onions
- Spicy food
- Meat or dairy
4. Bokashi Composting (Fermented Composting)
A great choice for those who want to compost all kitchen waste—including cooked food.
How It Works
- Add kitchen waste to the Bokashi bin
- Sprinkle Bokashi bran to ferment the waste
- Keep it sealed
- After fermentation, bury it in soil
This method doesn’t produce traditional compost but pre-digests waste so it breaks down faster once buried.
How to Start Composting Step-by-Step
Here’s a simple, beginner-friendly method using kitchen waste.
Step 1: Choose Your Bin
Pick a plastic or metal bin with:
- A lid
- Holes for airflow
- A tray or base for liquid collection
If your climate is humid, pick a bin with more ventilation.
Step 2: Prepare the Base Layer
Add a thick layer of brown materials:
- Cardboard
- Dry leaves
- Shredded paper
This prevents sogginess and promotes aeration.
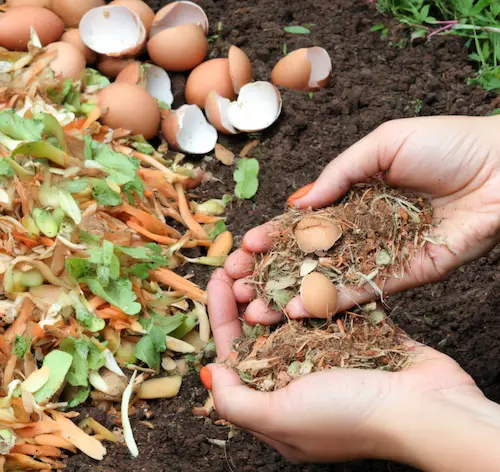
Step 3: Add Your Kitchen Waste
Add fruit peels, vegetable scraps, coffee grounds, and eggshells. Cut or crush larger materials to help them break down faster.
Spread them evenly and avoid dumping large amounts at once.

Step 4: Cover with Browns
Always top your greens with a layer of browns. This keeps insects away and absorbs excess moisture.
Step 5: Maintain the Moisture Level
Your compost should feel like a damp sponge:
- Too dry → sprinkle water
- Too wet → add more browns
Proper moisture is essential for decomposition.
Step 6: Turn the Compost
Use a shovel or stick to mix the compost every 1–2 weeks. This introduces oxygen, preventing foul smells and speeding up decomposition.
Step 7: Monitor and Adjust
Observe your compost:
- Bad smell = too many greens
- Slow decomposition = not enough moisture or too many browns
- Ants = compost is too dry
- Flies = compost is too wet
Small adjustments make a big difference.
How Long Does Compost Take to Form?
Depending on method and conditions:
- Outdoor bins: 2–4 months
- Indoor compost: 2–3 months
- Vermicompost: 1–2 months
- Bokashi: 2–4 weeks + soil burial time
Warm weather speeds up the process dramatically.
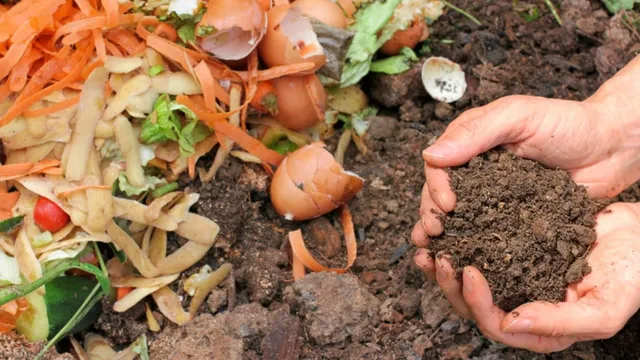
Signs Your Compost Is Ready
Finished compost will be:

- Dark brown or black
- Crumbly like soil
- Earthy-smelling
- Free from visible scraps
If you still see large pieces, you can sift the compost and return unfinished bits to the bin.
How to Use Your Finished Compost
Compost can be used in many ways:
For Gardening Soil
Mix 20–30% compost into garden soil to boost fertility.
For Potting Mix
Blend compost with:
- 1 part compost
- 1 part cocopeat
- 1 part perlite or sand
For Mulching
Spread compost around your plants to retain moisture and suppress weeds.
For Growing Seedlings
Use finely sifted compost mixed with seed-starting soil.
For Lawn Revival
Sprinkle compost over your grass to improve soil health.
Common Composting Problems and Solutions
1. Foul Smell
Cause: Too many greens
Fix: Add more dry leaves or paper
2. Compost Not Heating Up
Cause: Low nitrogen
Fix: Add more kitchen scraps or grass clippings

3. Fruit Flies
Cause: Exposed food scraps
Fix: Always cover greens with browns
4. Mold Growth
A little mold is normal, but too much means moisture imbalance
Fix: Turn compost and add more browns
Final Thoughts: Turning Kitchen Waste into Garden Gold
Composting is one of the easiest and most eco-friendly habits you can adopt. With just a few adjustments to your daily routine, you can transform kitchen waste into a powerful organic fertilizer that boosts plant growth naturally.
Whether you’re growing houseplants, balcony herbs, flowers, or vegetables, homemade compost will improve your soil, reduce chemical fertilizer use, and support sustainable living—all while helping your plants thrive like never before.