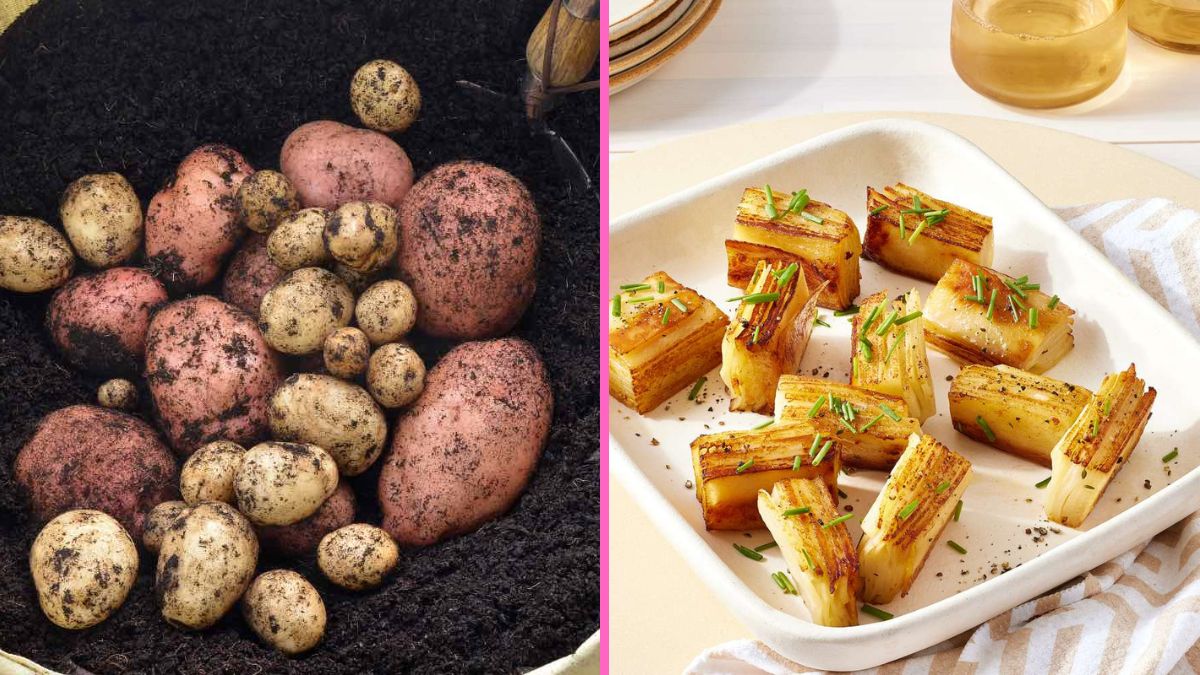
Few vegetables inspire as much warmth and comfort as the humble potato. From golden fries and creamy mashed potatoes to hearty soups and crispy baked delights, this underground gem is a cornerstone of countless veggie recipes. But before potatoes make their way into your kitchen, they must first be properly harvested. Harvesting potatoes is both an art and a science — one that combines timing, technique, and a touch of patience.
For home gardeners, learning how to harvest potatoes correctly can mean the difference between a mediocre yield and a pantry full of delicious, long-lasting tubers. This detailed guide walks you through every stage — from recognizing when your potatoes are ready to digging, curing, and preparing them for your favorite veggie dishes.
1. The Joy of Harvesting Homegrown Potatoes

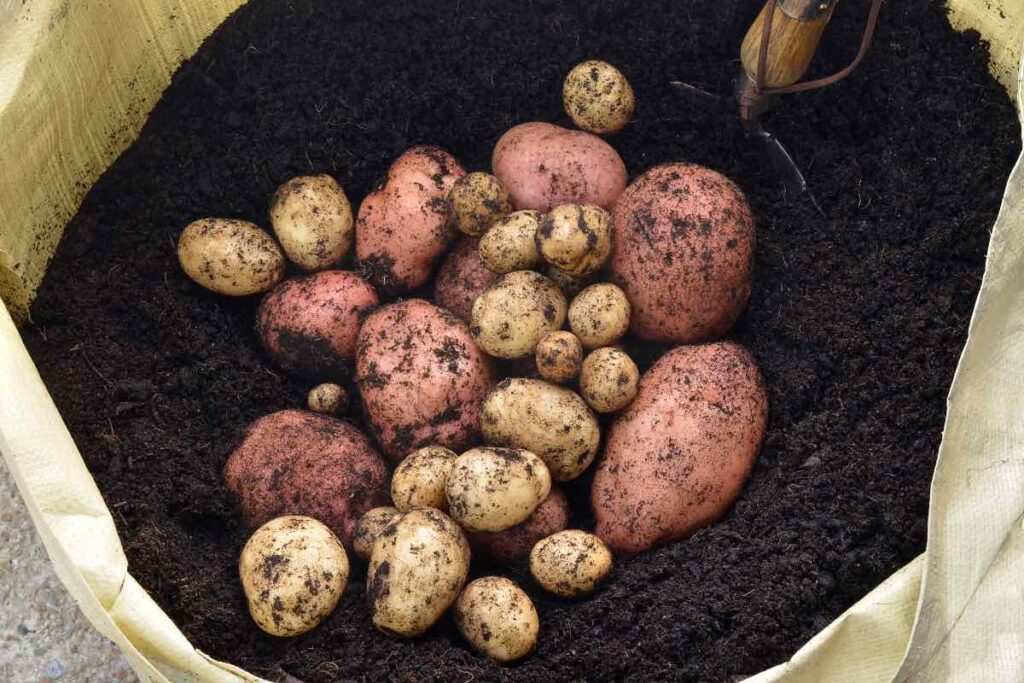
There’s something magical about harvesting potatoes. Unlike other vegetables that grow above ground, potatoes hide beneath the soil, turning the process into a real-life treasure hunt. As you gently dig into the earth and uncover smooth, round tubers, the satisfaction of seeing your hard work pay off is unmatched.
Beyond the excitement, harvesting at the right time ensures that your potatoes are flavorful, nutrient-rich, and perfect for any recipe — whether you’re making crispy roasted potatoes, a creamy potato gratin, or a hearty vegetable stew.
2. Understanding Potato Maturity: When Are They Ready to Harvest?

The most common mistake beginners make is harvesting potatoes too early or too late. Knowing when to harvest depends on what kind of potatoes you’ve grown and how you plan to use them.
a. New Potatoes
- Harvest Time: About 2–3 weeks after the plants begin to flower.
- Characteristics: Small, thin-skinned, and very tender.
- Best Uses: Boiled with butter and herbs, tossed into salads, or added to summer vegetable dishes.
b. Mature Potatoes
- Harvest Time: Wait until the foliage turns yellow and begins to die back naturally, usually 2–3 weeks after flowering.
- Characteristics: Firm, thick-skinned, and suitable for long-term storage.
- Best Uses: Baking, mashing, frying, or storing for later use in winter soups and stews.
If you harvest too early, you’ll get smaller potatoes that won’t store well. Waiting too long risks rot or pest damage. Observing your plants closely ensures the perfect timing.

3. Preparing for the Harvest

Before you dig in, take a little time to prepare your tools and workspace. Proper preparation ensures a smoother, cleaner, and more productive harvest.
a. Tools You’ll Need
- Garden Fork or Spade: For gently loosening the soil.
- Bucket or Basket: To collect your potatoes.
- Gloves: To protect your hands from sharp stones and soil.
- Tarp or Sheet: To sort and clean your harvest easily.
b. Choosing the Right Weather
Harvest on a dry, sunny day if possible. Wet soil can make digging messy and increase the risk of bruising or rotting. Sunshine also helps dry the potatoes naturally after harvesting.
c. Stop Watering
About a week before harvest, stop watering your potato plants. This helps toughen the skins and makes the tubers easier to lift from the soil without damage.
4. How to Harvest Potatoes Step-by-Step
Harvesting potatoes might sound simple — just dig and pull — but a few thoughtful steps can protect your plants and yield the best possible results.
Step 1: Cut Back the Foliage
When the leaves turn yellow and begin to wither, cut the plant tops down to about one inch above the soil surface. This signals the tubers to finish maturing underground and helps prevent diseases from spreading during harvest.
Step 2: Loosen the Soil
Using a garden fork or spade, gently loosen the soil around the base of the plant, starting about a foot away to avoid damaging hidden tubers. Carefully work your way inward.

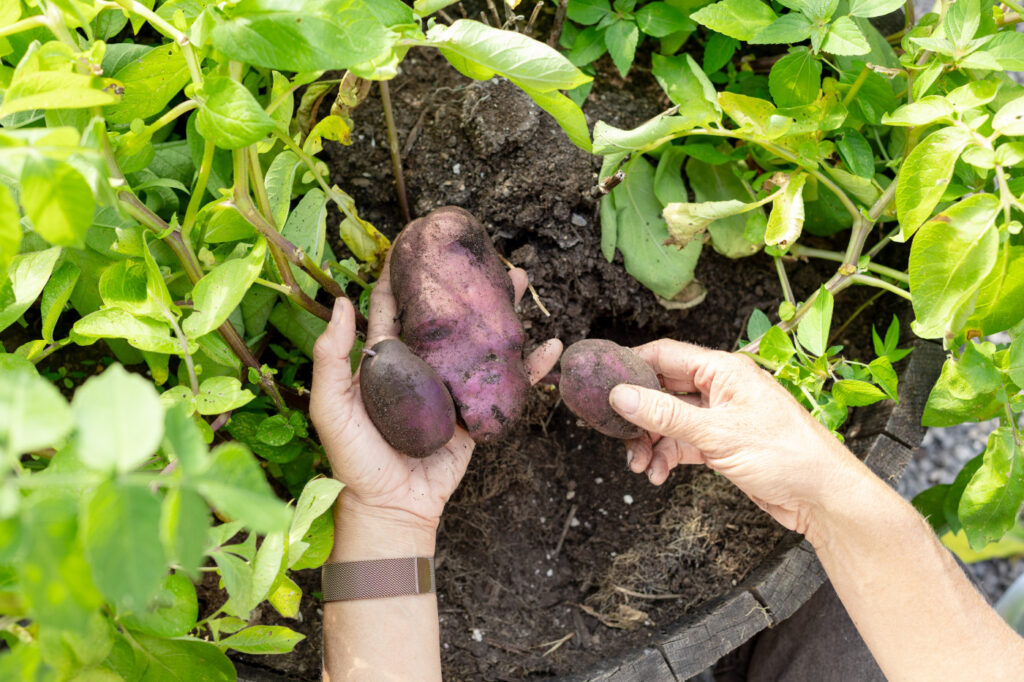
Step 3: Dig Carefully
Insert your fork beneath the plant and lift slowly. Shake off the excess soil to reveal your potatoes. Be gentle — bruised or pierced tubers spoil quickly.
Step 4: Collect and Sort
Place the potatoes on a tarp or sheet as you dig. Sort them roughly by size and condition — smaller ones for immediate use, and larger, unblemished ones for storage.
Step 5: Harvesting from Containers
If you’ve grown potatoes in bags, barrels, or pots, simply tip the container onto its side and sift through the soil by hand. Container-grown potatoes are often cleaner and easier to harvest.
5. Cleaning and Curing Your Potatoes
Once your potatoes are out of the ground, resist the urge to wash them immediately. Moisture invites rot and fungus.
a. Cleaning
- Gently brush off the soil using your hands or a soft cloth.
- Do not scrub or rinse unless you plan to cook them right away.
- Allow them to air-dry for several hours on a shaded surface.
b. Curing
Curing helps toughen the skins, improving flavor and shelf life.
How to Cure Potatoes:

- Lay them out in a single layer in a dark, well-ventilated space (like a shed or basement).
- Maintain a temperature of 50–60°F (10–16°C) and moderate humidity.
- Let them cure for 7–14 days.
After curing, you’ll notice that minor cuts or scratches have healed and the skins feel firmer — perfect for long-term storage.
6. Storing Potatoes for Future Recipes
Once cured, it’s time to store your potatoes properly to preserve their freshness.
a. Ideal Storage Conditions
- Temperature: Around 40–45°F (4–7°C).
- Location: A cool, dark, and well-ventilated area such as a cellar, garage, or pantry.
- Containers: Burlap sacks, paper bags, or wooden crates — never plastic, as it traps moisture.
b. Tips for Long Storage
- Keep potatoes away from onions — they release gases that cause spoilage.
- Avoid direct light, which turns them green and bitter due to solanine buildup.
- Check your stored potatoes every few weeks and remove any that show signs of sprouting or decay.
Properly stored potatoes can last for several months, giving you a steady supply for your favorite veggie dishes.
7. Transforming Freshly Harvested Potatoes into Delicious Veggie Recipes
Now comes the best part — enjoying your harvest! Freshly dug potatoes have a sweetness and earthiness that store-bought ones simply can’t match. Here are a few delicious ways to celebrate your harvest:
a. Herb-Roasted New Potatoes
Toss your baby potatoes with olive oil, rosemary, garlic, and sea salt, then roast until golden. The crispy skins and creamy insides make this dish a perfect side for any vegetarian meal.
b. Creamy Mashed Potatoes
Boil mature potatoes until soft, mash with butter and milk (or plant-based alternatives), and season with herbs or garlic for a comforting classic.

c. Potato and Vegetable Curry
Combine diced potatoes with peas, carrots, and cauliflower simmered in a spiced coconut sauce. It’s a hearty, flavorful way to enjoy your homegrown bounty.
d. Potato Salad with Fresh Herbs
Boil small new potatoes, mix with a tangy dressing, and add parsley, dill, or chives for a refreshing summer salad.
e. Crispy Potato Patties
Grate boiled potatoes, mix with breadcrumbs, onion, and spices, then fry or bake into golden patties — perfect as a veggie burger base or snack.
By pairing your freshly harvested potatoes with seasonal vegetables, you can create countless satisfying, plant-based meals straight from your garden to your table.
8. Common Mistakes to Avoid When Harvesting Potatoes
Even experienced gardeners can make errors during harvest. Avoid these common pitfalls to ensure the best results:
- Digging Too Early: Leads to small, underdeveloped tubers.
- Overwatering Before Harvest: Makes the soil soggy and increases the risk of rot.
- Using Sharp Tools Too Close to the Plant: Damages potatoes and shortens storage life.
- Washing Before Storage: Introduces moisture that causes spoilage.
- Skipping the Curing Stage: Reduces flavor and makes potatoes more vulnerable to rot.
Patience and care are key. A little extra time spent harvesting correctly pays off in both quality and flavor.

9. Sustainable Benefits of Homegrown Potatoes
Harvesting your own potatoes isn’t just rewarding — it’s sustainable. By growing and harvesting locally, you reduce packaging waste, transportation emissions, and dependence on commercially processed food. Additionally, potato plants enrich your soil structure, making them excellent for crop rotation and backyard biodiversity.
Every potato you harvest represents not just food, but also a step toward eco-friendly living and greater food independence.
10. Conclusion: From Soil to Supper
Harvesting potatoes is more than a garden chore — it’s a celebration of patience, effort, and nature’s bounty. When done right, the process yields fresh, nutrient-packed tubers ready to star in your favorite veggie recipes.
From the first sprout in spring to the final dish on your dinner table, every stage connects you more deeply to your food. So next time you enjoy a creamy potato soup or crispy baked wedges, remember: the flavor of homegrown, carefully harvested potatoes is more than just delicious — it’s the taste of accomplishment.