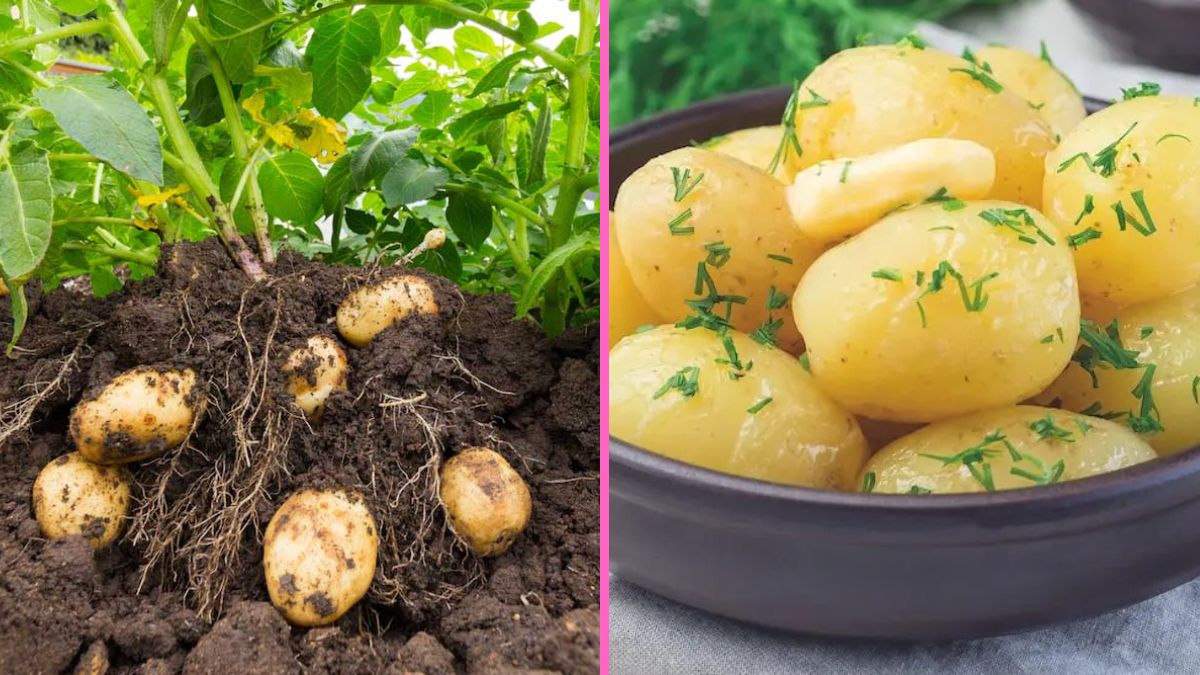
There’s something deeply satisfying about growing your own food, especially when it’s one of the world’s most beloved comfort foods — the humble potato. Whether mashed, roasted, or baked, potatoes are a staple on dinner tables around the world. But what many people don’t realize is that they’re also surprisingly easy to grow — even for beginners. Backyard potato gardening offers an accessible, rewarding, and delicious way to get started with home gardening.
This guide explores everything a beginner needs to know — from choosing the right potato variety to harvesting and storing your homegrown crop. Let’s dig in!
1. Why Grow Potatoes at Home?
Before you even grab your first spade, it helps to know why potatoes make such an excellent starter crop for new gardeners.
- Ease of Cultivation: Potatoes are forgiving plants that thrive in most climates and soils, as long as they have good drainage and sunlight.
- High Yields: A single seed potato can yield 8 to 10 times its weight in tubers.
- Low Maintenance: Once planted, they don’t need much pampering — just proper watering and hilling.
- Space Efficiency: You don’t need a massive farm. Potatoes can grow in backyard plots, raised beds, and even large containers or grow bags.
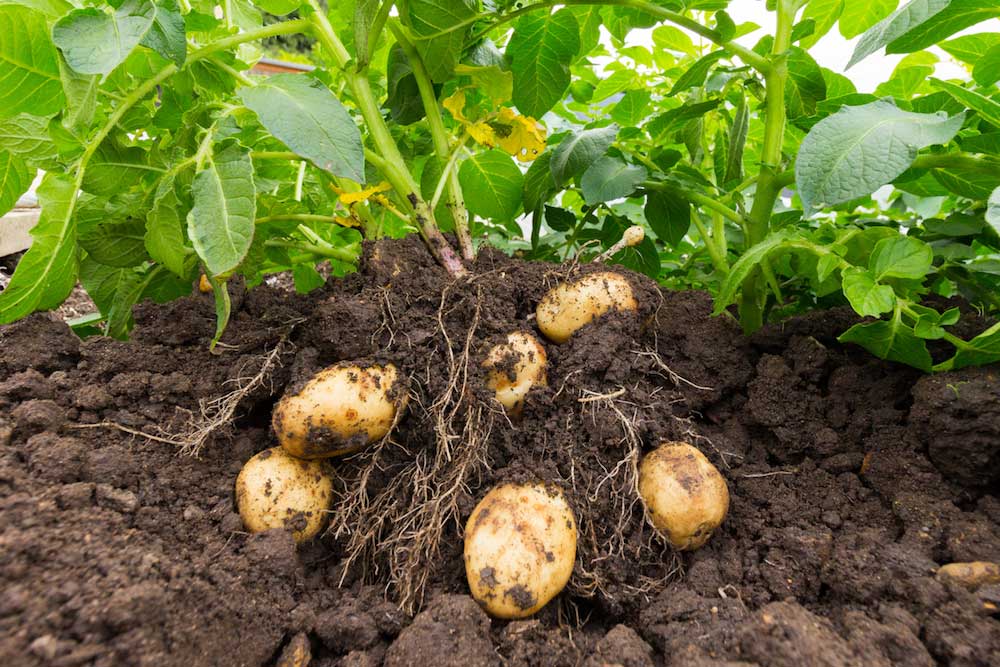
- Satisfaction Factor: Watching potatoes grow underground and then unearthing them during harvest feels like finding buried treasure.
Growing your own potatoes means fresher flavor, fewer chemicals, and a direct connection to the food you eat — a step toward self-sufficiency and sustainable living.

2. Choosing the Right Potato Variety
Not all potatoes are created equal. Different varieties suit different culinary and growing purposes. Here’s how to pick the right one for your backyard garden:
a. Early Varieties
- Mature in about 60–80 days.
- Ideal for quick harvests and smaller spaces.
- Examples: Yukon Gold, Red Norland, Rocket.
b. Mid-Season Varieties
- Take 80–100 days to mature.
- Offer balanced yield and flavor.
- Examples: Kennebec, Gold Rush, Chieftain.
c. Late Varieties
- Require 100–130 days for maturity.
- Store well through the winter.
- Examples: Russet Burbank, Elba, Katahdin.
For beginners, early or mid-season varieties are ideal because they mature quickly and are less prone to diseases.
3. Preparing the Soil
Healthy soil is the foundation of any successful potato crop. Potatoes prefer loose, well-drained soil with a slightly acidic pH between 5.0 and 6.5.
Here’s how to prepare your backyard bed:

- Choose a Sunny Spot: Potatoes need at least 6–8 hours of direct sunlight daily.
- Loosen the Soil: Till or dig 8–10 inches deep to loosen compact soil, allowing tubers to expand freely.
- Improve Fertility: Mix in compost or well-rotted manure to boost nutrients. Avoid fresh manure — it can cause scabby potatoes.
- Avoid Wet Soil: Ensure proper drainage to prevent rot and fungal diseases. If your soil is heavy clay, consider raised beds or containers.
A light, crumbly texture is best — think “fluffy soil for fluffy potatoes.”
4. Seed Potatoes: The Starting Point
Don’t plant grocery store potatoes! These are often treated with growth inhibitors. Instead, buy certified seed potatoes from a local nursery or trusted supplier.
How to Prepare Seed Potatoes:
- Chitting (Pre-Sprouting): A week before planting, place seed potatoes in a bright, cool area (not direct sunlight) until small sprouts appear.
- Cutting for Planting: For large tubers, cut them into 2-inch chunks, each with at least one or two “eyes.” Let the cut pieces dry for 24 hours to form a protective skin before planting.
5. Planting Potatoes: Step-by-Step
Potatoes thrive when planted in cool weather — ideally 2–3 weeks before your area’s last expected frost. Here’s how to plant them:
In Ground:
- Dig Trenches: Make rows about 2–3 feet apart.
- Plant Depth: Place seed potatoes 4 inches deep and 12 inches apart.
- Cover Lightly: Backfill with soil and water thoroughly.
In Containers or Grow Bags:
- Add 4 inches of potting mix.
- Place seed potatoes on top and cover with another 3 inches of soil.
- As plants grow, keep adding soil until the container is nearly full.
This method, known as “hilling up,” helps protect growing tubers from sunlight and increases yield.

6. Caring for Your Potato Plants
Once planted, potatoes don’t require much fussing over, but consistent care ensures the best harvest.
a. Watering
- Keep soil evenly moist but not waterlogged.
- Water deeply once or twice a week, especially during dry spells.
b. Hilling
When plants are 6–8 inches tall, pile loose soil or straw around the base to cover the lower stems.
- Repeat every 2–3 weeks until the mound is 10–12 inches high.
- This protects the tubers from sunlight (which turns them green and toxic) and encourages more tuber growth.
c. Fertilizing
- Use a balanced fertilizer (like 10-10-10 NPK) at planting.
- Avoid over-fertilizing with nitrogen — it leads to lush leaves but fewer potatoes.
d. Pest and Disease Management
- Common Pests: Colorado potato beetles, aphids, and wireworms. Handpick beetles or use organic neem oil.
- Common Diseases: Late blight and scab. Prevent by crop rotation and watering at the soil level (not on leaves).
7. Knowing When and How to Harvest
Patience pays off when it comes to harvesting. Timing depends on the potato variety and your needs.
For New Potatoes:
- Harvest 2–3 weeks after plants flower.
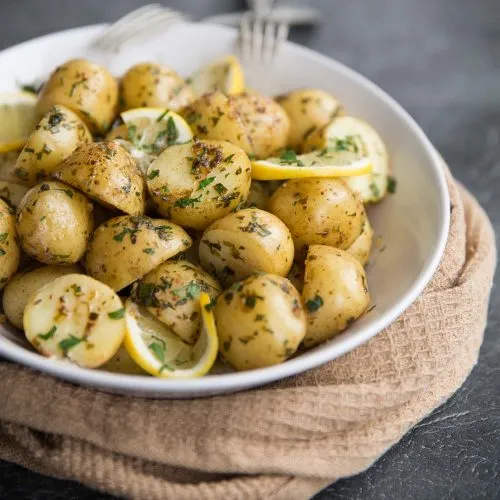
- These are small, tender potatoes with thin skins — great for salads or boiling fresh.
For Mature Potatoes:
- Wait until the foliage turns yellow and dies back.
- Gently dig with a garden fork to avoid piercing the tubers.
- Let them dry in a cool, shaded area for a few hours to toughen their skins.
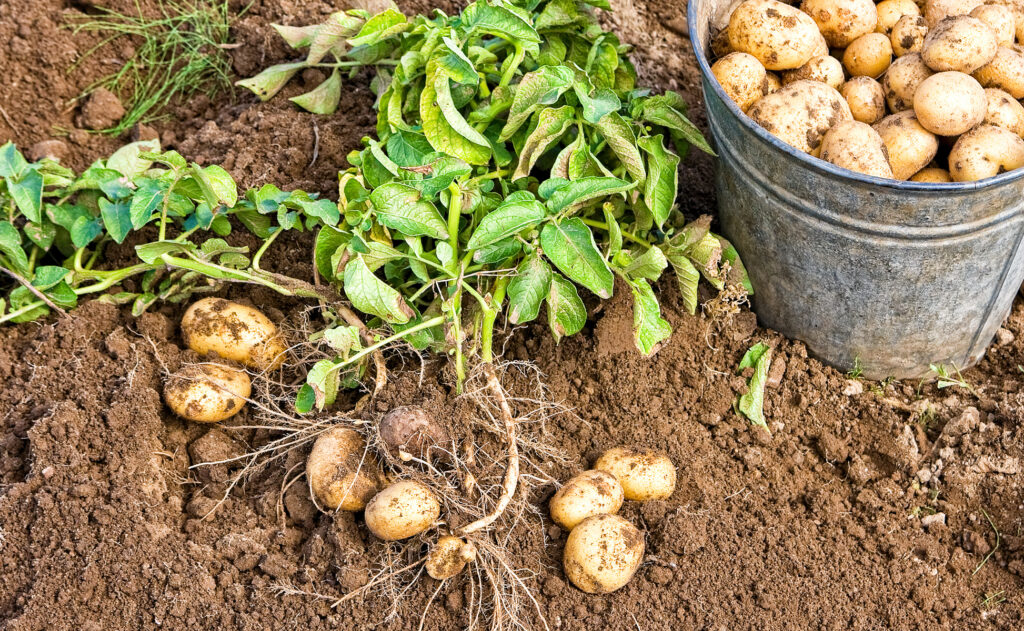
8. Storing Your Homegrown Potatoes
Proper storage ensures your harvest lasts for months.

- Cure: After harvest, cure potatoes for 1–2 weeks in a dark, well-ventilated place (around 50–60°F).
- Store: Once cured, move them to a cool, dark place (ideally 40°F) in paper or burlap bags.
- Avoid Refrigeration: Cold temperatures convert starch into sugar, altering flavor.
- Check Regularly: Remove any sprouting or rotting potatoes to prevent spoilage.
When stored correctly, your potatoes can last all winter long — a satisfying reward for your backyard efforts.
9. Common Mistakes Beginners Should Avoid
- Planting Store-Bought Potatoes: They may carry diseases or fail to sprout.
- Overwatering: Leads to rot and disease.
- Neglecting Hilling: Causes green, inedible tubers.
- Ignoring Crop Rotation: Avoid planting potatoes in the same spot year after year — it depletes nutrients and encourages pests.
- Harvesting Too Early: Mature potatoes need time to develop their skins for storage.
Learning from these simple mistakes can make your gardening journey smoother and more productive.
10. Benefits Beyond the Harvest
Potato gardening isn’t just about the end product — it’s about the process. It teaches patience, responsibility, and connection to the earth. Digging in the soil relieves stress, while watching plants thrive under your care brings real joy. Plus, every meal you cook with your own potatoes becomes a story of effort and reward.
Moreover, growing potatoes helps reduce your carbon footprint by cutting down on transportation and packaging waste. It’s a small but powerful step toward sustainable living.

Conclusion: Grow Confidence, Grow Potatoes
Backyard potato gardening for beginners isn’t just a hobby — it’s an entry point into a greener, healthier, and more rewarding lifestyle. With minimal tools, a bit of sunlight, and some patience, anyone can turn a patch of backyard soil into a thriving source of nourishment.
So, grab a few seed potatoes, roll up your sleeves, and start digging. With each sprout that breaks through the soil, you’ll discover not just the joy of gardening — but the satisfaction of growing something truly your own.