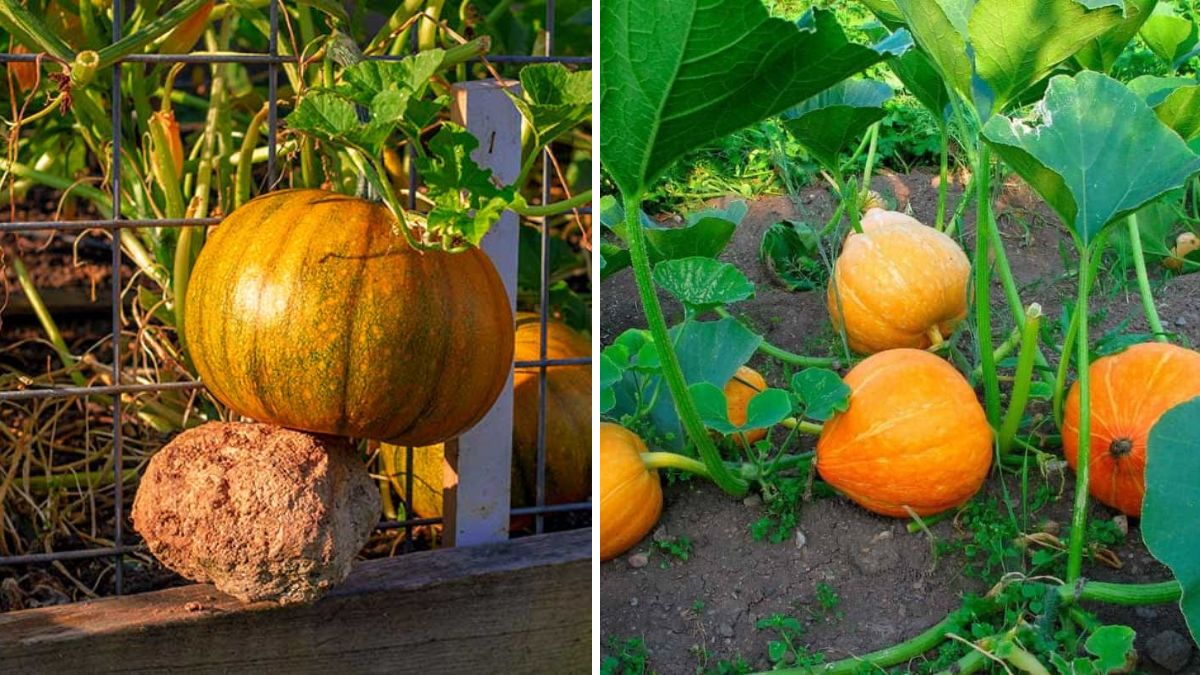
Pumpkins are among the most beloved plants in home gardens. Their lush vines, bright yellow flowers, and large, nutritious fruits make them both beautiful and productive. Whether you grow pumpkins for cooking, decoration, or simply for the joy of gardening, the real magic begins with proper propagation. The way you start your pumpkin plants will determine how strong, healthy, and fruitful they become.
While pumpkins are technically not “trees,” they behave like vigorous vines that can cover trellises, fences, and even climb into trees. Propagating pumpkin plants correctly ensures faster growth, stronger branches, and a harvest full of big, sweet fruits. In this article, you’ll learn how to propagate pumpkin plants using seeds, cuttings, and advanced vine propagation techniques — all explained in simple, practical steps.
Let’s dive into the ultimate guide to growing pumpkins successfully from start to finish!
🌱 Understanding Pumpkin Propagation
Pumpkin propagation is typically done through:
✔️ Seeds – The most common and natural method
✔️ Vine Cuttings – Faster and replicates the mother plant
✔️ Rooting Side Shoots – A hidden trick for bigger harvests
✔️ Air Layering on Vines – An advanced way to create mature pumpkin plants quickly
Pumpkins are fast growers, so you can choose any of these methods depending on your needs, timing, and available space.
🎃 1. Propagating Pumpkins from Seeds
Growing pumpkins directly from seeds is the simplest and most effective method for beginners.
🌾 Step 1: Select Quality Seeds
Choose seeds from:
- Fully mature pumpkins
- Organically grown fruits
- Large, well-developed varieties
- Disease-free plants
Avoid small or thin seeds; they rarely germinate well.

💧 Step 2: Pre-Soak the Seeds
Soak seeds in warm water for 6–8 hours. This:
- Softens the outer shell
- Speeds up germination
- Improves sprouting percentage
🌱 Step 3: Prepare a Rich Soil Mix
Pumpkins are heavy feeders. Prepare soil using:
- 40% garden soil
- 30% compost or cow dung
- 20% coco peat
- 10% sand
This ensures proper drainage and high nutrients for early growth.
🌞 Step 4: Plant the Seeds
- Plant each seed 1 inch deep
- Keep soil moist
- Place in warm sunlight
Seeds take 5–10 days to germinate depending on temperature.
🌿 Step 5: Transplanting
Once the first 3–4 leaves appear:
- Transplant seedlings into large containers
OR - Plant directly into garden soil
Spacing is critical — leave at least 3–4 feet between plants.
🌿 2. Propagating Pumpkins from Vine Cuttings
If you want to replicate a high-yield mother plant or speed up growth, vine cuttings are a fantastic method.
✂️ Step 1: Select a Healthy Vine
Choose a vine that is:

- Thick and mature
- At least 10–12 inches long
- Pest-free
- Has 3–4 leaf nodes
🔪 Step 2: Prepare the Cutting
Cut just below a node (where a leaf grows).
Remove leaves from the lower nodes to expose rooting areas.
🧪 Step 3: Use Rooting Hormone (Optional)
Dip the cutting into:
- Rooting powder
- Aloe vera gel
- Cinnamon powder
This increases root success and prevents fungal growth.
🌱 Step 4: Plant the Cutting
Place the cutting into a pot filled with:
- Coco peat
- Sand
- Compost
These materials help roots form faster.
💧 Step 5: Maintain Humidity
- Keep soil moist
- Cover with a plastic bag (mini greenhouse)
- Keep in indirect sunlight
Roots form within 10–18 days.
Once new leaves appear, the cutting is ready for transplant.
🌿 3. Propagating Pumpkins by Rooting Side Shoots (The Secret to Massive Harvests!)
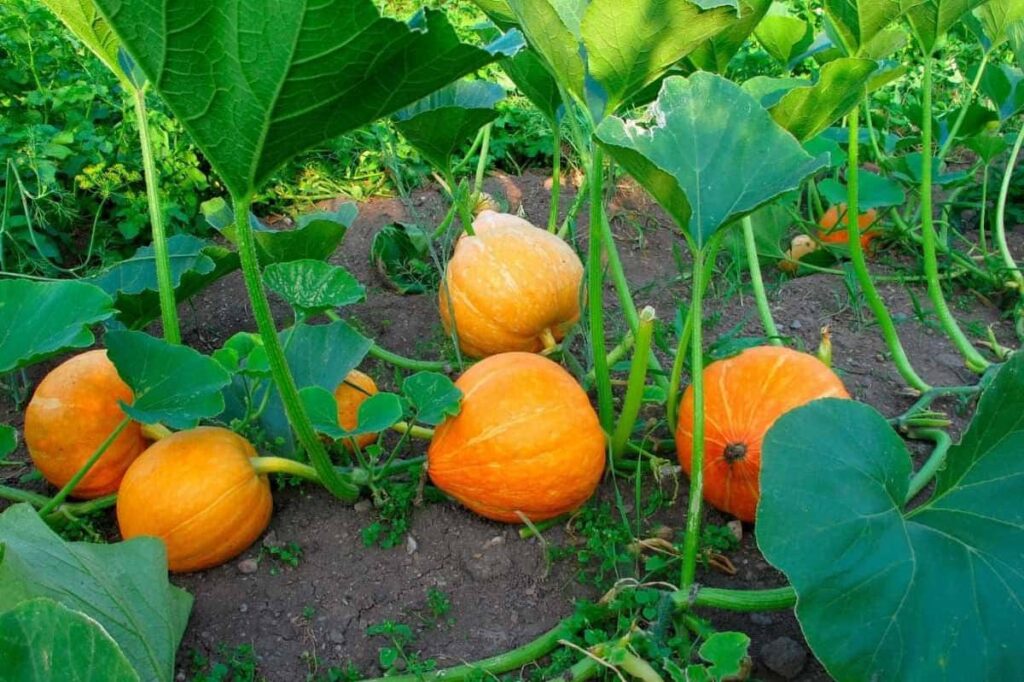
Pumpkin vines naturally produce side shoots and tendrils. These shoots can be rooted to create multiple mother plants from one vine — multiplying fruit production.
✔️ How It Works
Pumpkin vines naturally develop small roots on the underside of long runners.
If these nodes touch the soil, they grow into new root systems.

🌱 Step-by-Step Method
- Pick a long vine with visible nodes.
- Dig small holes under each node.
- Place the node gently into soil.
- Cover lightly with dirt.
- Water regularly.
Within 1–2 weeks, each node will grow its own roots.
This forms multiple nutrient sources, helping the main plant produce more and bigger pumpkins.
🎋 4. Air Layering Pumpkin Vines (Advanced but Powerful!)
Air layering is commonly used for fruit trees, but pumpkins respond surprisingly well to this technique.
🎃 Why air layer?
- Produces ready-made, mature plants
- Faster fruiting
- Helps weak vines develop strong roots
- Can rescue damaged vines
🔧 How to Air Layer a Pumpkin Vine
- Choose a thick vine segment.
- Gently scrape the outer green skin (just a small patch).
- Apply rooting hormone or aloe gel.
- Wrap moist coco peat or moss around the scraped area.
- Cover with plastic tightly.
- Tie with thread on both ends.
Within 2–3 weeks, roots start to form inside the wrapping.
Cut below the root ball and plant it — you now have a new pumpkin plant ready to grow aggressively.
🌻 Essential Care Tips After Propagation
Once your pumpkin plant has been propagated, proper care is the key to achieving heavy yields.
🌞 1. Sunlight Needs
Pumpkins require:
- 6–8 hours of direct sunlight
- Good airflow around vines
- Warm temperatures
Avoid overcrowding — vines need space!
💧 2. Watering Rules
Pumpkins love moisture but hate waterlogging.

- Water deeply once every 2–3 days
- Avoid wetting leaves
- Increase watering during flowering and fruiting
Mulching helps keep soil moist and improves yield.
🧪 3. Fertilizing
Pumpkins are heavy feeders.
Use:
- Compost every 20 days
- Banana peel fertilizer for potassium
- Bone meal for flowering
- Seaweed extract for fast growth
- Epsom salt (1 tbsp in 2 liters water) to boost chlorophyll
Avoid nitrogen-heavy fertilizers once flowering begins — they cause excess leaves instead of fruits.
🏡 4. Trellising for Better Harvest
Pumpkin vines grow faster and healthier when supported.
Trellises help:
- Improve air circulation
- Reduce fungal infections
- Increase fruit size
- Make harvesting easier
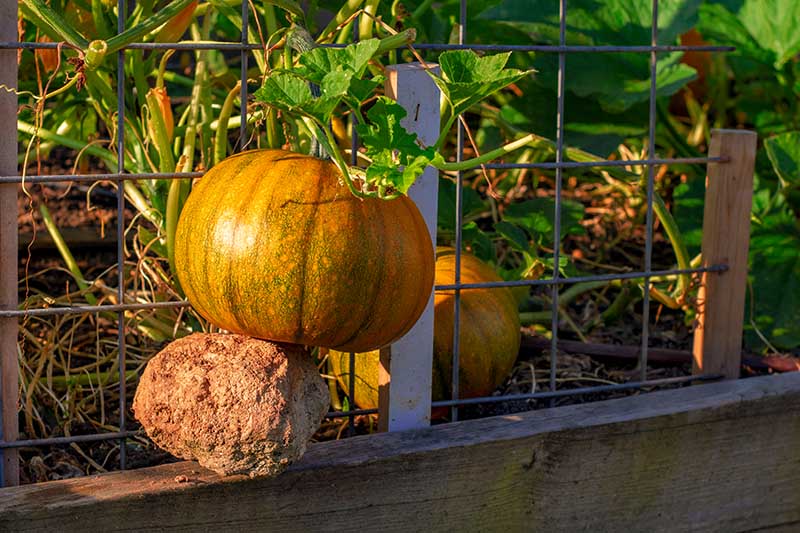
If growing large pumpkins, support the fruits with cloth hammocks.
🍂 5. Pest & Disease Management
Common pumpkin pests:
- Aphids
- Whiteflies
- Beetles
- Caterpillars
- Leaf miners
Use:

- Neem oil spray (weekly)
- Soap water spray (mild infestation)
- Garlic–chili spray (organic solution)
For fungal problems:
- Use baking soda spray
- Ensure good air circulation
- Avoid overhead watering
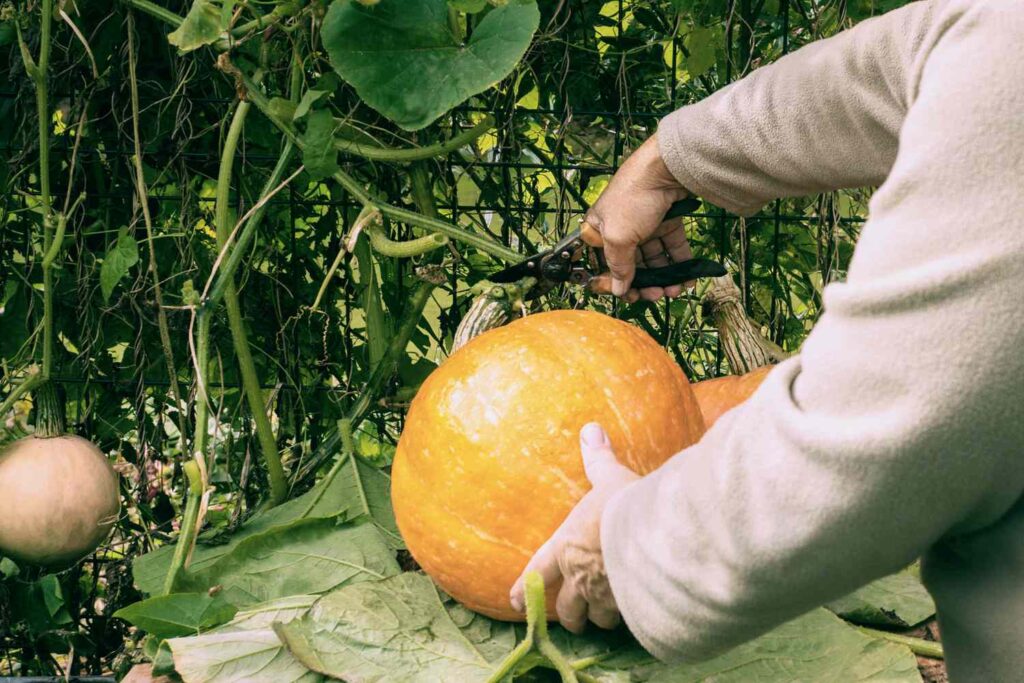
🎃 Harvesting Pumpkins at the Right Time
Pumpkins are ready for harvest when:
- The skin turns deep orange or the target color
- The stem dries slightly
- The fruit sounds hollow when tapped
- Leaves around the fruit start drying
Use a sharp knife and leave a 2–3 inch stem.
This increases storage life.
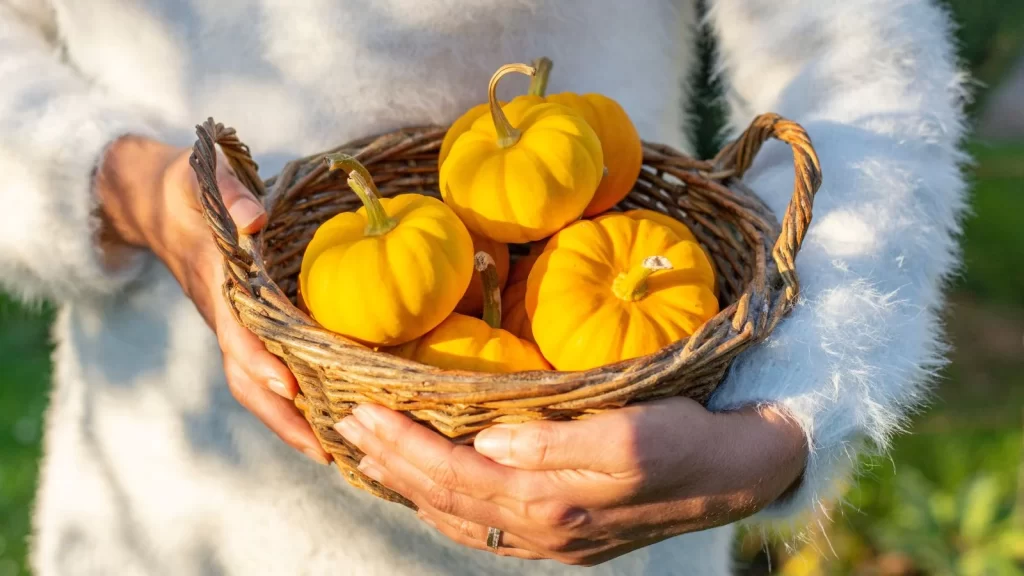
🌟 Final Thoughts
Propagating pumpkin plants is simple, fun, and highly rewarding. Whether you start with seeds, vine cuttings, or advanced techniques like air layering, each method helps you create strong and productive pumpkin plants.
With proper care, your pumpkin vines will flourish, producing large, sweet, and healthy fruits throughout the season. Whether you’re gardening in pots, backyards, or small spaces, these propagation methods will help you multiply your plants and maximize yield.