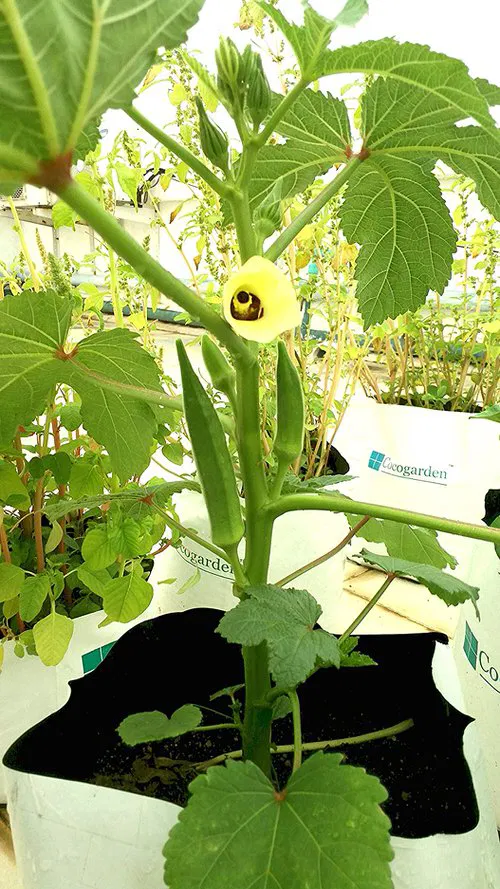
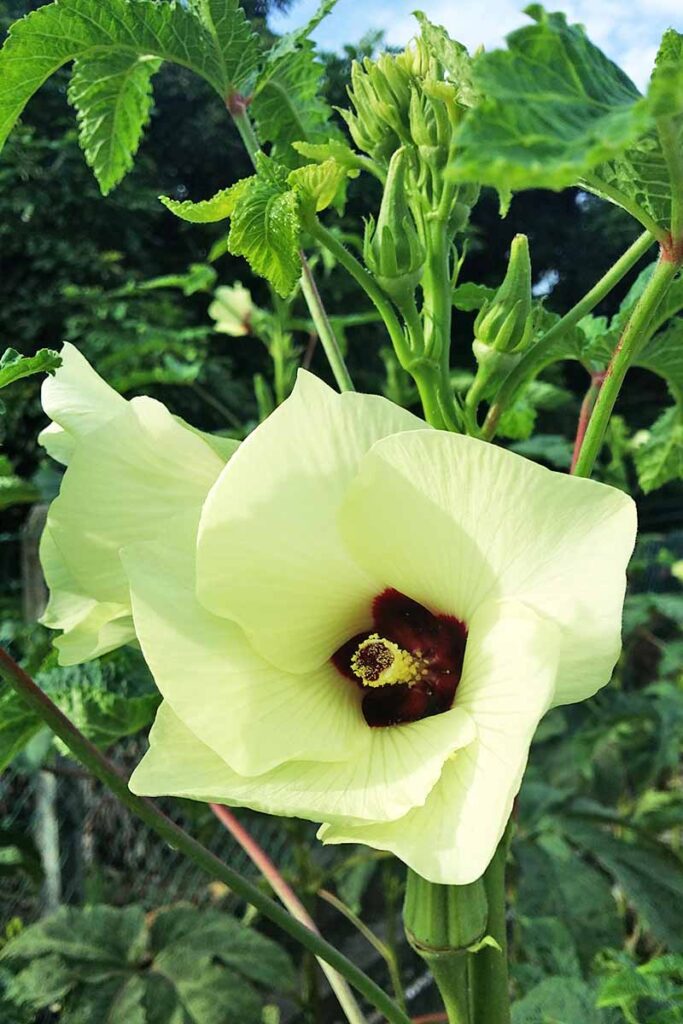
Okra—also known as lady’s finger, bhindi, or gumbo—is one of the easiest and most productive vegetables to grow. With its tall structure, beautiful flowers, and ability to produce pods almost daily, it’s often referred to as the “okra tree” by home gardeners. While okra is technically not a tree, it behaves like one: growing tall, producing strong branches, and yielding continuously throughout the season.
Most people grow okra only from seeds, but what many gardeners don’t know is that okra can also be propagated using advanced methods, which can dramatically increase production and plant strength. Whether you are growing okra in pots, containers, terraces, or a garden, learning how to propagate it properly will help you harvest more pods than ever.
This detailed guide reveals every practical method for propagating okra—from seeds to cuttings to unique natural techniques that boost yield. Follow these steps, and you’ll enjoy nonstop okra harvests all season long.
🌱 1. Propagating Okra from Seeds (Traditional but Most Effective)
The most common and reliable way to propagate okra is from seeds. However, small mistakes—like using immature seeds or planting at the wrong depth—can cause weak plants. Here is how to maximize germination and growth.
✔️ Step 1: Select Mature Seeds
Choose seeds that are:
- Hard and round
- Dark brown or black
- Taken from fully mature pods
- Free of mold or moisture
Immature green seeds rarely germinate well.
💧 Step 2: Pre-Soak the Seeds
Okra seeds have a naturally hard outer shell.
To soften them:
- Soak seeds in warm water for 12 hours
- Alternatively, scarify (scratch) the seed coat lightly with sandpaper
This speeds up germination and improves sprouting by up to 50%.

🌿 Step 3: Prepare the Soil Mix
Okra loves loose, nutrient-rich soil. Mix:
- 40% garden soil
- 30% compost or cow dung
- 20% coco peat
- 10% sand for drainage
Okra roots develop deeply, so the soil must stay aerated.
🌞 Step 4: Plant the Seeds
- Plant 1–2 seeds per hole
- Depth: 1 inch
- Water lightly after planting
- Keep soil moist until sprouting
Seeds germinate in 5–7 days.
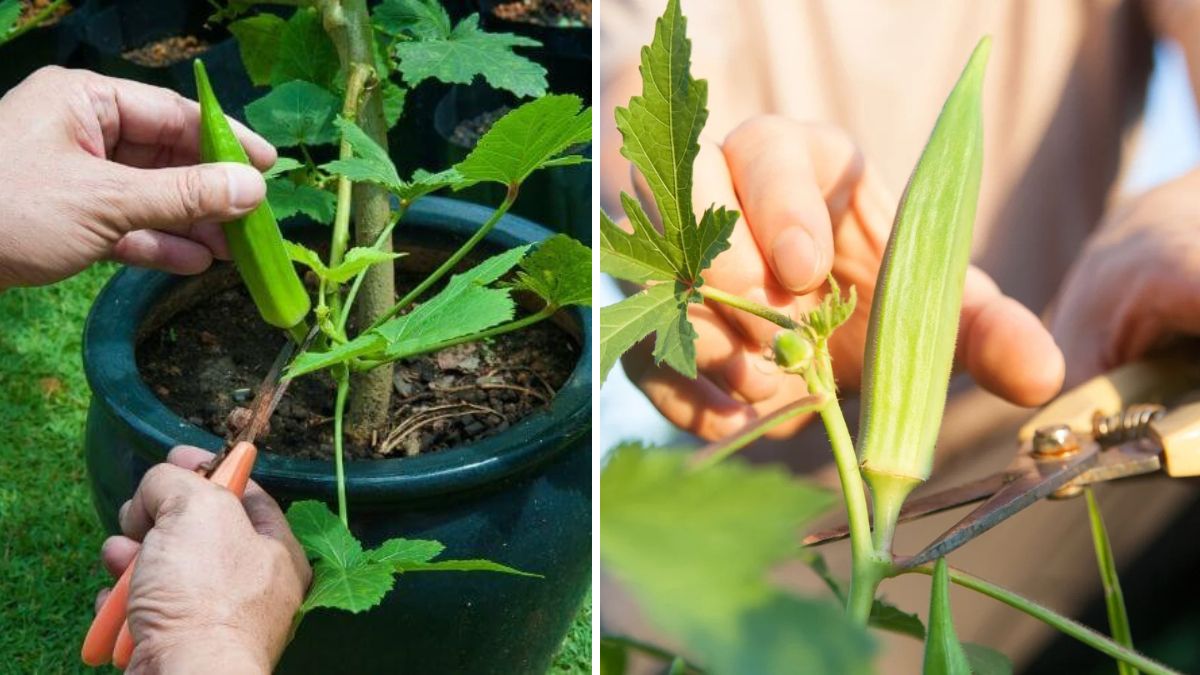
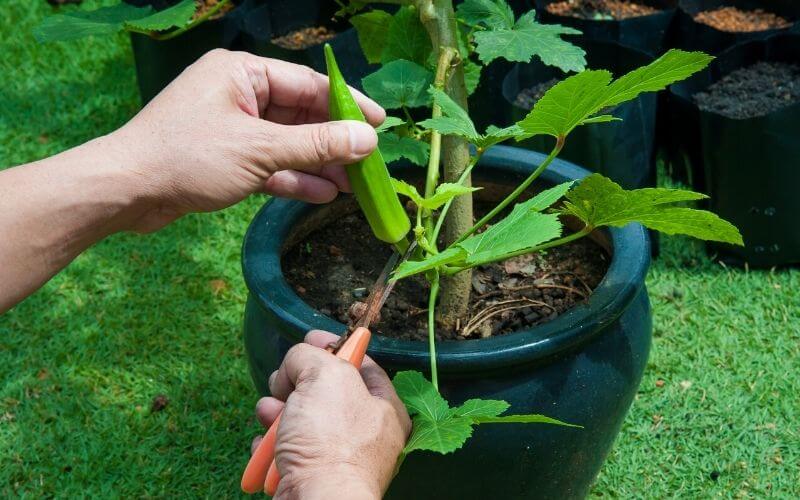
🌿 2. Propagating Okra from Stem Cuttings (Fast & Highly Productive!)
Most gardeners don’t know this, but okra can be propagated from stem cuttings, just like hibiscus or roses. This method lets you duplicate your best-performing plant—ensuring identical yield, strength, and disease resistance.
✂️ Step 1: Choose the Right Branch
Select a stem that is:
- Semi-hardwood
- 6–8 inches long
- From a mature, high-yield plant
- Free from pests
Avoid very young green shoots—they rot easily.
🔪 Step 2: Prepare the Cutting
- Remove all lower leaves
- Keep 2–3 small leaves at the top
- Cut diagonally at the base
- Expose one node for better rooting
🧪 Step 3: Dip in Rooting Hormone (Optional)
For better success, dip the cutting in:
- Commercial rooting powder
OR - Natural stimulants like aloe vera gel or honey
This prevents fungus and encourages fast root growth.

🌱 Step 4: Plant the Cutting
Place the cutting into a pot filled with:
- Coco peat
- Perlite
- Sand
These materials keep moisture balanced and prevent root rot.
💧 Step 5: Provide Humidity
Cover the pot with a transparent plastic bag to create a greenhouse effect.
⏳ Rooting Time:
Cuttings take 12–18 days to form roots.
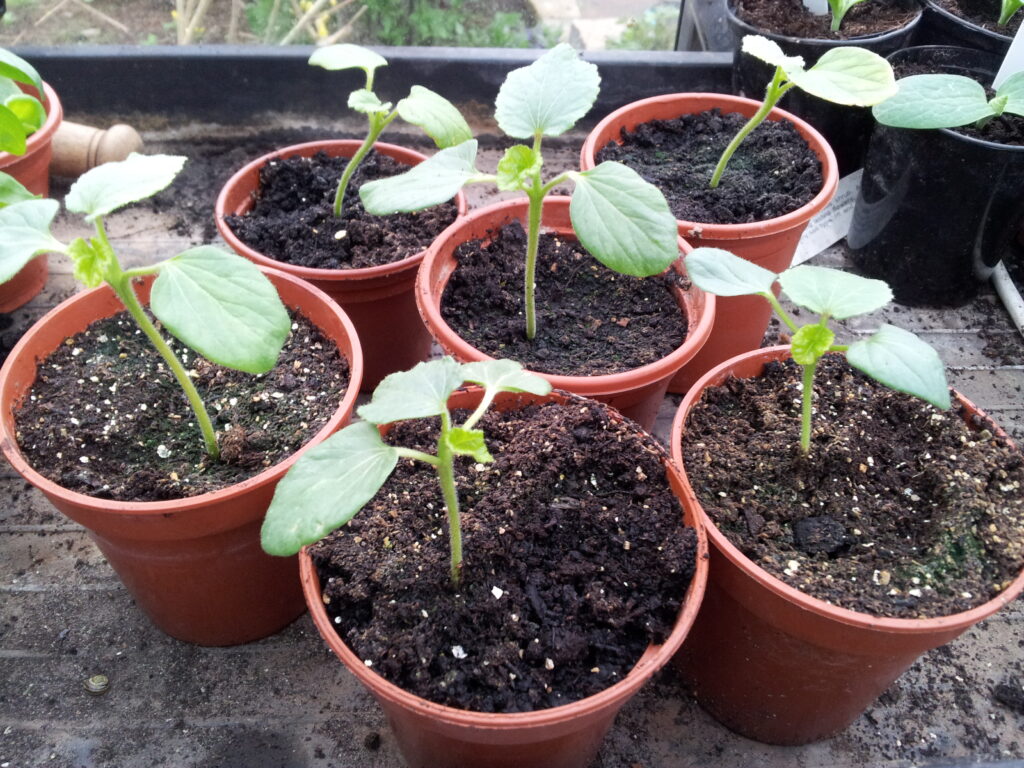
Once new leaves appear, transplant the cutting to a bigger pot or ground.
🌾 3. Propagating Okra Through Side-Shoot Rooting (Natural Yield Booster!)
Okra plants produce side branches (“lateral shoots”) that can be rooted easily, creating multiple productive plants from one.
✔️ How It Works:
At each leaf node, okra produces:
- A new shoot
- A bud
- A potential branching point
If buried slightly in soil, these shoots can root and become separate plants.
🌱 Steps:
- Choose a long side branch close to the soil.
- Bend it down gently into the soil.
- Cover the node with soil.
- Water regularly.
- Wait 1–2 weeks for new roots.
Once rooted, cut the branch from the main plant and transplant it.

This method creates clone plants with the same yield potential as the mother plant.
🌳 4. Air Layering on Okra (Advanced but Very Effective!)
Air layering is rarely used on okra, but it works extremely well on thicker stems, especially older plants.
🌼 When to Use Air Layering?
- Older okra plants that you don’t want to remove
- When you want a head-started plant with strong roots
- To clone your highest-yielding variety
🔧 Steps:
- Choose a thick stem.
- Remove a 1 cm ring of bark.
- Apply rooting hormone or aloe.
- Wrap with moist coco peat or moss.
- Cover with plastic and tie tightly.
- Keep moist for 2–3 weeks.
If roots develop, cut below the root ball and plant it separately.
This gives you a new okra plant that fruits much faster than seed-grown plants.
🍃 5. Growing Conditions for Maximum Okra Production
Propagation is only the beginning. After establishing your plants, proper care ensures heavy yields.
🌞 Sunlight Requirement
Okra thrives in:
- 6–8 hours of full sunlight
- Warm temperatures
- Open airflow
More sunlight means more flowers and pods.
🌱 Soil Nutrients
Ideal fertilizer routine:

- Compost every 20 days
- Banana peel fertilizer for potassium
- Neem cake for pest prevention
- Seaweed extract for flower boosting
Avoid too much nitrogen, which causes leaf growth but reduces fruiting.
💧 Watering Schedule
- Water deeply every 2 days during summer
- Maintain lightly moist soil
- Avoid overwatering — roots rot easily
Mulching helps hold moisture and keeps weeds away.
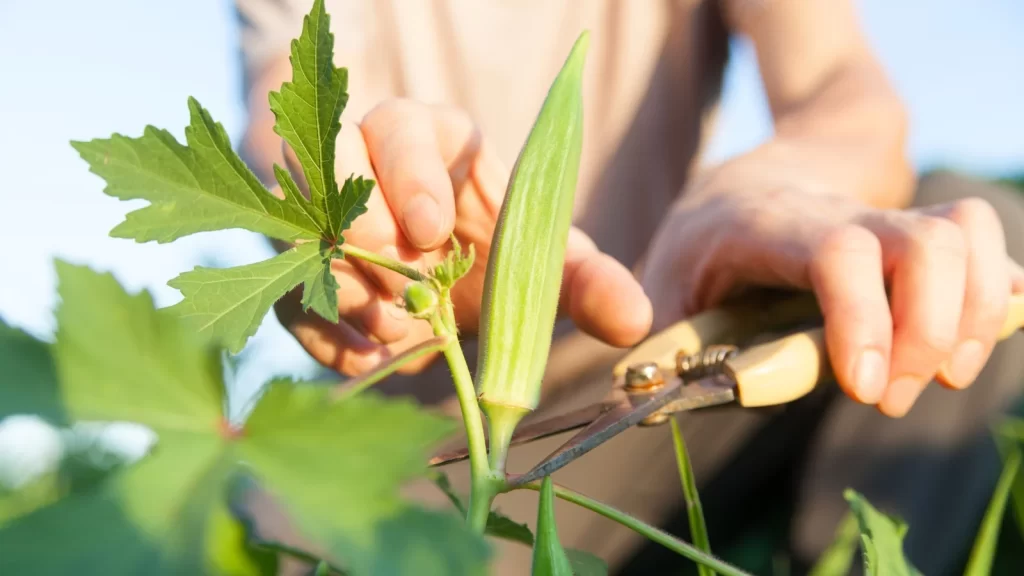
🌼 Pruning for Continuous Harvest
Prune lower leaves and suckers to:
- Increase air circulation
- Direct plant energy to pods
- Encourage new branches
Cutting the top when the plant reaches 3–4 feet encourages multiple side branches, doubling the yield.
🐛 Managing Pests & Diseases
Common okra pests:
- Aphids
- Whiteflies
- Fruit borers
- Mealybugs
Use organic pest management:
- Neem oil spray
- Soap water spray
- Garlic-chili spray
For fungal issues:
- Use baking soda spray
- Improve sunlight exposure
Healthy plants always produce more pods.

🎍 Harvesting Okra the Right Way
Harvest pods when:
- They are 3–5 inches long
- Tender and soft
- Before they become fibrous
Daily or alternate-day harvesting encourages continuous flowering and pod production.
Leaving old pods on the plant sends a signal to stop producing, so harvest regularly!
🌟 Final Thoughts
Propagating okra is simple, fast, and incredibly rewarding. Whether you start from seeds, stem cuttings, buried side shoots, or advanced air layering, each method offers unique advantages.
By mastering propagation and providing proper care, you can grow okra plants that produce:
- More pods
- Larger pods
- Faster harvests
- Longer production season
With the right techniques, even a small garden or terrace can supply endless fresh okra for your kitchen.