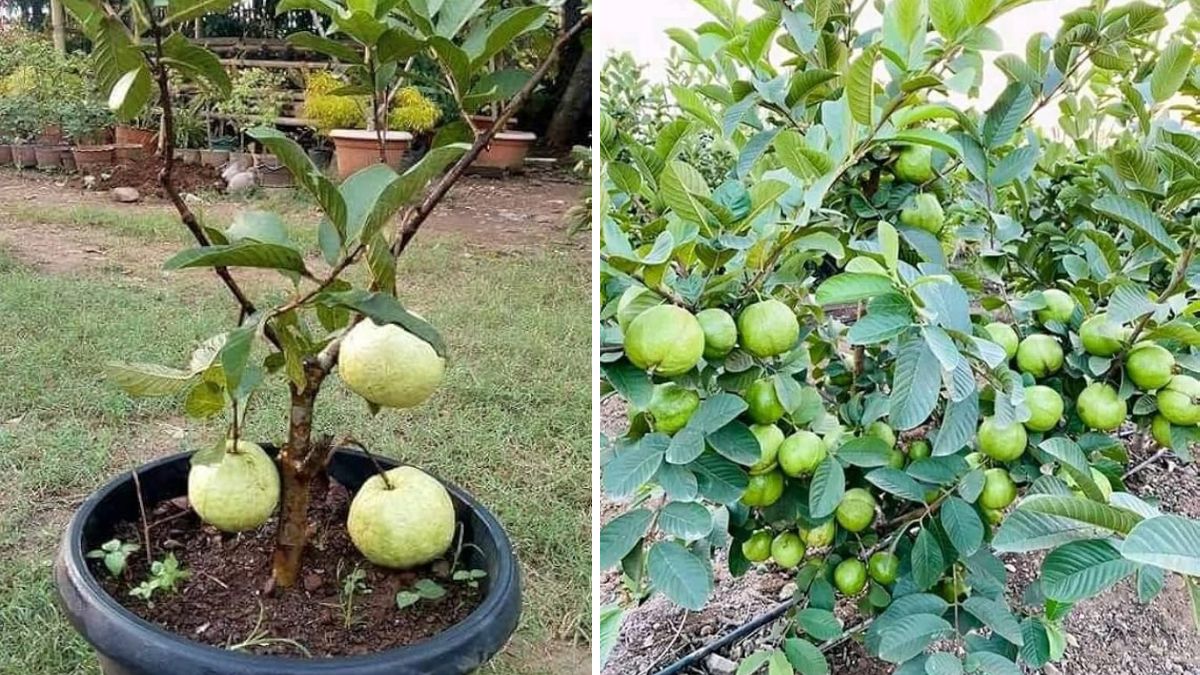
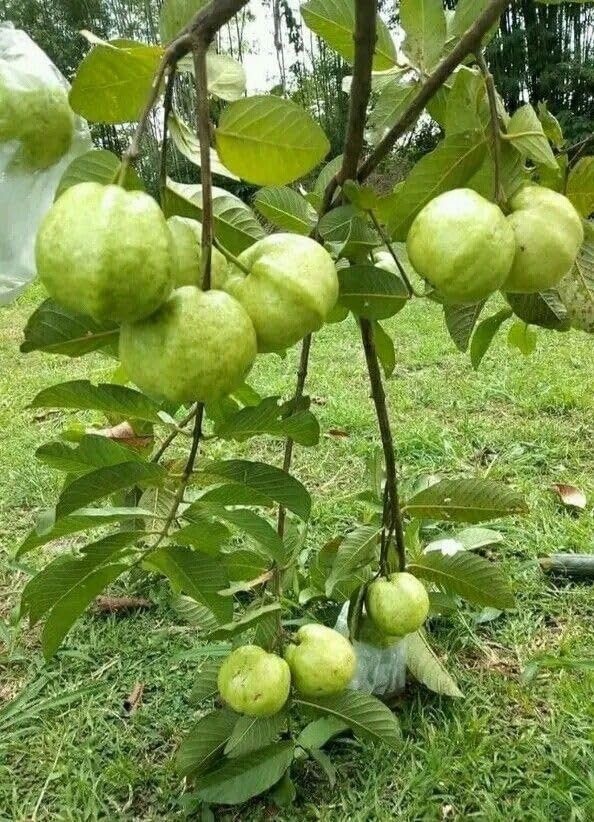
Guava is one of the most loved tropical fruits—sweet, nutritious, and incredibly easy to grow. But did you know that a simple grafting technique can transform an ordinary guava plant into a high-yielding fruit machine?
If your guava tree produces fewer fruits or you want faster, healthier, and tastier harvests, grafting is the secret. This 1200-word guide explains exactly how to graft guava trees for maximum fruit production, even if you’re a beginner.
🌱 Why Grafting Is the Key to Abundant Guava Harvests
Grafting is the horticultural technique of joining two plant parts so they grow as one. In guavas, grafting offers incredible benefits:
✔ Faster fruiting (1–2 years instead of 3–6 years)
✔ Better disease resistance
✔ Consistent fruit size & quality
✔ Superior growth and longevity
✔ Ability to combine different varieties on one tree
By grafting a strong rootstock with a high-yield scion, you create a super-productive guava tree that outperforms seed-grown plants.
🍃 Choosing the Best Materials for Grafting
To produce heavy fruit, choosing the right plant parts is essential.
1. Rootstock (Bottom Part)
The rootstock should be:

- 8–12 months old
- Healthy and pest-free
- At least 1–1.5 cm thick
- From a vigorous variety (desi or hardy guava works best)
2. Scion (Top Part)
The scion should come from:
- A high-yielding mother plant
- A branch that has fruited before
- Semi-hardwood, pencil-thick
- 10–12 cm long with 2–3 healthy nodes
Healthy scion = higher success rate + heavy fruiting potential.
✂️ Best Time to Graft Guava for Maximum Yield
Guava grafting works best during active growth seasons:
✔ February–April (Spring)
✔ July–September (Monsoon)
Avoid extreme winter and peak summer as the plant goes under stress and success rate drops.
🌿 Top 3 Grafting Methods to Produce Lots of Fruits
Below are the most effective guava grafting techniques used by professional growers.
🪴 1. Wedge Grafting (Most Beginner-Friendly)
This is the easiest and most reliable method for beginners.

Steps:
- Cut the rootstock:
- Make a vertical slit (1–1.5 inches) on the top of the rootstock stem.
- Prepare the scion:
- Make a “V” shaped cut at its base.
- Insert the scion:
- Fit the V-cut scion into the slit of the rootstock tightly.
- Tie firmly:
- Use grafting tape, polythene strip, or parafilm to seal the joint.
- Cover:
- Place a transparent polythene bag over the graft to maintain humidity.
Success Tip:
Ensure that the cambium layers of both parts match perfectly.
🌱 2. Cleft Grafting (Best for Thick Rootstocks)
If your rootstock is thicker, cleft grafting gives the strongest union.
How to Do It:
- Cut the rootstock flat on top.
- Make a clean, deep split in the center (2–3 inches).
- Shape the scion into a wedge.
- Insert the scion into the split.
- Seal and wrap tightly.
Why it boosts fruit production:
The strong union supports heavy fruit load and faster scion growth.
🌿 3. Approach Grafting (Highest Success Rate)
This method keeps both plants alive until the graft joins, making failure almost impossible.
Steps:
- Keep both plants rooted in soil (rootstock and scion mother plant).
- Remove bark from both stems (1 inch long).
- Join the exposed areas together.
- Tie firmly.
- After 30–40 days, once bonded, cut the scion from the mother plant.
Benefit:
Ideal for amateur gardeners who want maximum guarantee.
🌞 Aftercare: The Secret to High Fruit Yield
Grafting is only the first step. Proper aftercare ensures the plant produces lots of fruits.

1. Keep the Grafted Plant Under Shade
For the first 15 days, avoid direct sunlight.
Indirect light helps the graft heal faster.
2. Remove the Plastic Cover Gradually
- Day 15: Remove for 10 minutes
- Day 16: Remove for 20 minutes
- And so on…
This prevents shock from sudden light exposure.
3. Remove Unwanted Shoots
Any shoot growing below the graft point must be removed immediately—
otherwise it steals nutrients from the scion.
4. Fertilize to Boost Fruiting
Guava trees respond well to organic fertilizers.
Apply these every 45 days:
- Vermicompost
- Cow dung manure
- Mustard cake liquid
- Wood ash
- Banana peel fertilizer
This improves fruit size, sweetness, and yield.
💧 Watering: Balance is Crucial
Young grafted guavas need moist—not wet—soil.

Watering Rules:
- Water lightly every 2–3 days.
- Reduce watering during winter.
- Increase watering during flowering and fruit-setting.
Overwatering leads to root rot and graft failure.
🌳 Pruning: The Secret to More Flowers & Fruits
Guava trees fruit on new shoots, so pruning is essential.
How to Prune for Higher Yield:
- Remove dead or weak branches.
- Cut off crossing or crowded stems.
- Maintain a 3–4 main branch structure.
- After fruiting, prune lightly to encourage fresh shoots.
Pruning = More shoots = More fruits.
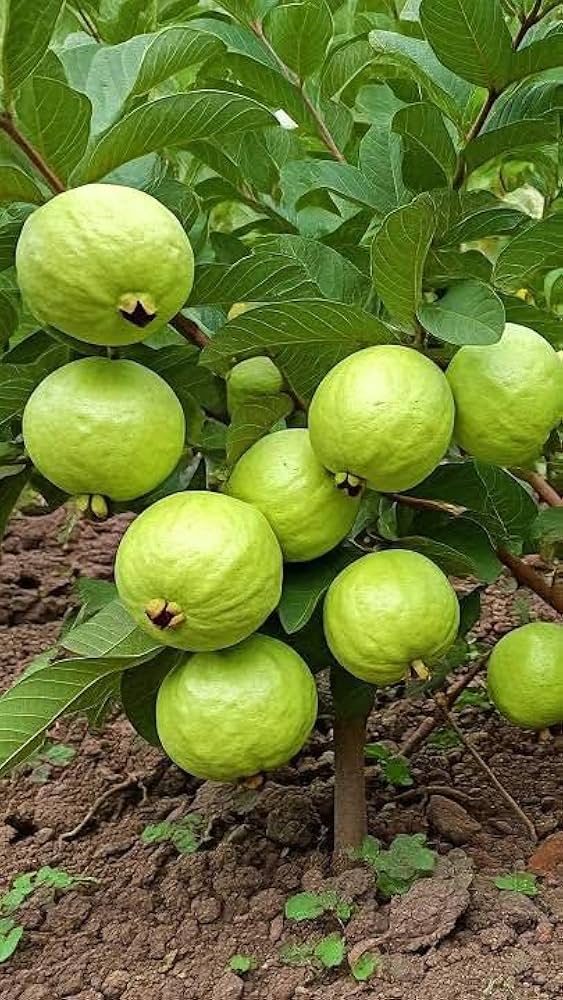
🌼 How to Encourage Heavy Flowering
For maximum fruiting:
✔ Provide full sunlight (6–8 hours)
✔ Add potash-rich fertilizers
✔ Keep soil slightly acidic (pH 5.5–7)
✔ Avoid high-nitrogen fertilizers
Nitrogen creates leaves, not fruits.
🐛 Dealing with Pests & Diseases
Guava trees are hardy but occasionally face:

- Fruit flies
- Mealybugs
- Aphids
- Leaf spot diseases
Natural Solutions:
- Spray neem oil every 15 days.
- Use sticky traps for fruit flies.
- Keep the base of the plant clean.
- Avoid waterlogging.
Healthy plants = better graft success = more fruits.
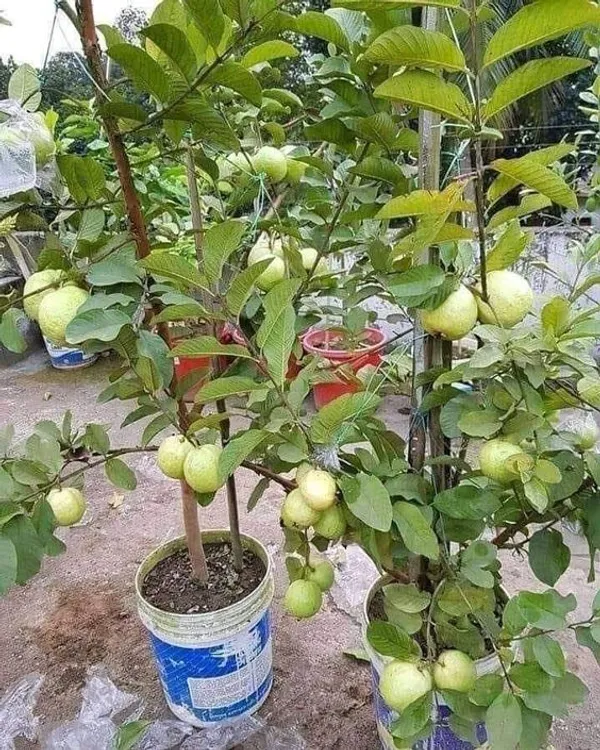
🍈 When Will the Grafted Guava Start Fruiting?
Here’s the exciting part:
Grafted Guava Fruit Timeline:
- 1st fruits: 12–18 months
- Peak production: 3–4 years
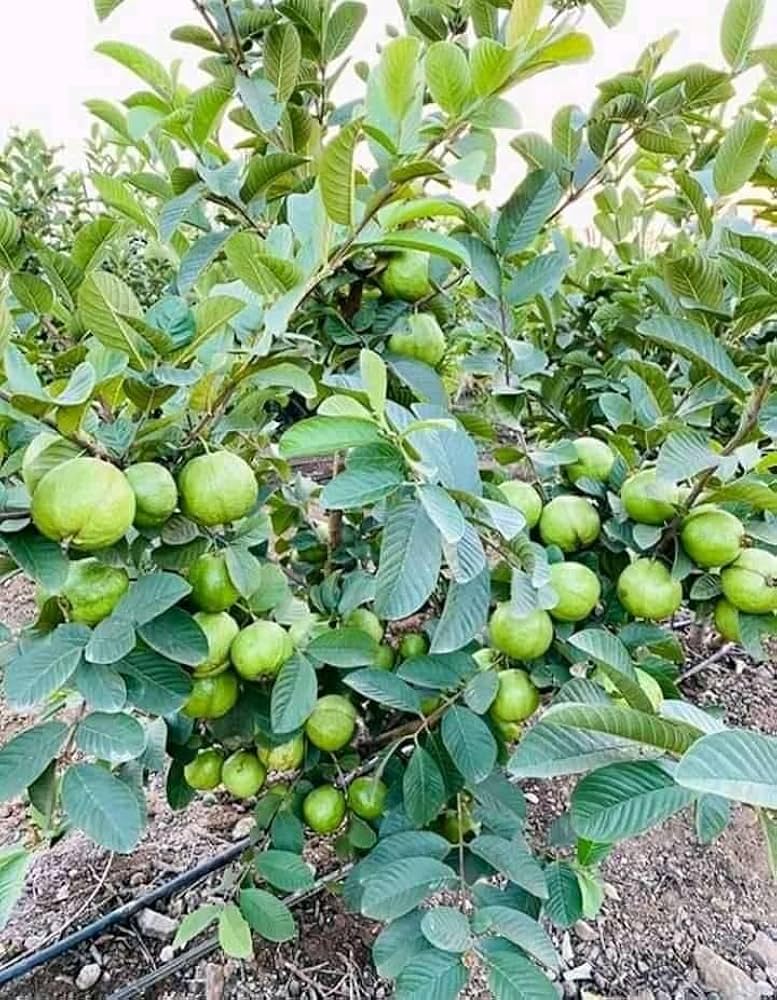
- Fruit output: 40–80 kg per tree annually
Seed-grown trees take double the time—grafting truly speeds things up!
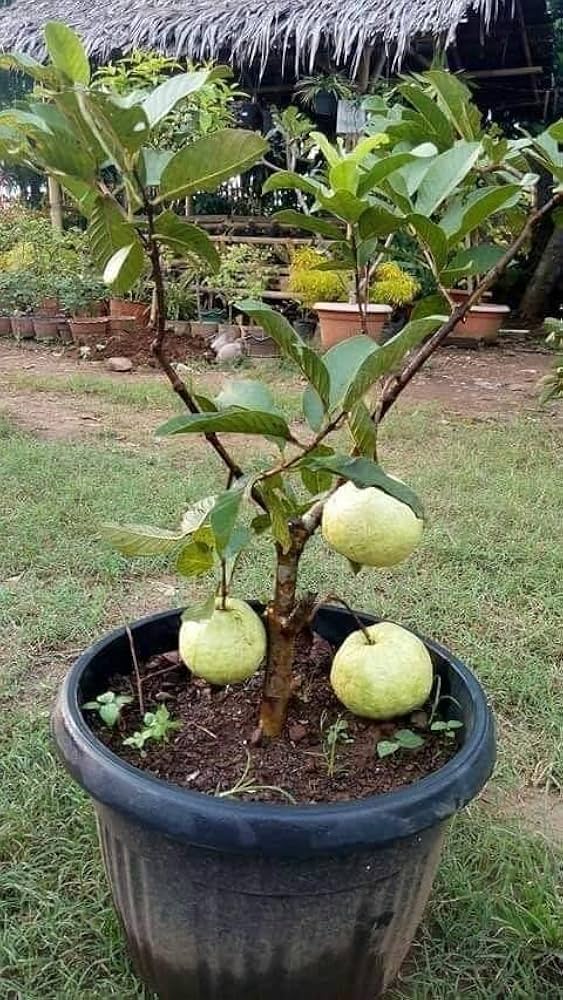
🌟 Conclusion: Transform Your Guava Tree Into a Heavy Producer
Grafting is the most powerful technique to turn any guava plant into a super-fruiter. When you choose the right scion, follow the proper grafting method, and give the plant good aftercare, your tree will reward you with lots of fruits, bigger harvests, and better quality.
Whether you’re a home gardener or want to expand your orchard, mastering guava grafting is a gamechanger.