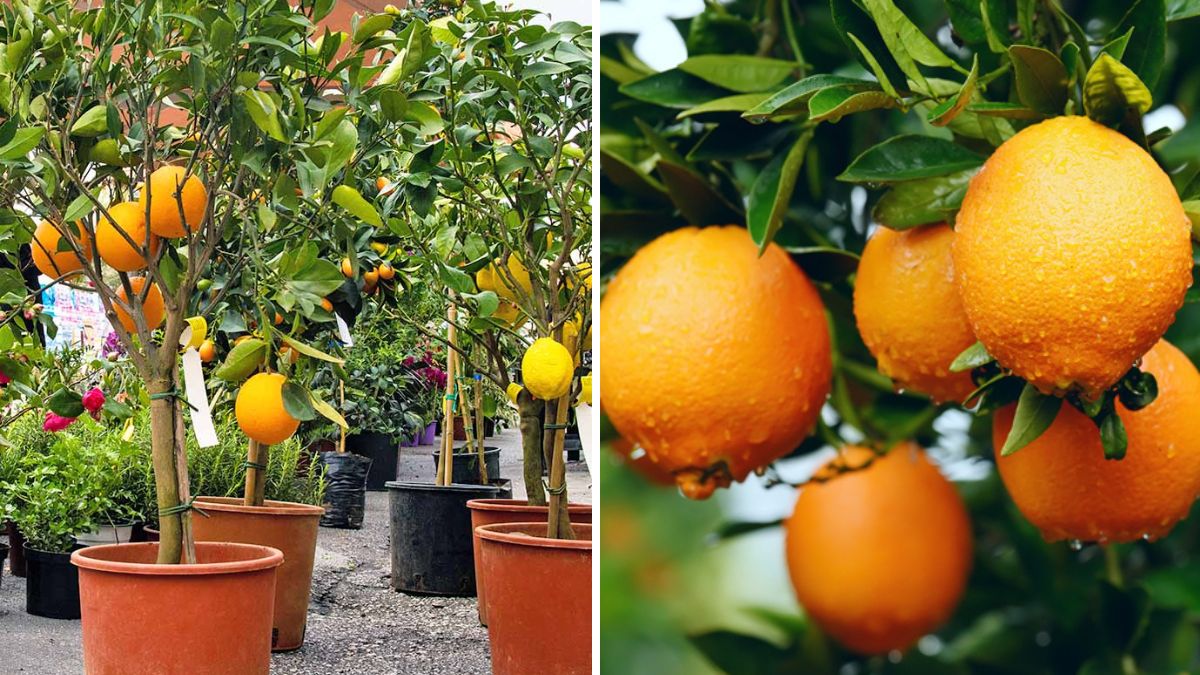
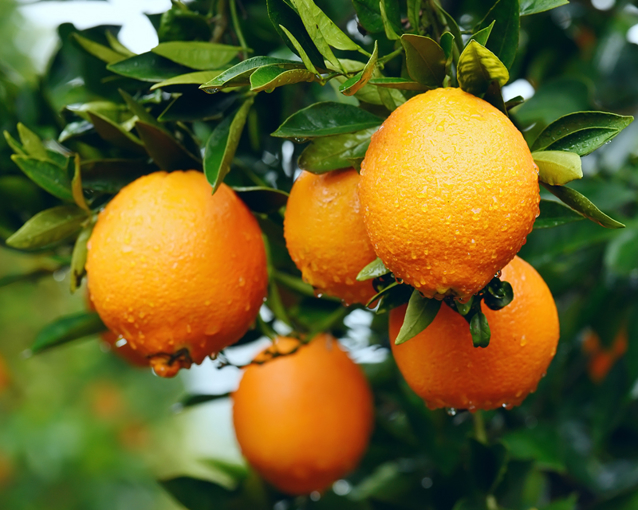
Orange trees are among the most rewarding fruit trees you can grow at home. Their glossy green leaves, fragrant blossoms, and sweet, juicy fruits make them a wonderful addition to any garden or balcony. The exciting part? You can grow your very own orange tree using nothing more than fresh oranges from your kitchen!
Many people think orange trees can only be grown through grafting or buying nursery saplings. But the truth is, propagating orange trees from fresh seeds is surprisingly simple—and with the right technique, you can grow strong, productive plants. In this article, we’ll explore a practical, effective, and beginner-friendly method to grow orange trees from fresh oranges.
🌱 Why Grow Orange Trees From Fresh Oranges?
Growing an orange tree from seed is not only easy but also deeply satisfying. Here are a few compelling reasons:
1. Zero cost gardening
You don’t need to buy seeds or plants—just use the orange you’re already eating.
2. Stronger, more resilient plants
Seed-grown orange trees often develop deeper roots and adapt better to your local environment.
3. Gardening fun for kids and beginners
This is one of the simplest fruit tree propagation activities.

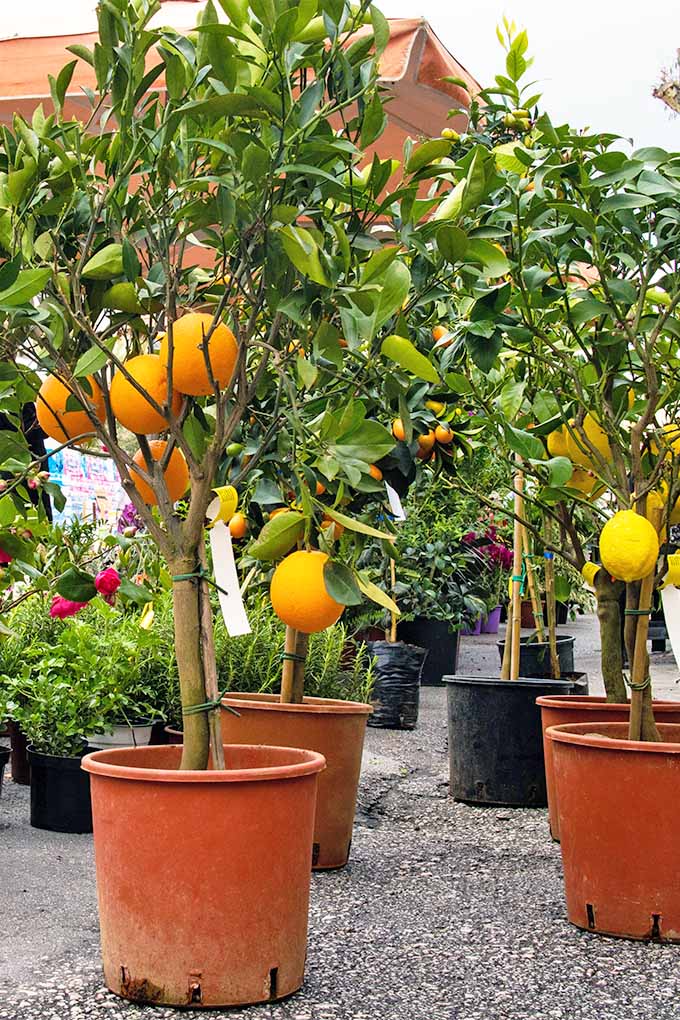
4. Perfect for pots or ground planting
Orange trees grow well in containers for the first few years and can later be transplanted.
🍊 Step 1: Choose the Right Orange
Start by selecting a fresh, healthy, organic orange. Avoid seedless varieties or hybrid oranges, as their seeds may not germinate well.
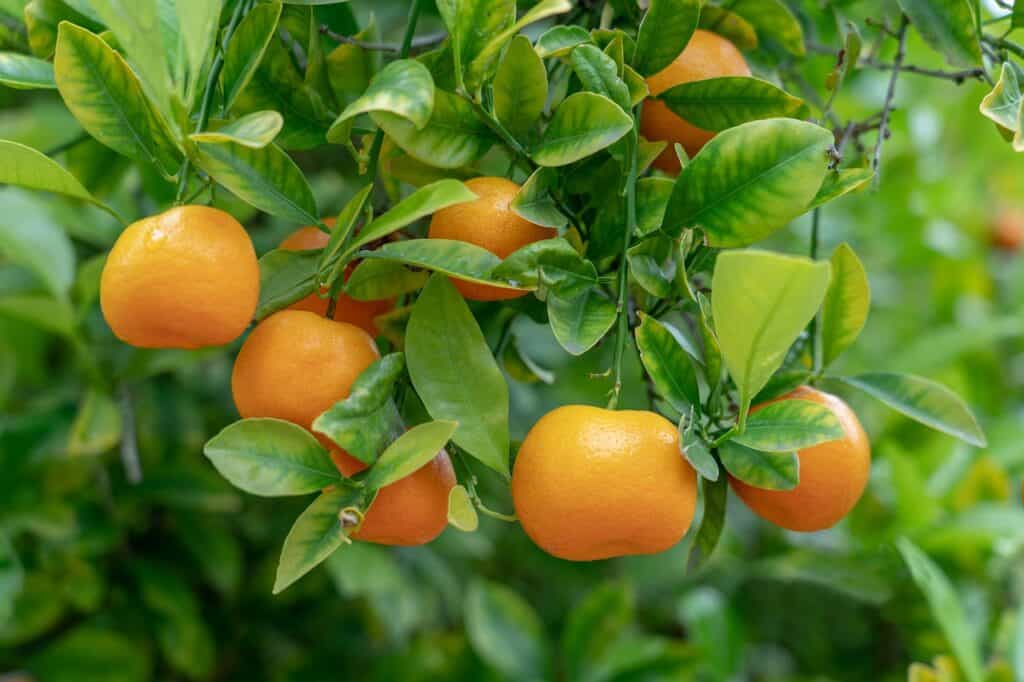
The best oranges for seed propagation include:
- Local desi oranges
- Mandarin oranges
- Malta varieties
- Sweet oranges (Mosambi)
Once you slice open the fruit, remove the seeds carefully.
💧 Step 2: Clean and Prepare the Seeds

Fresh orange seeds contain pulp and juice that prevent germination if not removed.
How to prepare them:
- Wash the seeds under running water.
- Gently rub off the sticky pulp.
- Remove the thin white coating (the seed coat) using your nails—optional, but it speeds up germination.
- Do NOT let the seeds dry. Orange seeds must remain moist to stay viable.
Freshness is the key here. Dry seeds lose their germination ability in hours.
🌾 Step 3: The Secret Method — Pre-Sprouting the Seeds

Pre-sprouting ensures up to 95% germination.

You will need:
- A tissue or cotton pad
- A zip-lock bag or airtight container
- Clean water
Steps:
- Moisten the tissue (not dripping).
- Place the seeds evenly on the tissue.
- Fold it gently.
- Place inside a zip-lock bag.
- Store in a warm, dark location—like inside a cupboard or near Wi-Fi router warmth.
In 7–14 days:
You’ll see tiny white roots emerging. This is the perfect stage for planting.
🌿 Step 4: Prepare the Soil Mix
Orange seedlings grow best in light, airy soil. Heavy, clay soil leads to root rot.
Best soil mix (simple formula):
- 40% Garden soil
- 30% Cocopeat
- 20% Sand
- 10% Compost (vermicompost or cow dung)
Optional boosters:
- Neem cake powder
- Perlite for better aeration
Mix well until the texture is soft and crumbly.
🪴 Step 5: Planting the Sprouted Seeds
Choose small pots or seed trays for the first stage.
How to plant:
- Fill pots with the soil mix.
- Make a small hole about 1 cm deep.
- Place the sprouted seed root-side down.
- Cover lightly with soil.
Do not bury too deep. Orange seeds need warmth and oxygen to grow.
💦 Step 6: Watering and First Growth
Water the soil gently using a spray bottle.

Important care tips:
- Keep soil slightly moist, not wet.
- Place pots in bright, indirect sunlight.
- Never expose fresh seedlings to harsh sunlight.
In 10–20 days:
The seedling will open and show its first tiny leaves. Over the next month, they will grow into healthier young plants.
🌞 Step 7: Light, Temperature & Environment
Orange trees love warmth and sunlight.
Your plant will thrive in:
- 5–6 hours of sunlight daily
- Temperature between 20–35°C
- Well-ventilated areas
If indoors, keep near a sunny window.
🌿 Step 8: Transplanting the Seedlings
Once your plant reaches 4–6 inches in height, it’s time to shift it into a larger pot (8–12 inch).
Transplant when:
- Leaves appear in pairs
- Stem is strong
- Roots start peeking from the bottom
Handle gently to avoid damaging the tender roots.
🍃 Step 9: Fertilizers & Growth Boosters
Orange trees need balanced nutrition.

Best natural fertilizers:
- Vermicompost (once every 30 days)
- Mustard cake liquid (once every 20 days)
- Banana peel fertilizer
- Wood ash (for potassium)
- Epsom salt (for magnesium)
Avoid:
- Overwatering
- Excess chemical fertilizers
- Soil compaction
Healthy nutrition leads to strong branches and early flowering.
🍊 Step 10: When Will It Produce Fruits?
Growing orange trees from seed requires patience.
Timeline:
- 1st year: Seedling growth
- 2nd year: Branching
- 3rd–5th year: Flowering and fruiting begins
- 5th year onwards: Full production
You can speed up fruiting by grafting the seedling with a mature orange branch.
🌼 Bonus: Tips for Faster, Healthier Growth
1. Regular Pruning
Prune weak branches to encourage bushy growth.
2. Avoid waterlogging
Orange roots hate standing water—ensure good drainage.
3. Sunlight is key
More sunlight = sweeter fruit.

4. Protect from pests
Use neem oil spray every 15 days.
🍊 Final Thoughts: Growing Orange Trees Is Easier Than You Think
Growing an orange tree from fresh orange seeds is an exciting journey. With just a few simple steps—cleaning seeds, pre-sprouting, preparing soil, and giving proper care—you can grow your very own citrus tree at home. It doesn’t matter whether you live in a house, apartment, or village; orange trees adapt beautifully to containers and backyard spaces.
This method is easy, eco-friendly, and incredibly rewarding. With patience and love, the seed you plant today will reward you with sweet oranges in the coming years.