Guava trees are among the easiest and most productive fruit trees to grow in home gardens. But if you want a guava plant that grows faster, produces bigger fruits, and starts fruiting early, grafting is the ultimate technique. While many gardeners attempt grafting guava trees, only a few succeed consistently—because there is a special secret that makes the difference between success and failure.
Today, we reveal that secret and guide you through a complete, practical, and highly effective grafting method that anyone can try at home, even beginners.
🌿 Why Graft Guava Trees Instead of Growing From Seeds?
Guava trees grown from seeds may take years to fruit and often produce small or poor-quality fruits. Grafting solves all these problems.
Benefits of grafting guava:
- Early fruiting—sometimes within 1–2 years
- Stronger growth and disease resistance
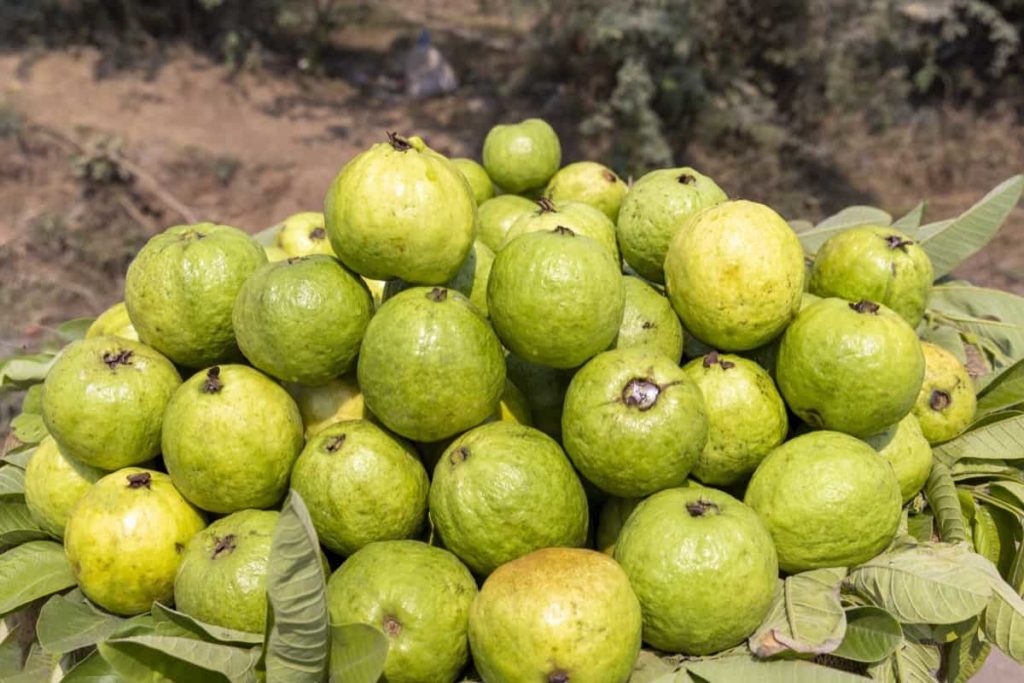
- Better fruit quality (taste, size, sweetness)
- Preserves the characteristics of the parent variety
- Great method for growing multiple guava varieties on one rootstock
Grafting gives you complete control over what kind of guava tree you grow.
💡 The Special Secret for Successful Guava Grafting
The secret to successful guava grafting is using soft-hardwood scion wood and matching it with a young but strong rootstock, combined with perfect timing and moisture retention around the graft joint.
The secret formula in simple words:
Right age of scion + Right age of rootstock + Tight, moisture-sealed graft = 95% success
Let’s break this into steps.
🌱 Step 1: Choose the Perfect Rootstock (The Foundation of Success)
The rootstock is the plant you’ll graft onto.

Best characteristics of rootstock:
- Age: 6–12 months old
- Height: 1–2 feet
- Stem thickness: Slightly thinner than a pencil
- Leaves: Healthy, green, no disease
- Grown in loose, well-drained soil
A young rootstock accepts the graft much more easily than an older, woody plant.
Why this matters:
Young roots transport nutrients faster, allowing the scion to heal and grow.
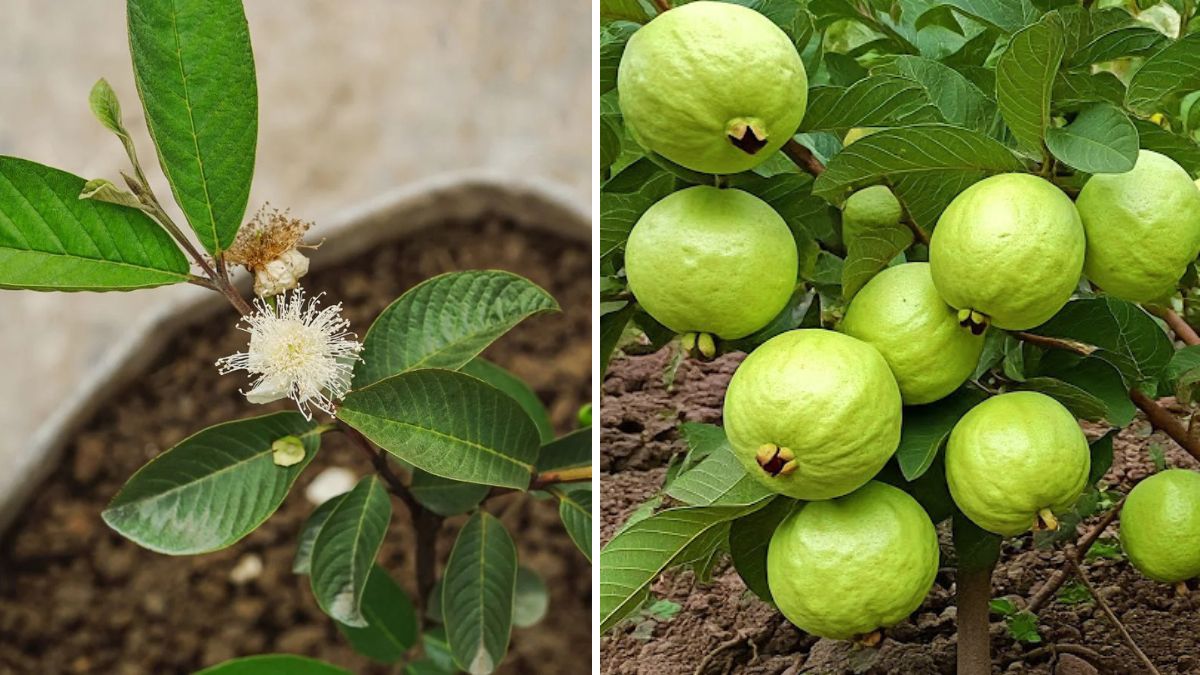
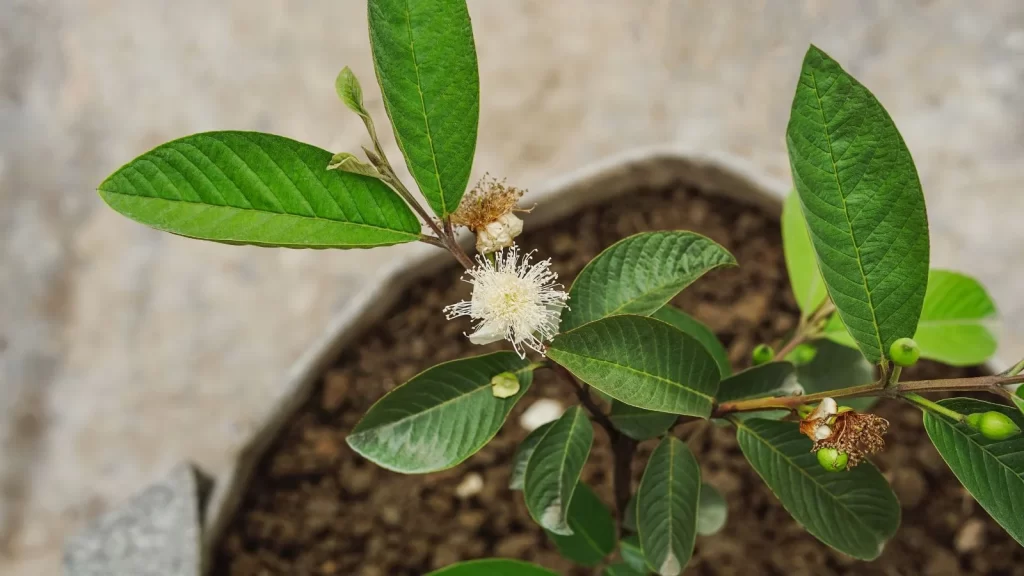
🌿 Step 2: The Secret Scion — Soft-Hardwood Stage

The scion is the cutting from a mature guava tree.
Choose scion wood that is:
- 3–6 months old
- Not too soft (green)
- Not too hard (brown and woody)
- With 2–3 buds on it
- Taken from a healthy, fruit-bearing tree
This is the magic stage—the scion is flexible, full of active cells, and bonds perfectly with the rootstock.
🍃 Step 3: The Perfect Cutting Method
Cut a 4–5 inch piece of the selected scion and remove all leaves, leaving only the tiny leaf petiole. This reduces moisture loss and prevents the scion from drying.
Then, shape the bottom into a sharp wedge—this helps in joining the cambium layers.
✂ Step 4: The Secret Grafting Technique — The “Soft Cleft Graft”
The best grafting technique for guava is a soft cleft graft.
Steps:
- Cut the rootstock at 6–8 inches above the soil.
- Make a straight vertical slit of 1 inch in the center.
- Insert the wedge-shaped scion into the slit.
- Align the cambium layers perfectly on at least one side.
Alignment is extremely important.
If the cambium layers don’t touch, the graft will fail.

🪢 Step 5: The Secret Wrap — Moisture Locking
This is the real secret that many gardeners miss.
After inserting the scion:
- Wrap the joint tightly using grafting tape, polythene strip, or parafilm.
- Ensure no air enters the joint.
- Wrap from bottom to top, sealing every gap.
This prevents the scion from drying and helps it heal faster.
Tip:
If you use parafilm, it dissolves naturally after a few weeks.
🌞 Step 6: The Ideal Environment
After grafting, place the plant in:
- Bright but indirect sunlight
- A warm area (25–32°C)
- Mild humidity
Avoid direct sunlight for the first 10–14 days. Too much heat can dry out the scion.
💧 Step 7: Watering After Grafting
Water only the soil—never let water touch the graft joint.
Keep the soil slightly moist. Overwatering can rot the rootstock, while underwatering can dry the scion.

🗓 Step 8: The Healing Stage (First 15 Days)
Within the first two weeks:
- The scion remains green
- Buds begin to swell
- A thin layer of callus tissue forms
This is the crucial bonding stage.
If the scion remains green after 15 days, your graft is successful.
🍃 Step 9: New Growth (20–30 Days)
Around 3–4 weeks:
- Tiny new leaves appear
- Buds open
- The scion becomes firm
At this point, shift the plant to a location with filtered sunlight.
☀ Step 10: Full Sunlight Exposure (After 35 Days)
Now your graft has healed.
Move the plant into full sunlight gradually—one hour more each day until it adapts.
🌿 Step 11: Removing the Tape
After 45–60 days, gently remove the grafting tape if it hasn’t broken down naturally.

The joint will be strong and well-healed by now.
🍈 Step 12: Care After Grafting
Fertilization
After 45 days, apply:
- Vermicompost
- Mustard cake liquid
- Neem cake
Pruning
Remove shoots emerging from the rootstock.
Only keep new branches coming from the scion.
Pest control
Spray neem oil every 15 days.
✨ Additional Secret Tips for 100% Success
1. Use morning hours for grafting
Plants are hydrated, reducing stress and increasing success rate.
2. Never graft during rainy days
Too much humidity encourages fungus.
3. Always use sterilized tools
Dirty blades cause infection and graft failure.
4. Choose the right season
Best months for guava grafting:

- February–April
- July–September
5. Use multiple scions
If one fails, the others may take.
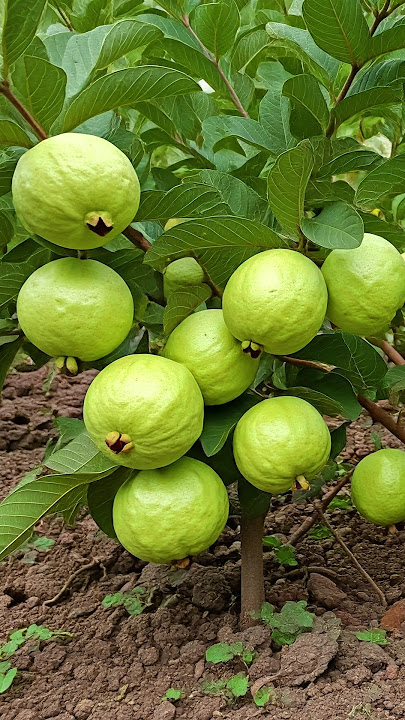
🌳 When Will the Grafted Guava Tree Produce Fruits?
Grafted guava trees grow much faster than seed-grown plants.
Expected fruiting time:
- 1st year: Growth and branching
- 2nd year: First flowering
- 2–3 years: Regular fruiting
Some grafted varieties even fruit within 12–18 months.
🍈 Why This Secret Method Works So Well
This technique succeeds because it focuses on:
✔ Proper timing
✔ Correct scion maturity
✔ Moisture-locking wrap
✔ Healthy rootstock
✔ Precise cambium alignment
These factors activate rapid cell division, allowing the tissues to merge perfectly.
🌱 Final Thoughts
Grafting guava trees may seem difficult, but when you understand the secret—matching the perfect scion with a young rootstock and sealing the joint properly—your success rate increases dramatically. This method combines traditional horticulture with practical, science-backed techniques that even home gardeners can master.
The result?
A strong, fast-growing guava tree that produces high-quality fruits much sooner than you’d expect.