Growing watermelons at home may sound challenging, but it’s actually one of the most rewarding gardening experiences—especially when you cut open your first sweet, juicy melon grown with your own hands! Whether you have a spacious backyard, a terrace garden, or even a small open area near your home, watermelons can thrive beautifully with just a bit of care and knowledge.
In this complete guide, you’ll learn exactly how to grow watermelons at home, from seed to harvest. These expert-backed tips and tricks will help you grow large, sweet, and healthy melons with ease.
🍉 Why Grow Watermelons at Home?
Watermelons are not only delicious but also incredibly fun to grow. Here’s why many home gardeners love them:
- They grow fast in warm conditions.
- They produce big fruits with minimal maintenance.
- They add beauty and greenery to any garden.
- Home-grown watermelons are more flavorful and chemical-free.
With the right soil, sunlight, and watering habits, you can enjoy multiple sweet melons in one season!
🌱 Step 1: Choosing the Right Watermelon Variety
Before planting, select a variety suitable for your climate and available space.
Best Varieties for Home Gardening:
- Sugar Baby – Perfect for small spaces; small, sweet fruits.
- Crimson Sweet – Classic large, juicy melons.
- Icebox Varieties – Compact with quicker harvest time.
- Mini or Bush Watermelons – Great for pots and terraces.
If you’re a beginner, Sugar Baby is a great choice because it grows quickly and needs less space.

🌿 Step 2: Preparing the Soil

Watermelons love rich, loose, well-draining soil with lots of organic matter.
Ideal Soil Conditions:
- pH: 6.0 – 6.8
- Texture: Sandy loam
- Drainage: Must be excellent
- Nutrient Content: High organic content
Soil Preparation Tips:
- Add 2–3 kg of compost or well-rotted cow dung to each planting spot.
- Mix in a handful of bone meal or neem cake to boost fertility.
- Create mounds or raised beds to help with drainage.
- Loosen soil at least 12 inches deep for proper root growth.
Healthy soil = sweeter melons!
☀️ Step 3: Planting the Seeds
Watermelon seeds grow best in warm temperatures.
Best Time to Plant:
- Late winter to early summer
- Ideal soil temperature: 21–32°C
Planting Method:
- Soak the seeds in warm water for 8 hours to speed up germination.
- Plant seeds 1 inch deep in the soil.
- Keep 2–3 seeds per spot, then thin later.
- Maintain 3–4 feet space between plants so vines can spread easily.
Seeds usually sprout in 5–7 days.
💧 Step 4: Watering the Right Way
Watermelons require the right balance of moisture—too much water = less sweetness, too little water = slow growth.
Watering Tips:
- Water deeply 2–3 times per week during early growth.
- Reduce watering once fruits start forming.
- Keep soil moist but never waterlogged.
- Always water at the base, not on the leaves.
Once fruits reach full size, reduce watering to increase sweetness.

🌞 Step 5: Sunlight & Temperature Needs
Watermelons love heat and sunlight.
Requirements:
- 6–8 hours of full sun daily
- Warm temperature between 24–35°C
- Protect young plants from cold winds
More sun = more sugar = sweeter melons!
🌱 Step 6: Feeding Your Plants Properly
Nutrient-rich feeding encourages bigger vines, more flowers, and sweeter fruits.
Fertilizer Schedule:
1. Early Growth (Week 1–3)
- Apply nitrogen-rich fertilizer like compost tea or fermented cow dung.
2. Flowering Stage
- Switch to phosphorus and potassium for better fruiting.
- Use banana peel fertilizer, bone meal, or liquid seaweed.
3. Fruit Development Stage

- Avoid excess nitrogen—this grows leaves, not fruits.
- Add wood ash or potash for sweeter melons.
Feed every two weeks for best results.
🌼 Step 7: Pollination Tips for Bigger Fruits
Watermelon plants depend heavily on bees for pollination.
To Improve Pollination:
- Plant marigold, basil, or sunflowers nearby to attract bees.
- Avoid spraying chemicals.
- If bee activity is low, do hand pollination:
How to Hand-Pollinate:
- Identify male and female flowers (female has a tiny fruit behind it).
- Remove a male flower and gently brush its pollen onto the female flower.
- Do this early in the morning for best results.
Good pollination = bigger and sweeter watermelons.
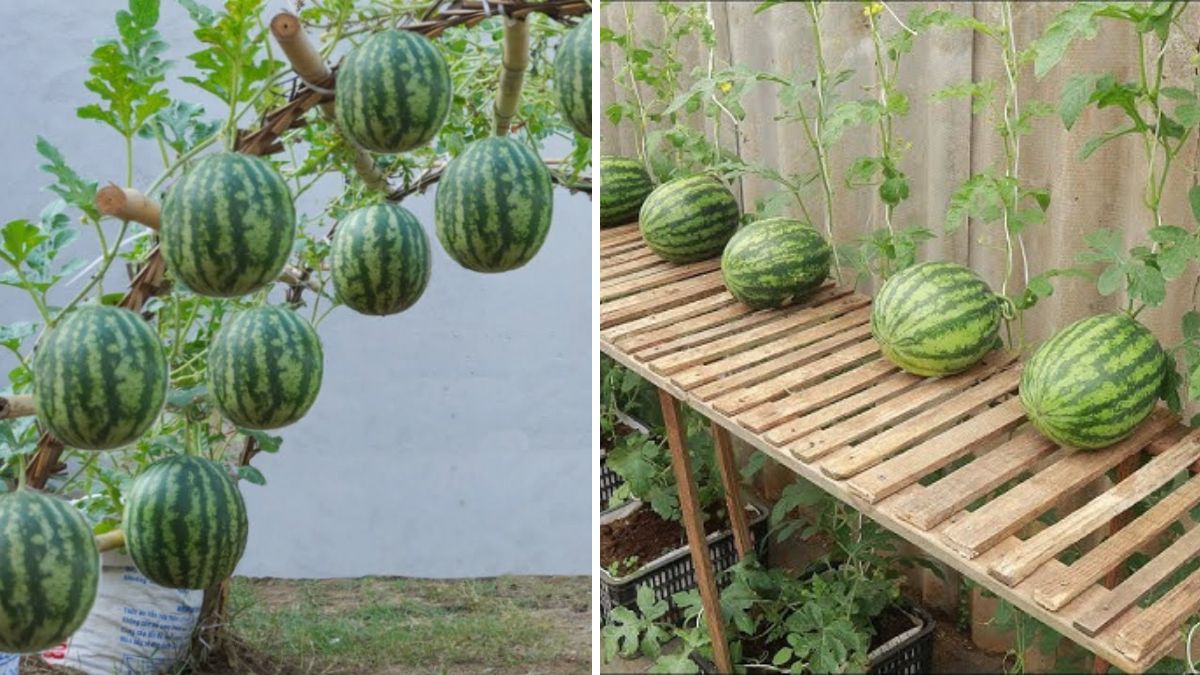
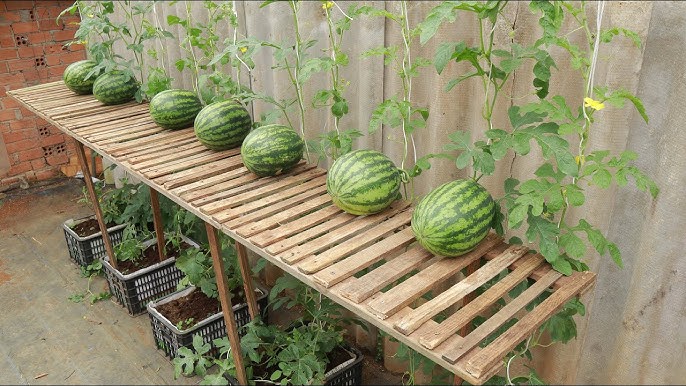
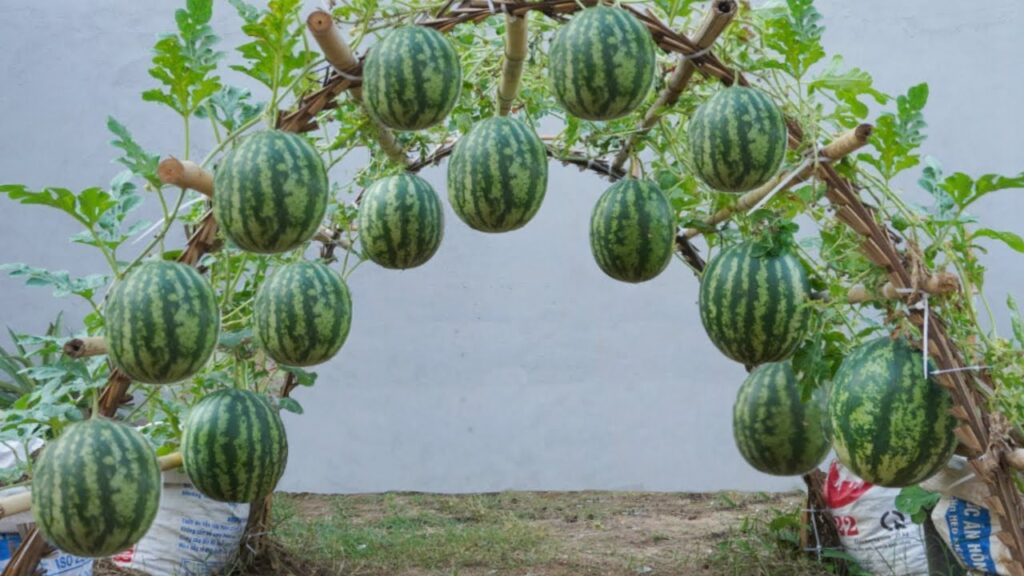
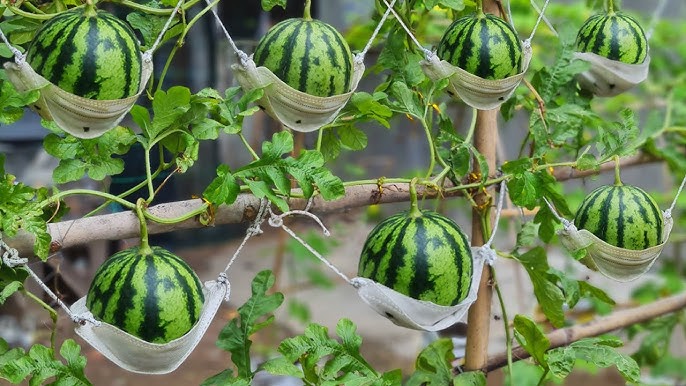
🪴 Step 8: Training the Vines
Watermelon vines spread fast. You can guide them to grow neatly.
Vine Training Tips:
- Direct vines outward to avoid overcrowding.
- Pinch the vine tips if they grow too long.
- Support fruits on bricks or boards to prevent rotting.
If space is small, choose bush varieties.
🐛 Step 9: Managing Pests & Diseases Naturally
Common watermelon issues include:

Pests:
- Aphids
- Whiteflies
- Fruit borers
Natural Remedies:
- Spray neem oil weekly.
- Use a garlic–chili spray for pest resistance.
Diseases:
- Powdery mildew
- Downy mildew
Prevention:
- Ensure good sunlight.
- Avoid overhead watering.
- Give enough spacing between plants.
Healthy plants resist most problems on their own.
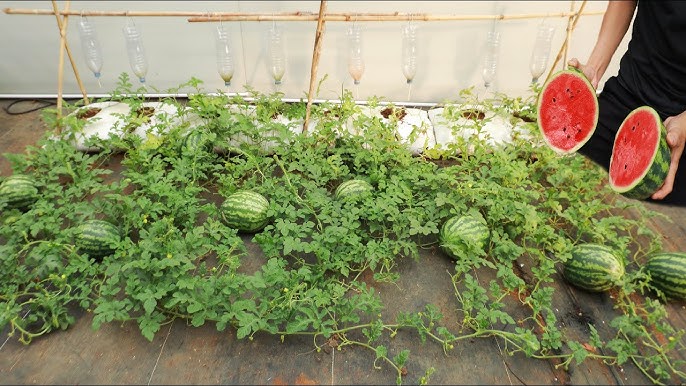
🍉 Step 10: Harvesting at the Perfect Time
One of the trickiest steps is knowing when your watermelon is ripe. Here are signs to watch:
Signs Your Watermelon Is Ready:
- The tendril near the fruit turns brown and dry.
- The bottom of the fruit shows a creamy yellow spot.
- The fruit sounds deep and hollow when tapped.
- Skin becomes harder and less shiny.
Most varieties are ready in 70–90 days after planting.
Use a sharp knife or pruner to harvest.
🥗 Bonus Tips for Sweeter Watermelons
- Give maximum sunlight.
- Reduce watering 7–10 days before harvest.
- Add potash-rich organic fertilizer.
- Maintain warm soil with mulch (dry leaves, straw).
- Select the best-pollinated fruits for growing bigger melons.
👨🌾 Final Thoughts
Growing watermelons at home is simpler than most people think. With warm weather, rich soil, enough sun, and consistent watering, you can enjoy juicy, refreshing, and chemical-free melons straight from your backyard or terrace.
Once you taste your first home-grown watermelon, you’ll never want to buy one from the market again!
