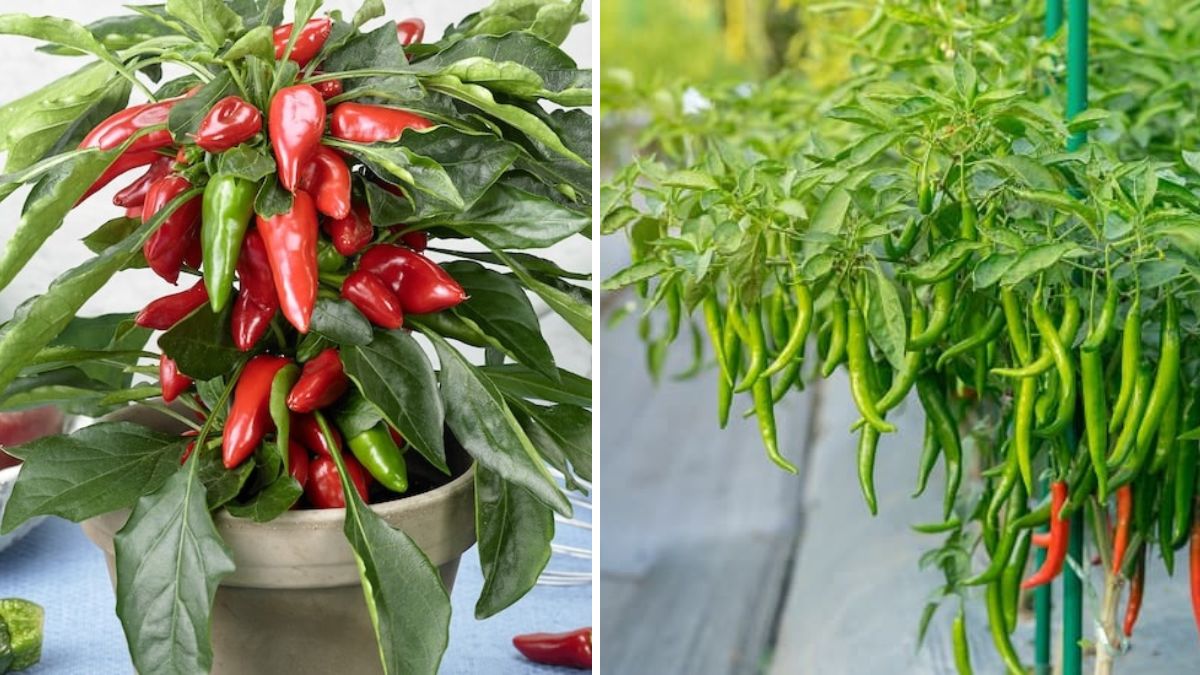
Chillies are one of the most rewarding plants you can grow at home. They grow quickly, take up very little space, and produce hundreds of peppers even in small containers. Whether you love spicy food or simply want a colourful, attractive plant for your garden, growing chillies from seeds is an exciting and beginner-friendly experience.
In this detailed guide, you’ll learn exactly how to grow chilli pepper plants from seeds—from seed preparation to harvest. Follow these steps and you’ll enjoy a continuous supply of fresh, flavorful chillies right from your balcony, terrace, or kitchen window!
🌱 Why Grow Chillies from Seeds?
Growing chillies from seeds has several benefits:
✔ Low Cost
A single packet of seeds—or even seeds from kitchen chillies—can produce many plants.
✔ Wide Variety
You can grow types not available in nurseries, such as:
- Bird’s eye chilli
- Thai chilli
- Red chilli
- Green chilli
- Habanero
- Bhut Jolokia
- Sweet pepper varieties
✔ Strong & Healthy Plants
Seed-grown plants adapt better to your local conditions.
✔ Continuous Supply
One chilli plant can produce for months or even years (if cared for properly).
🌶️ Step 1: Select the Right Seeds
You can use:
Option A: Store-Bought Seeds
These offer:

- High germination rate
- Disease-free seeds
- Better variety options
Option B: Seeds from Kitchen Chillies
Yes, you can grow chillies from kitchen chilli seeds too!
Choose:
- Fully ripe red chillies
- Avoid mouldy or pale chillies
- Select seeds from organically grown chillies for better germination
Dry the seeds for 2–3 days before planting.
🧼 Step 2: Prepare the Seeds for Faster Germination
Chilli seeds can take a long time to sprout—sometimes up to 20 days. But with simple methods, you can make them sprout in just 5–7 days.
🌟 Fast Germination Methods
Method 1: Warm Water Soak
- Soak seeds in warm water for 8–12 hours.
- This softens the seed coat.
Method 2: Tissue Paper Method
- Place seeds between moist tissue papers.
- Keep inside an airtight box.
- Store in a warm area (near a window or fridge top).
- Seeds sprout in 4–7 days.
Method 3: Hydrogen Peroxide Dip (Optional)
Prevents fungus and boosts germination.
🪴 Step 3: Prepare the Perfect Soil Mix
Chilli plants love light, airy, well-draining soil.
🌱 Best Soil Mix for Chilli Seeds:
- 40% garden soil
- 30% compost or vermicompost
- 20% cocopeat
- 10% sand
Add Boosters (Optional but Helpful):
- Neem cake powder
- Mustard cake powder (soaked)
- Perlite for better drainage
Good soil = strong roots and more chillies.
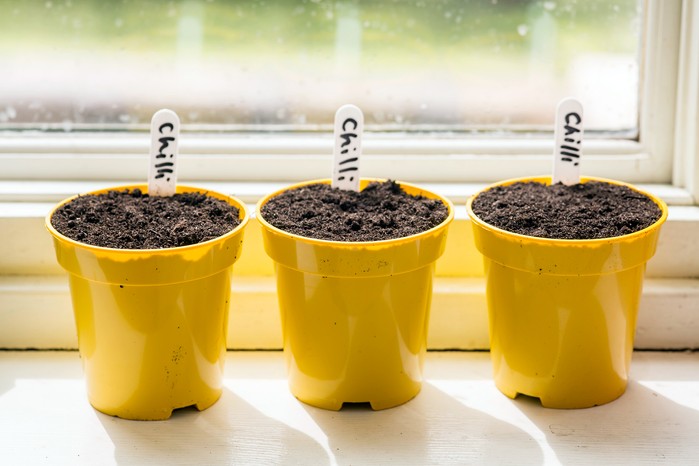
🌼 Step 4: Sowing the Seeds
You can sow seeds in:
✔ Seedling trays
✔ Small pots
✔ Recycled cups
✔ Egg cartons
✔ Cocopeat-filled nursery bags

How to Sow:
- Fill container with soil mix.
- Make a small hole (0.5 cm).
- Place 1–2 seeds in each hole.
- Cover lightly with soil—not too deep!
- Spray water gently.
- Cover with plastic wrap or a lid to retain moisture.
Germination: 5–15 days depending on temperature and seed quality.
☀️ Step 5: Provide Perfect Conditions for Sprouting
Chilli seeds need warmth.
Ideal Conditions:
- Temperature: 20–30°C
- Bright indirect sunlight
- Humid environment
- Soil moist but not soggy
Avoid:
✘ Overwatering
✘ Direct hot sun
✘ Cold weather
When seedlings appear, remove plastic cover immediately.
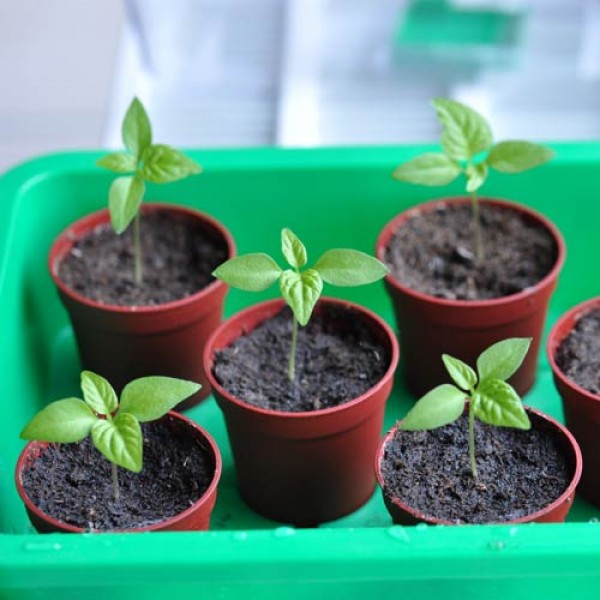
🌿 Step 6: Caring for Seedlings
Once the seedlings have grown 3–4 leaves:
Place Them in Bright Sunlight
4–6 hours of light is enough for seedlings.
Water Carefully
Use a spray bottle to keep soil moist.
Feed Lightly
After 15 days, give:
- Vermicompost tea
- Weak seaweed fertilizer
Transplant When Ready
When seedlings grow 10–12 cm tall, they are ready for transplanting into bigger pots.

🪴 Step 7: Transplanting Chilli Seedlings
Choose pots:
- Minimum 8–12 inches deep
- With good drainage holes
How to Transplant:
- Fill pot with the same soil mix.
- Make a hole in the center.
- Remove seedling gently with soil around roots.
- Place it in the hole.
- Press soil around plant.
- Water thoroughly.
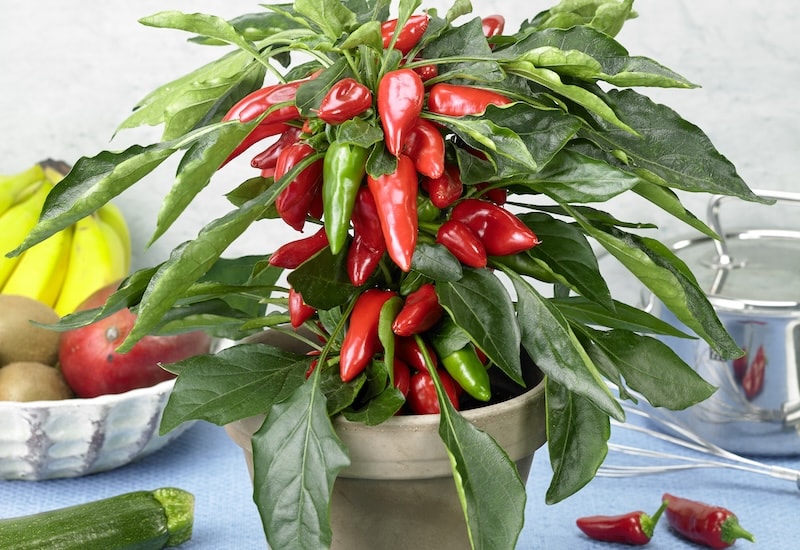
Your chilli plant is now ready to grow into a full bush!
🌞 Step 8: Sunlight Requirements
Chillies need 6–8 hours of sunlight for best growth.
If your plants don’t get enough sunlight, they may:
- Grow tall and weak
- Drop flowers
- Produce fewer chillies
Place them in:
- Terrace
- Balcony
- Windowsill
- Rooftop garden
💧 Step 9: Watering the Plant Correctly
Chillies hate overwatering.
🌿 Watering Tips:
- Water only when topsoil feels dry
- Avoid waterlogging
- Morning watering is best
- Mulch the topsoil with dry leaves
Overwatering causes:
- Yellow leaves
- Root rot
- Flower drop
Balance is the key.
🌱 Step 10: Fertilizing Your Chilli Plant
Chillies are heavy feeders.

Feed Every 15 Days With:
- Vermicompost
- Banana peel fertilizer
- Mustard cake liquid
- Cow dung compost
- Seaweed extract
Extra Boost:
Add Epsom salt (½ tsp/litre) once a month for healthy green leaves and more flowers.
Avoid chemical fertilizers for edible plants.
🍃 Step 11: Pruning and Training
Pruning makes the plant bushy and productive.
How to Prune:
- When plant is 30–40 cm tall, pinch the top node.
- Remove weak side shoots.
- Remove bottom leaves touching the soil.
This encourages new branches and more chillies.
🐛 Step 12: Protecting Plants from Pests
Common chilli pests:
- Aphids
- Whiteflies
- Spider mites
- Thrips
- Caterpillars
Natural Pest Sprays:
- Neem oil spray (once a week)
- Soap water spray
- Garlic–chilli spray
- Onion peel fertilizer spray
Prevent fungal issues:
- Ensure good airflow
- Avoid overwatering
- Remove infected leaves quickly
🌼 Step 13: Flowering Stage
Once your plant is 45–60 days old, flowers will appear.
For better flowering:
- Add more sunlight
- Give potassium-rich fertilizers
- Keep soil slightly moist
- Avoid shifting the pot too much
If flowers fall:
- Reduce watering
- Provide more light
- Check for pests
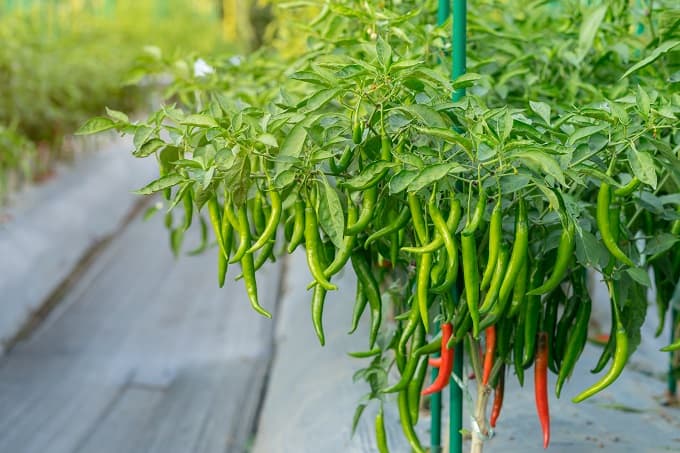
🌶️ Step 14: Fruiting Stage
After pollination, tiny green chillies start forming.
To improve fruiting:
- Add banana peel fertilizer
- Spray seaweed extract
- Avoid nitrogen-heavy fertilizers
Chillies take 20–30 days to fully grow.

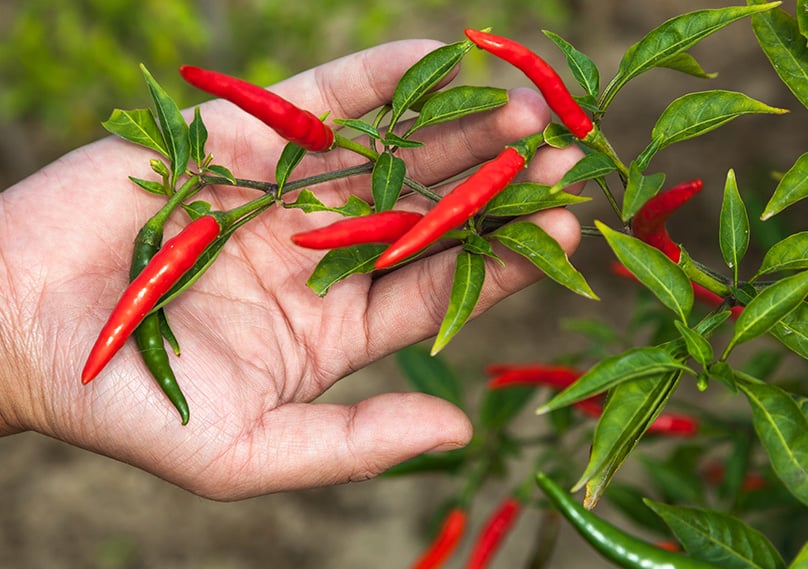
🧺 Harvesting Your Chillies
You can harvest:
- Green chillies when they reach full size
- Red chillies when they change color
Continuous harvesting encourages the plant to produce more.
One healthy chilli plant can give 100+ chillies in one season!
🌟 Final Tips for Success
🔥 Always grow at least 2–3 chilli plants for continuous supply
🔥 Use bigger pots for larger production
🔥 Replace topsoil with fresh compost every month
🔥 Save seeds from your best chillies for the next season
🔥 Keep plants warm in winter
🌶️ Conclusion
Growing chilli pepper plants from seeds is simple, fun, and incredibly rewarding. With the right soil, sunlight, and care, you can enjoy an endless supply of fresh, spicy, organic chillies right at home—no matter how small your space is. Whether you’re a beginner gardener or an expert, chilli plants are perfect for adding beauty and flavor to your home garden.