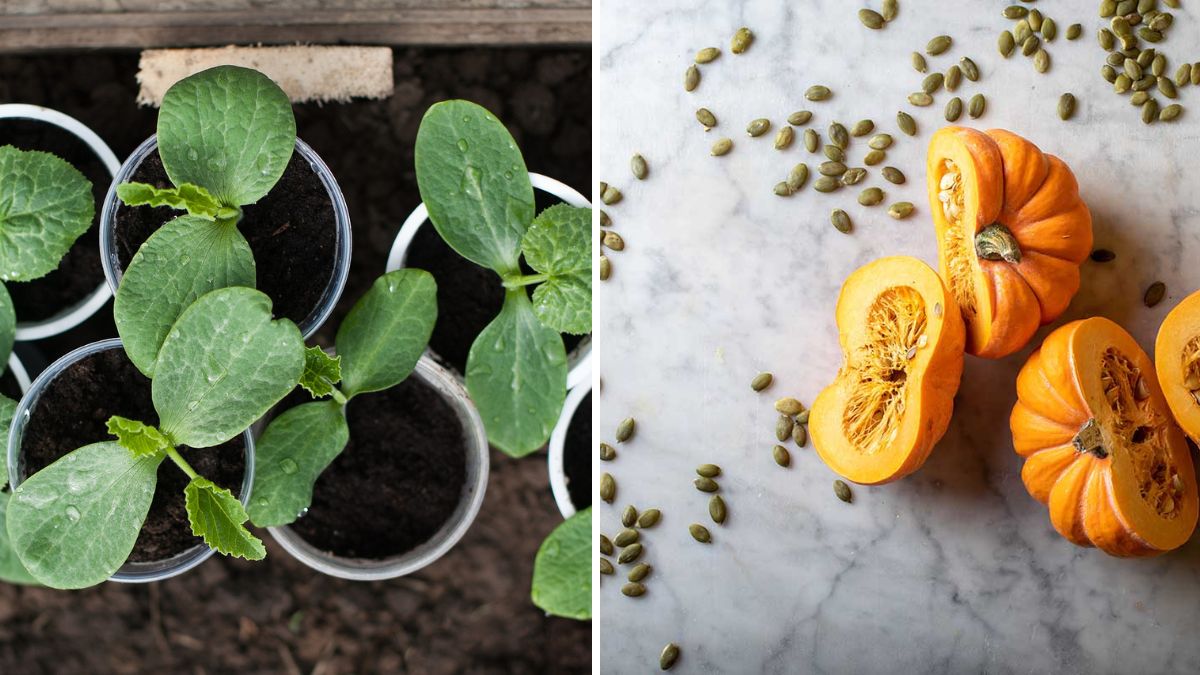
Pumpkins are among the most rewarding plants to grow in your garden, from their sprawling vines to the delicious fruits they produce. Whether you’re planning for Halloween decorations, hearty pumpkin pies, or simply a bountiful harvest, starting pumpkins from seedlings gives you a strong head start for a successful crop. Growing new pumpkin seedlings allows you to control the quality, health, and vigor of your plants from the very beginning. In this guide, we’ll explore step by step how to create new pumpkin seedlings at home, ensuring strong, healthy growth that leads to thriving pumpkin plants.
1. Why Start Pumpkins from Seedlings?
Starting pumpkins from seedlings instead of direct sowing has several advantages:
- Early start: Gives plants a head start on the growing season, especially in cooler climates.
- Stronger plants: Seedlings grown in controlled conditions are healthier and more robust.
- Higher survival rate: Reduces risk of seed loss due to pests, poor soil, or unfavorable weather.
- Better planning: Allows for staggered planting for continuous harvests.
By nurturing seedlings first, you give your pumpkins the best chance for vigorous growth and abundant fruit production.
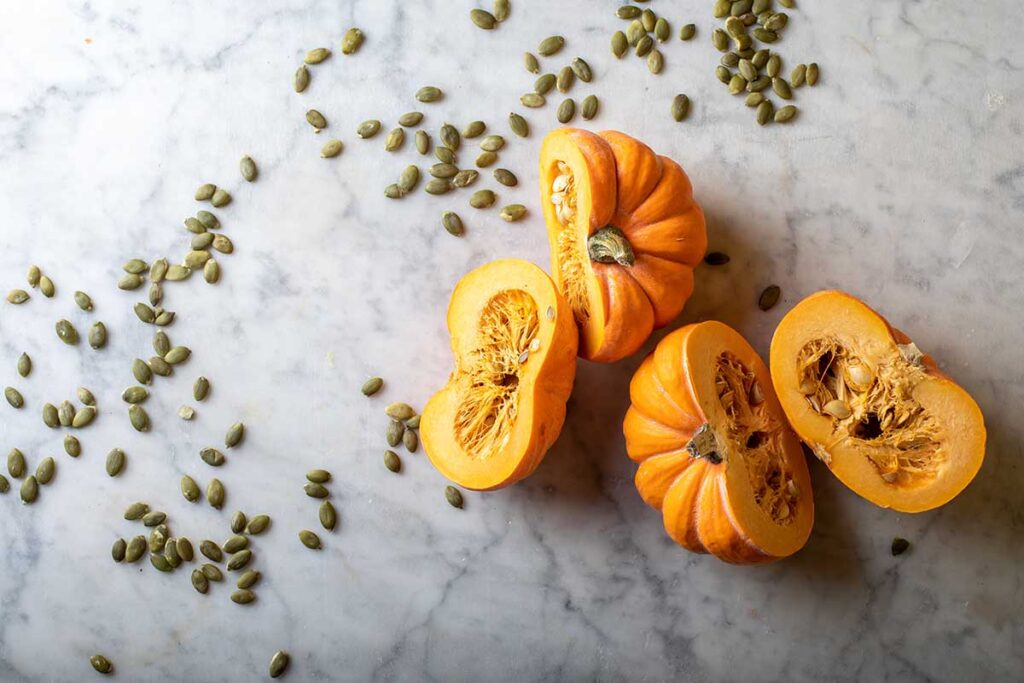
2. Selecting the Right Pumpkin Seeds
Not all pumpkin seeds are created equal. Choosing the right variety and quality seeds is crucial:
- Variety selection: Consider the size and purpose of your pumpkins.
- Giant varieties: ‘Atlantic Giant’ for competitions or large displays.
- Pie pumpkins: ‘Sugar Pie’ or ‘Small Sugar’ for culinary use.
- Mini or ornamental pumpkins: ‘Jack Be Little’ or ‘Baby Boo’ for decoration.
- Seed quality: Purchase fresh seeds from reliable sources to ensure good germination.
- Heirloom vs hybrid: Heirloom varieties offer unique traits, while hybrids often have disease resistance and faster growth.
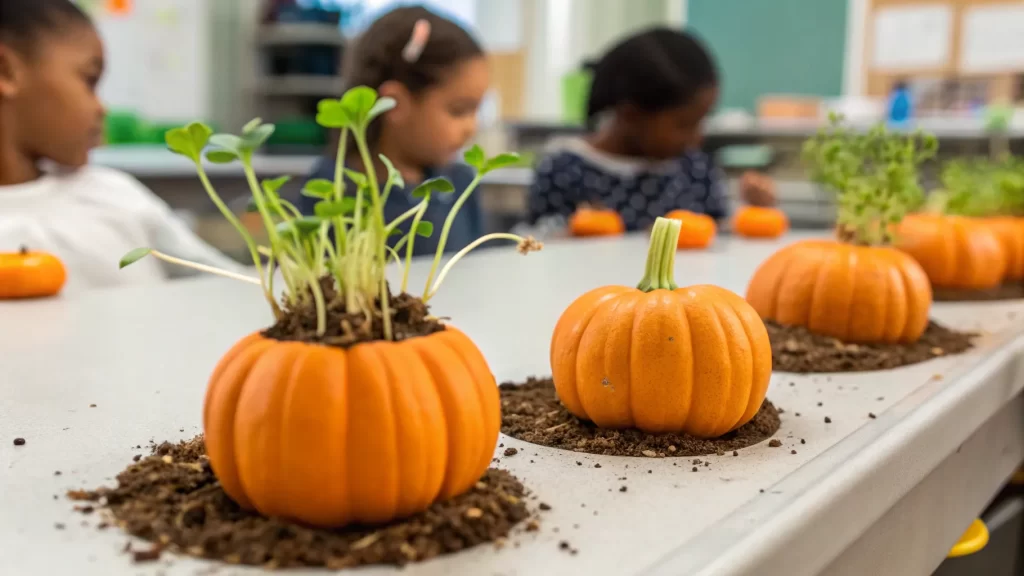
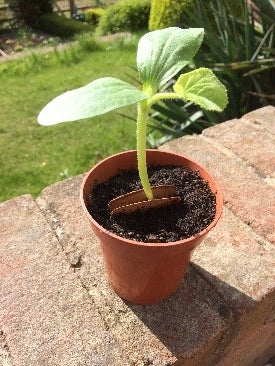
3. Preparing Your Seedling Containers
Seedlings thrive in containers that provide drainage, warmth, and enough space for root development:

- Seed trays or small pots: Ideal for indoor starting.
- Reusable containers: Recycled yogurt cups, egg cartons, or small nursery pots work well.
- Drainage: Ensure holes at the bottom to prevent waterlogging and root rot.
- Soil choice: Use a light, well-draining seed-starting mix. Avoid garden soil, which may be too heavy and contain pathogens.
Tip: Sterilize containers before planting to prevent fungal or bacterial growth.
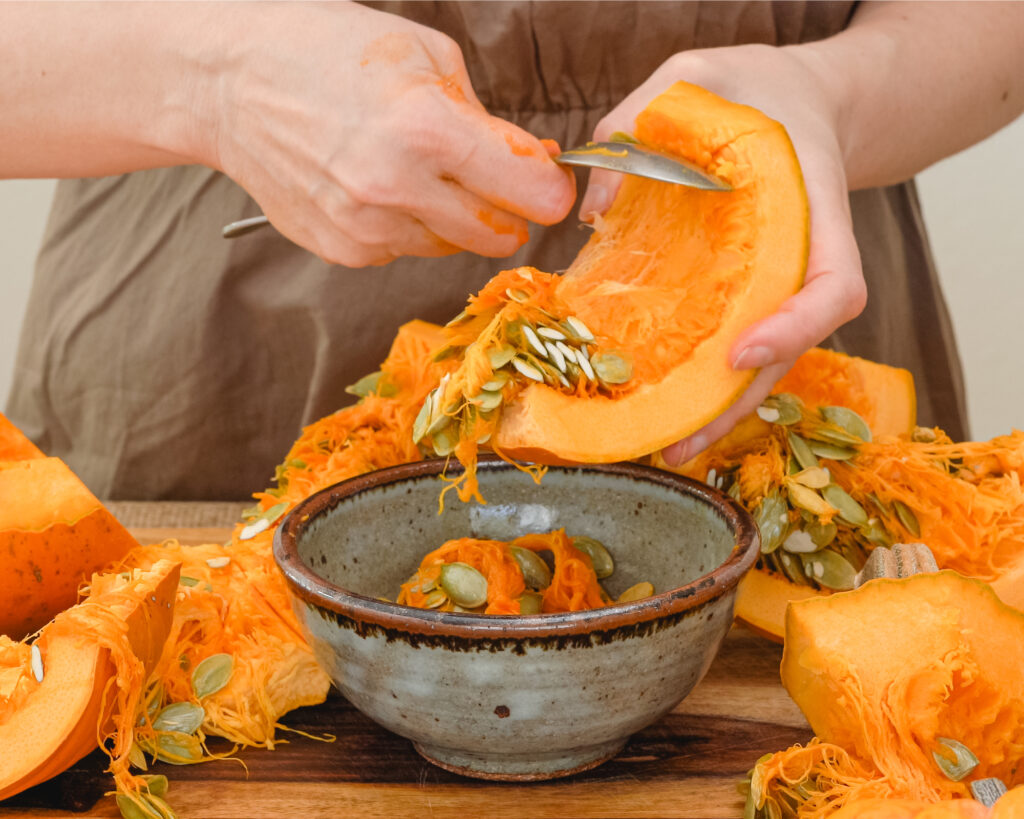
4. Sowing Pumpkin Seeds
Pumpkin seeds are large and easy to handle, but correct sowing technique ensures strong seedlings:
- Planting depth: Sow seeds about 1 inch (2.5 cm) deep.
- Spacing: Place one or two seeds per cell or pot. Thin to the strongest seedling after germination.
- Watering: Moisten the soil gently to avoid washing away seeds. Keep the soil consistently damp but not soggy.
- Temperature: Maintain a warm environment of 70–85°F (21–29°C) for optimal germination.
Pumpkin seeds typically germinate within 7–10 days under ideal conditions.
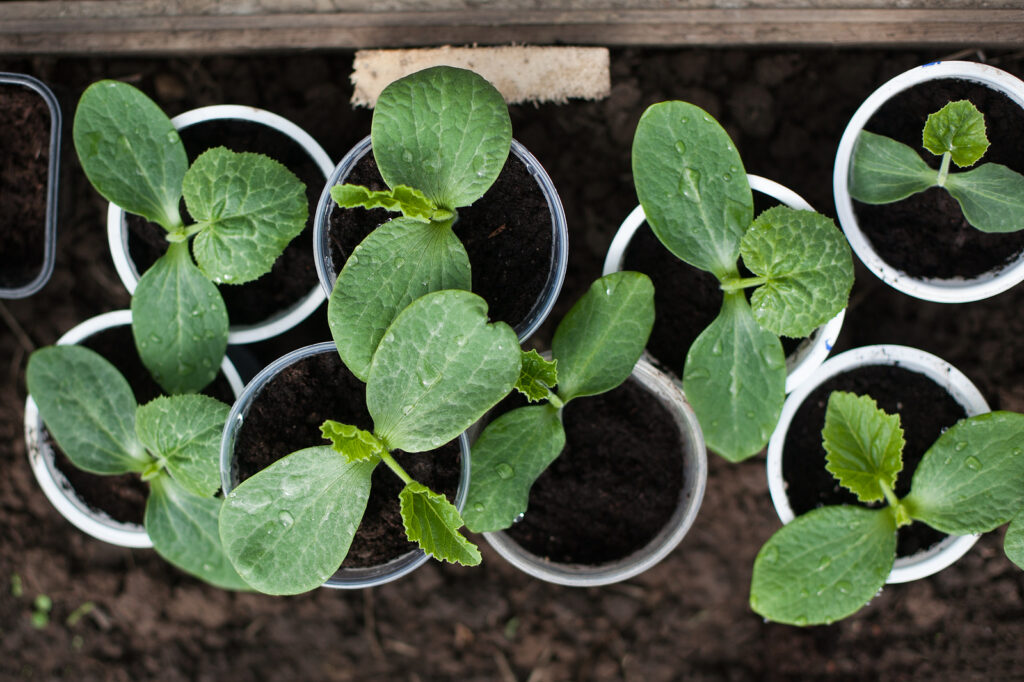
5. Providing Light for Seedlings
Light is essential for healthy pumpkin seedling growth:
- Natural light: Place seedlings near a south-facing window to ensure 12–16 hours of light per day.
- Artificial light: Use fluorescent or LED grow lights if natural sunlight is insufficient. Keep lights about 2–3 inches above seedlings and adjust as they grow.
- Rotation: Turn seedlings periodically if using natural light to prevent bending toward the window.
Proper lighting prevents seedlings from becoming leggy, which results in weak stems.

6. Watering and Humidity
Young pumpkin seedlings require careful attention to moisture:
- Consistent moisture: Keep the soil evenly damp but not waterlogged.
- Bottom watering: Water from below to avoid damping-off disease on delicate stems.
- Humidity: Cover seedlings with a clear plastic dome or plastic wrap to maintain humidity during germination. Remove once seedlings emerge.
Maintaining proper water and humidity ensures strong roots and reduces stress.
7. Feeding Your Seedlings
Seedlings need nutrients for rapid development, but too much fertilizer can harm them:
- Light feeding: Use a diluted, balanced liquid fertilizer (e.g., 10-10-10) once seedlings develop their first true leaves.
- Frequency: Feed every 1–2 weeks to promote sturdy growth.
- Organic options: Fish emulsion or compost tea provide gentle nutrients without chemical buildup.
Nutrient-rich soil supports thicker stems and healthy leaves, creating a strong foundation for future growth.
8. Hardening Off Seedlings
Before transplanting seedlings outdoors, they must be gradually acclimated to outdoor conditions:

- Timing: Begin hardening off 1–2 weeks before transplanting.
- Gradual exposure: Start with 1–2 hours of outdoor sunlight per day and gradually increase exposure.
- Wind and temperature: Protect seedlings from strong winds and frost.
- Watering: Keep seedlings hydrated but reduce excessive moisture to encourage root strength.
Hardening off prevents transplant shock and ensures seedlings adapt well to the garden environment.
9. Transplanting Seedlings
Transplanting is a critical step in pumpkin gardening:
- Timing: Plant seedlings outdoors after the last frost and when soil temperatures reach at least 65°F (18°C).
- Spacing: Space seedlings 4–8 feet apart depending on the variety. Giant pumpkins need more space than mini or bush types.
- Planting technique: Dig a hole slightly larger than the seedling container, gently remove the seedling, and plant at the same depth as in the pot. Firm soil around the roots and water thoroughly.
Proper transplanting reduces stress and encourages rapid root establishment.
10. Caring for Seedlings After Transplanting
Once in the garden, young pumpkin seedlings need consistent care:
- Watering: Water deeply once or twice a week, keeping the soil moist but not soggy.
- Mulching: Apply organic mulch to retain moisture, suppress weeds, and regulate soil temperature.
- Fertilizing: Feed seedlings with a balanced fertilizer 2–3 weeks after transplanting to promote healthy vine and leaf growth.
- Pest management: Monitor for pests like aphids, cucumber beetles, and slugs. Use organic or natural control methods where possible.
Healthy seedlings will grow into vigorous plants capable of producing large, juicy pumpkins.

11. Troubleshooting Common Seedling Problems
- Leggy seedlings: Caused by insufficient light. Provide more light or move closer to a bright window.
- Damping-off disease: Prevent by avoiding overwatering and using sterile soil.
- Yellowing leaves: Often due to nutrient deficiency; feed lightly with a balanced fertilizer.
- Slow growth: Check soil temperature, light, and watering consistency.
Early intervention ensures seedlings develop into strong, productive plants.
12. Tips for a Successful Pumpkin Seedling Garden
- Start seeds indoors 3–4 weeks before the last frost for early harvests.
- Use high-quality seeds for better germination rates.
- Keep soil warm and consistently moist during germination.
- Provide sufficient light to prevent weak, leggy seedlings.
- Harden off seedlings gradually to reduce transplant shock.
- Monitor for pests and diseases early to maintain healthy growth.
By following these steps, your pumpkin seedlings will thrive and produce a bountiful harvest.
13. Conclusion
Creating new pumpkin seedlings is a rewarding process that sets the stage for a successful pumpkin garden. From selecting high-quality seeds and preparing containers to germination, proper care, and transplanting, every step contributes to strong, healthy plants. By nurturing your seedlings carefully, you ensure vigorous growth, high survival rates, and eventually, impressive pumpkins ready for harvest.
Whether you’re a beginner gardener or an experienced grower, mastering the art of creating pumpkin seedlings allows you to enjoy homegrown pumpkins with superior taste, size, and quality. With patience, attention, and the techniques outlined here, your garden will flourish, bringing joy and satisfaction from seed to sprout to full-grown pumpkin.
