Chives are one of the easiest, most rewarding herbs to grow—perfect for beginners and experienced gardeners alike. Their mild onion-like flavor adds freshness to soups, salads, omelets, and almost every savory dish. Beyond their culinary value, chives are hardy, attractive, and can thrive in pots, garden beds, or even recycled containers. Whether you want a year-round supply or simply enjoy having herbs within arm’s reach, chives are an ideal choice.
In this complete guide, we’ll explore the most effective tips for growing healthy, thick, and flavorful chives at home. From choosing the right variety to harvesting and maintaining vigorous plants, you’ll learn everything needed for a successful chive garden.
1. Why Grow Chives at Home?
Chives offer several advantages that make them a must-have herb:
✔ Easy to grow and maintain
Chives thrive in nearly any environment and come back year after year.
✔ Versatile in the kitchen
Their mild flavor enhances countless dishes.
✔ Beautiful plant
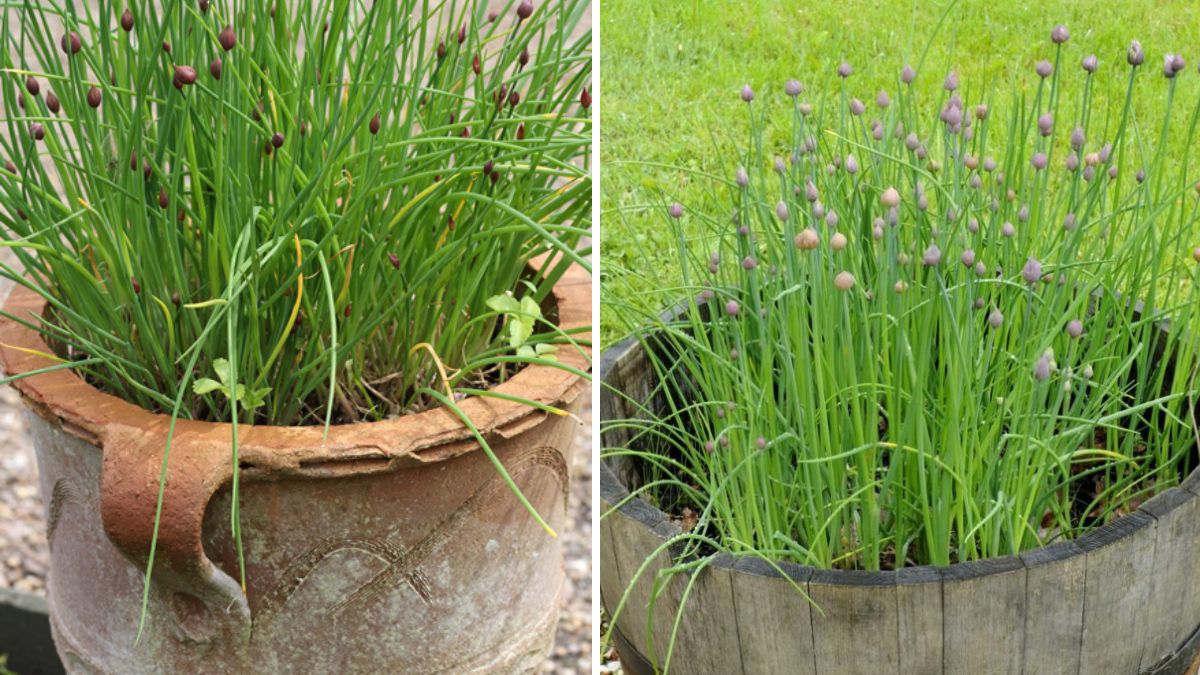
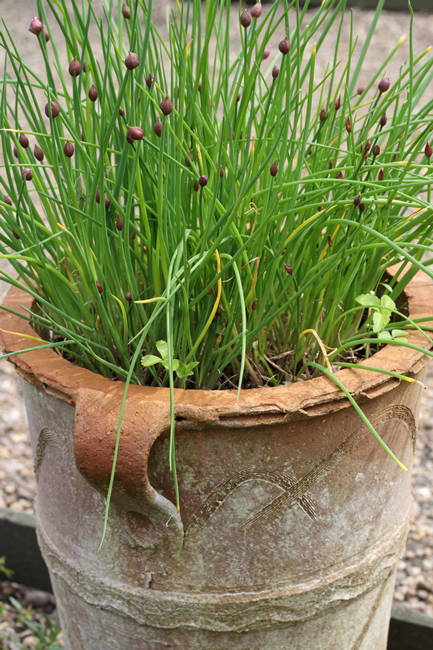
Their purple, globe-shaped flowers add ornamental value to the garden.
✔ Pest repellent
Chives naturally deter pests like aphids and beetles.
✔ Perfect for small spaces
They grow well in pots, window boxes, balconies, and raised beds.

Growing chives is simple, rewarding, and budget-friendly.
2. Choosing the Right Chive Variety
There are two primary types of chives:
1. Common chives (Allium schoenoprasum)
- Thin, hollow green leaves
- Purple pom-pom flowers
- Classic onion flavor
- Ideal for cooking
2. Garlic chives (Allium tuberosum)
- Flat, wide leaves
- White star-shaped flowers
- Mild garlic flavor
- Excellent for stir-fries
Both varieties grow easily, so choose based on your preferred flavor.
3. Starting Chives: Seeds vs Seedlings
You can grow chives from seeds or purchase seedlings from a nursery.
Growing from seeds:
- More affordable
- Takes longer to establish
- Best started in early spring
Growing from seedlings:
- Faster harvest
- Easy for beginners
If starting indoors, sow seeds 6–8 weeks before the last frost.
4. Best Soil Conditions for Chives
Chives thrive in soil that is:
- Loose, well-draining
- Rich in organic matter
- Moist but never waterlogged
Ideal soil mix:
- 50% garden soil or potting mix
- 30% compost
- 20% sand, perlite, or cocopeat
Chives prefer slightly acidic to neutral soil with a pH between 6.0 and 7.0.
5. Sunlight Requirements
Chives grow well in:

- Full sun: 6–8 hours per day
- Partial shade: Still good, but growth may be slower
In very hot climates, afternoon shade prevents leaf burn.
6. Planting Chives Correctly
Sowing seeds:
- Sow seeds ¼ inch deep.
- Keep the soil moist until seeds germinate (10–15 days).
- Thin seedlings to 10–15 cm spacing once they grow a few inches tall.
Transplanting seedlings:
- Plant them at the same depth as the nursery pot.
- Water thoroughly after planting.
Chives naturally grow in clumps that expand each year.
7. Watering Tips for Healthy Chives
Chives love moisture, but they don’t like soggy soil.
Watering guidelines:
- Water deeply once or twice a week.
- Increase frequency during hot, dry weather.
- Avoid shallow watering—it encourages weak roots.
Signs they need water:
- Drooping leaves
- Dry, papery leaf tips
Consistent moisture ensures lush, tender growth.
8. Fertilizing Chives for Thick, Lush Leaves
Chives don’t require heavy feeding, but they benefit from periodic nutrients.
Best fertilizers for chives:
- Compost
- Vermicompost
- Liquid seaweed
- Compost tea
Feeding schedule:
- Apply compost every 6–8 weeks.
- Give liquid fertilizer every 2–3 weeks during the growing season.
Avoid too much nitrogen—it causes weak, floppy growth.
9. Mulching to Improve Growth
Mulching helps retain soil moisture and keeps weeds away.
Best mulch options:
- Straw
- Dry leaves
- Grass clippings
- Cocopeat
Apply a thin layer of mulch around the plant (not touching the base).

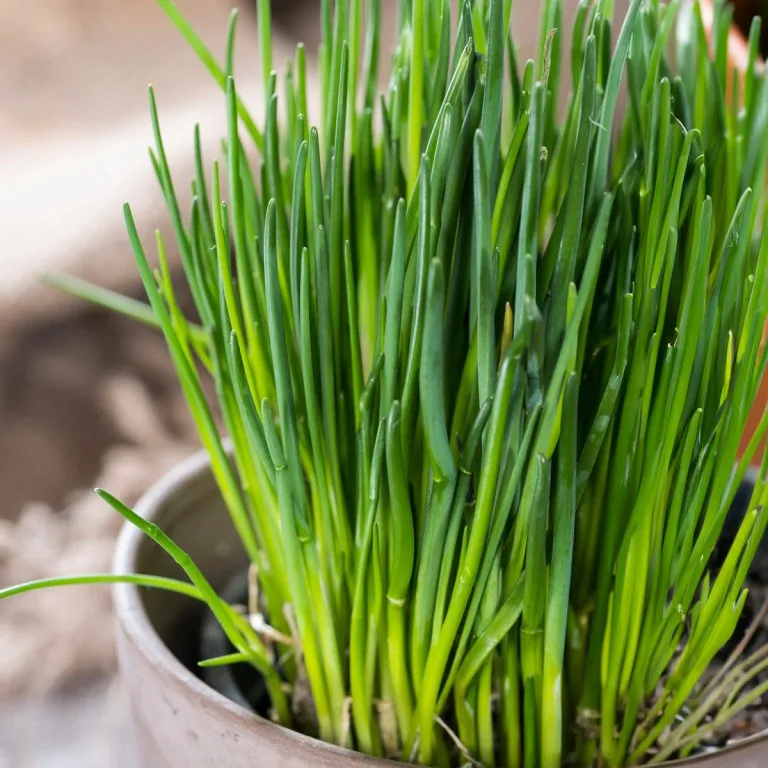
10. Pruning and Harvesting Chives
Regular harvesting encourages fresh growth and prevents the plant from becoming woody.
How to harvest chives:
- Use clean scissors.
- Cut leaves from the outer part of the clump.
- Leave at least 2–3 inches of growth at the base.
Best time to harvest:
- Morning, when leaves are crisp and hydrated.
Trimming rule:
The more you harvest, the more they grow!
11. Encouraging Thicker, Bushier Growth
To make your chive plants fuller:
Tip 1: Keep trimming frequently
Harvest every 1–2 weeks.
Tip 2: Divide clumps every 2–3 years
This rejuvenates the plant and improves leaf quality.
Tip 3: Remove flower stalks
If you want more leaves, cut flower stems early.
If you want seeds, let flowers bloom.
Tip 4: Fertilize lightly after each trim
This boosts fresh growth.
With consistent care, your chives will grow thick, vibrant, and productive.

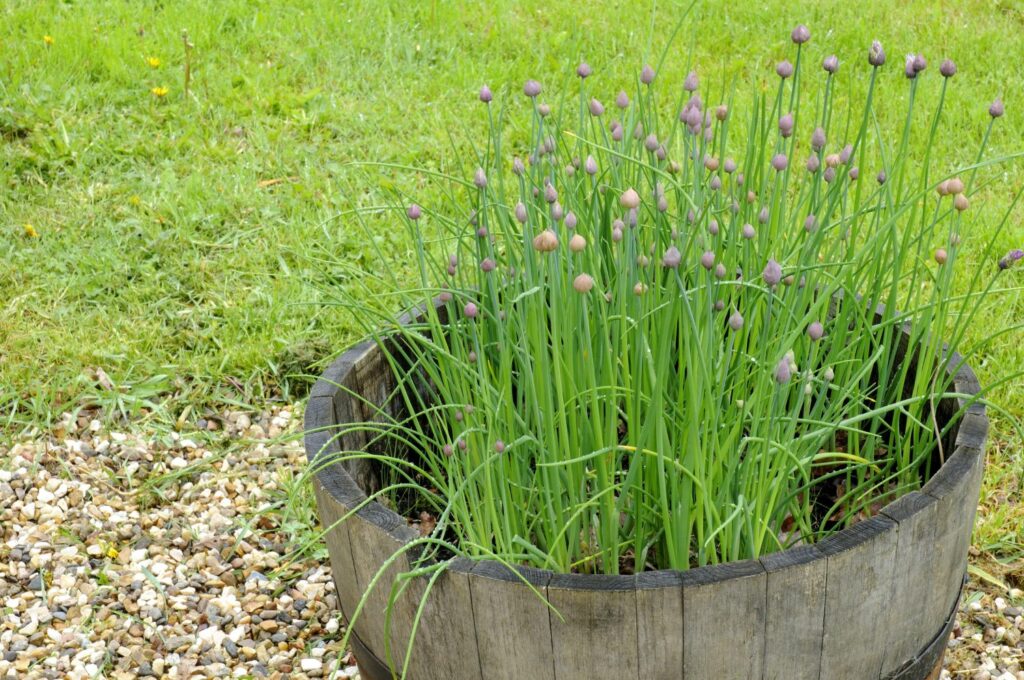
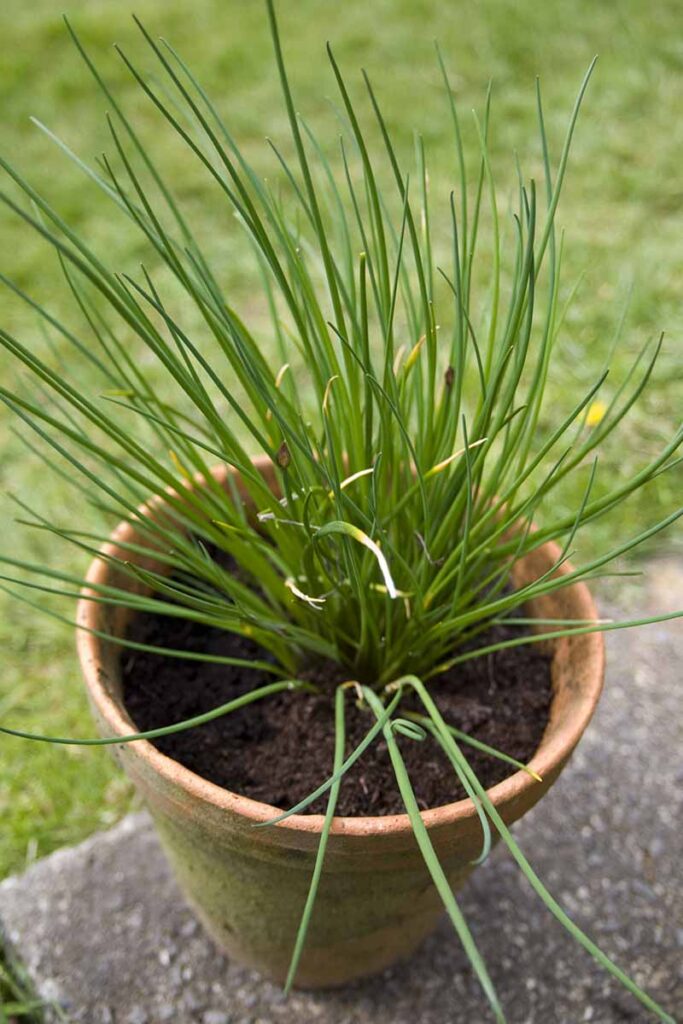
12. Growing Chives in Containers
Chives grow extremely well in pots and balcony gardens.
Container requirements:
- Minimum depth: 15 cm (6 inches)
- Width: 20–25 cm
- Good drainage holes
Self-watering containers also work well.
Place pots where they get morning sun and mild afternoon shade.
13. Pests and Diseases to Watch For
Chives are naturally pest-resistant, but some issues may still appear:
Common pests:
- Aphids
- Thrips
- Leaf miners
Natural remedies:
- Neem oil spray
- Soap water spray
- Garlic-pepper spray
Common diseases:
- Fungal rot (from overwatering)
- Rust
- Mildew
Ensure proper spacing and airflow to reduce disease risk.
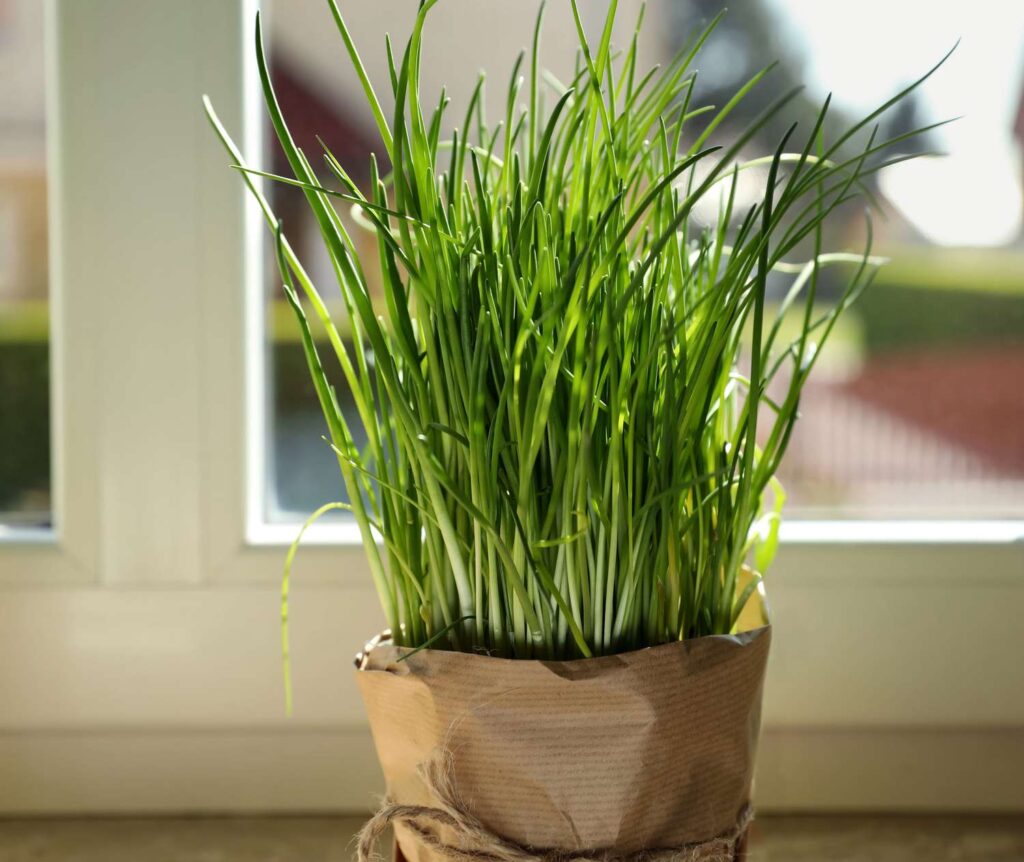
14. Growing Chives Indoors
Chives adapt extremely well indoors.
Indoor growing checklist:
- Place near a bright window with at least 4–6 hours of light.
- Use grow lights if natural light is limited.
- Maintain warm indoor temperatures (15–25°C).
- Avoid placing near heaters or air conditioners.
With the right conditions, indoor chives stay productive year-round.
15. Propagating Chives Easily
There are two simple propagation methods:
1. Division
- Dig up the clump.
- Separate into smaller portions with roots attached.
- Replant each clump in soil.
2. Seeds
- Allow flowers to mature.
- Collect black seeds once pods dry.
- Store in a cool, dry place and sow next season.
Dividing is the fastest and most reliable method.

16. Storing and Using Harvested Chives
Fresh chives are best used immediately, but they can be stored:
To store in the refrigerator:
- Wrap in damp paper towels.
- Keep in an airtight bag.
- Stays fresh for 4–6 days.
To freeze:
- Chop finely and freeze in ice cube trays with water or oil.
To dry:
- Air dry or use a dehydrator.
- Store in airtight jars.
Fresh or dried, chives add incredible flavor to your meals.
17. Conclusion
Growing chives at home is one of the easiest and most rewarding gardening experiences. With minimal space, a simple pot, and a little attention, you can maintain a continuous supply of fresh, flavorful chives all year long. From choosing the right variety and preparing nutrient-rich soil to watering, fertilizing, pruning, and harvesting, each step contributes to a lush and productive chive garden.
Whether you use them to season dishes, repel pests, or beautify your garden, chives are a versatile herb that every home gardener should grow. Follow these tips, and you’ll enjoy healthy, thick, and aromatic chives that elevate your cooking and brighten your garden.