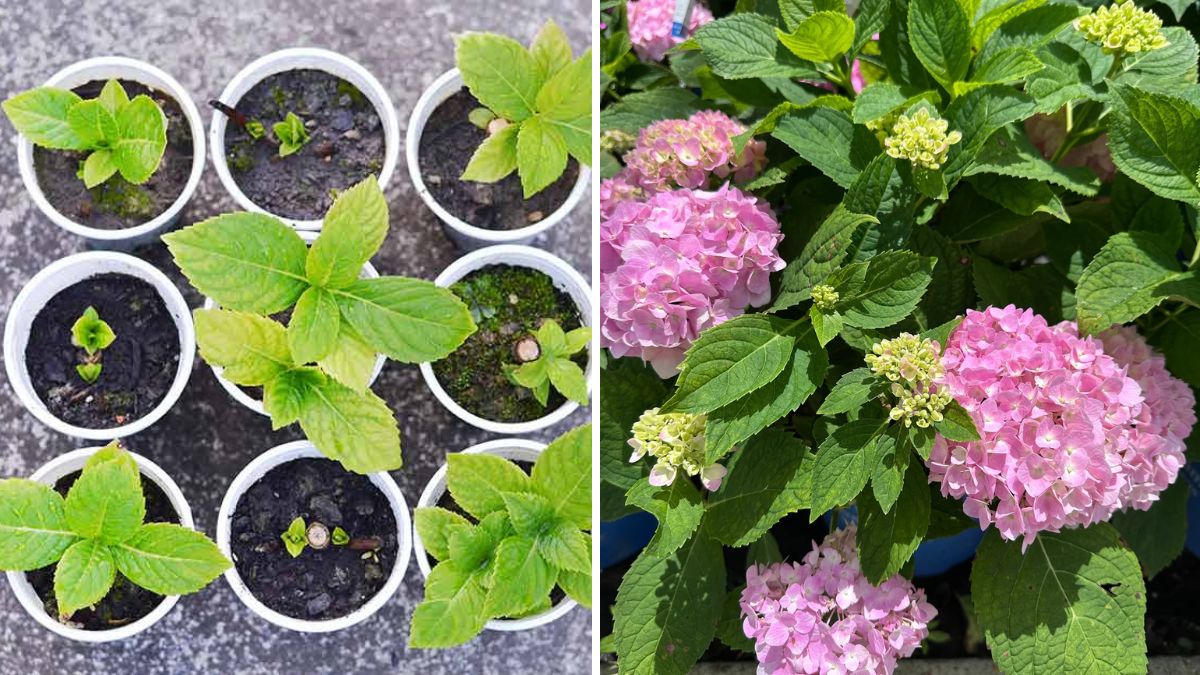
Hydrangeas are beloved for their stunning, voluminous blooms that can brighten any garden or indoor space. From vibrant blues to soft pinks and whites, these plants are versatile and highly rewarding to grow. While hydrangeas are widely available in nurseries, propagating them at home from cuttings is an affordable and satisfying way to expand your collection. Rooting hydrangea cuttings allows you to produce new plants identical to the parent, ensuring consistency in flower color and growth habit.
In this comprehensive guide, we’ll walk you step by step on how to propagate and root hydrangea cuttings at home, helping you create lush, healthy plants with strong root systems.
Why Propagate Hydrangeas from Cuttings?
Propagation from cuttings is a popular method for several reasons:
- Cost-Effective: You can multiply your plants without buying new ones.
- Clonal Reproduction: Cuttings produce plants identical to the parent, preserving flower color and type.
- Quick Growth: Rooted cuttings establish faster than seeds.
- Sustainability: Reusing parts of your existing plants promotes eco-friendly gardening.
- Fun and Educational: Propagation teaches essential horticultural skills and patience.
Unlike seed propagation, which can take months and sometimes produces unpredictable results, cuttings offer reliable, fast, and beautiful outcomes.
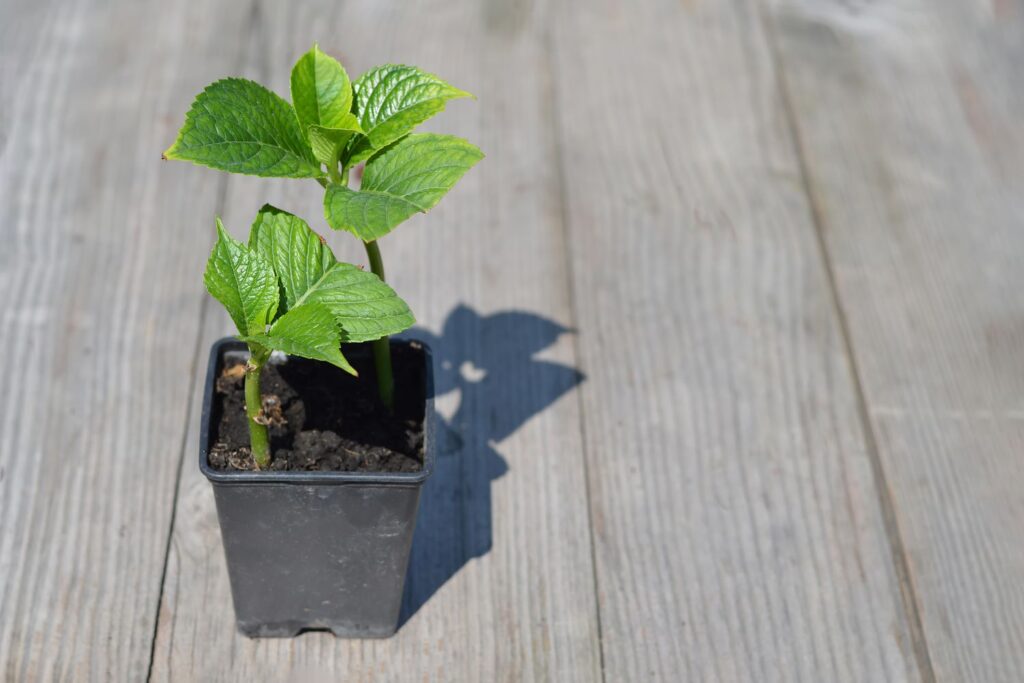
Step 1: Choosing the Right Hydrangea Cuttings
The first step in successful propagation is selecting healthy, viable cuttings:

- Timing: Take cuttings in late spring or early summer when the plant is actively growing.
- Stem Selection: Choose semi-hardwood stems, which are firm but still flexible, approximately 4–6 inches long. Avoid woody or overly soft stems.
- Leaf Selection: Select stems with at least 2–3 pairs of leaves. Remove any damaged or diseased leaves.
- Parent Plant Health: Only take cuttings from a healthy, pest-free hydrangea to ensure strong growth.
Choosing the right cutting sets the foundation for strong root development and a healthy plant.
Step 2: Preparing Hydrangea Cuttings
Proper preparation of cuttings increases the likelihood of successful rooting:
- Trim the Cutting: Cut just below a node (where leaves join the stem) using a sharp, clean knife or pruning shears.
- Remove Lower Leaves: Strip the bottom set of leaves to expose the node, leaving at least one or two pairs of leaves at the top.
- Optional Rooting Hormone: Dip the cut end in rooting hormone powder or gel to encourage faster root growth and improve success rates.
- Moisture: Keep cuttings in a cool, shaded place until ready to plant.
Well-prepared cuttings are less likely to wilt and more likely to develop strong roots quickly.
Step 3: Choosing the Right Rooting Medium
Hydrangea cuttings root best in well-draining, nutrient-light media:
- Potting Mix: A mix of peat moss, perlite, and vermiculite provides moisture retention and aeration.
- Sand or Coco Coir: Works well for small cuttings and ensures good drainage.
- Avoid Heavy Soil: Dense garden soil can suffocate cuttings and increase the risk of rot.
The right medium promotes root growth while minimizing fungal or bacterial infections.

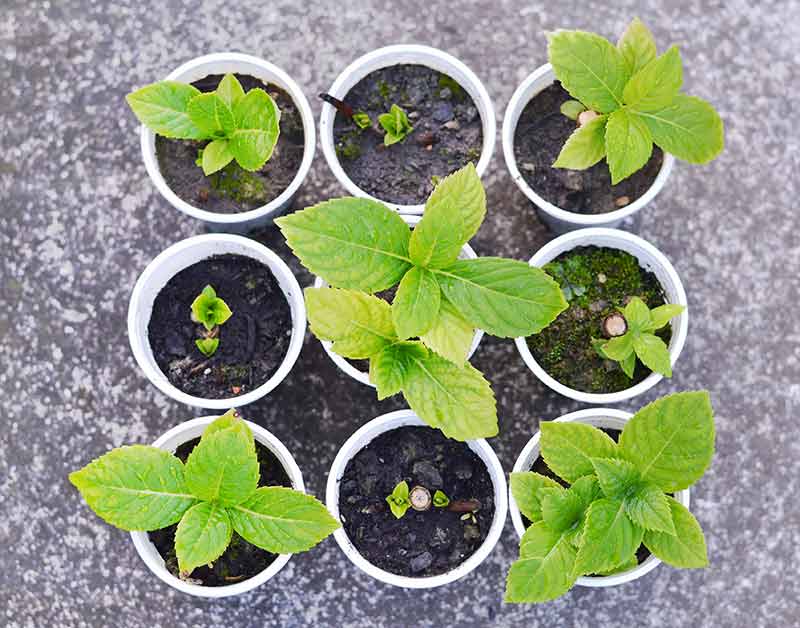
Step 4: Planting Hydrangea Cuttings
Now it’s time to plant the cuttings for optimal rooting:
- Prepare Containers: Use small pots or trays with drainage holes.
- Planting Depth: Insert cuttings 2–3 inches deep into the medium, ensuring the node where leaves were removed is buried.
- Spacing: Space cuttings to avoid overcrowding, which allows for proper air circulation.
- Watering: Mist lightly to moisten the medium, keeping it damp but not waterlogged.
Correct planting ensures that the cutting’s nodes are in direct contact with the rooting medium, which is essential for root development.
Step 5: Creating the Ideal Environment
Hydrangea cuttings root fastest under controlled conditions:
- Humidity: Cover cuttings with a plastic bag or use a propagation dome to retain humidity.
- Temperature: Keep the environment around 65–75°F (18–24°C). Avoid direct sunlight, which can overheat and stress the cuttings.
- Light: Place in bright, indirect light. Cuttings need light for photosynthesis but not direct sun exposure.
- Air Circulation: Remove the cover occasionally to prevent mold and provide fresh air.
Maintaining a humid, warm, and well-lit environment ensures faster, healthier root development.
Step 6: Watering and Maintenance
Regular care during the rooting phase is critical:

- Moisture Control: Keep the medium consistently damp but not soggy. Overwatering can cause rot.
- Check Leaves: Mist the leaves lightly if they begin to wilt.
- Monitor Growth: Inspect for any signs of disease or fungal growth and remove affected cuttings promptly.
- Patience: Hydrangea cuttings may take 2–4 weeks to develop roots, depending on the variety and environmental conditions.
Consistent care during this stage determines whether cuttings develop a robust root system.
Step 7: Checking for Root Development
Knowing when your cuttings have rooted is key before transplanting:
- Gently Tug the Cutting: If you feel resistance, roots have formed.
- Visible Roots: Transparent pots or removing a cutting from the medium can reveal white, healthy roots.
- Healthy Leaves: Green, firm leaves indicate that the cutting is thriving.
Patience and careful observation ensure you transplant cuttings only when they are ready.
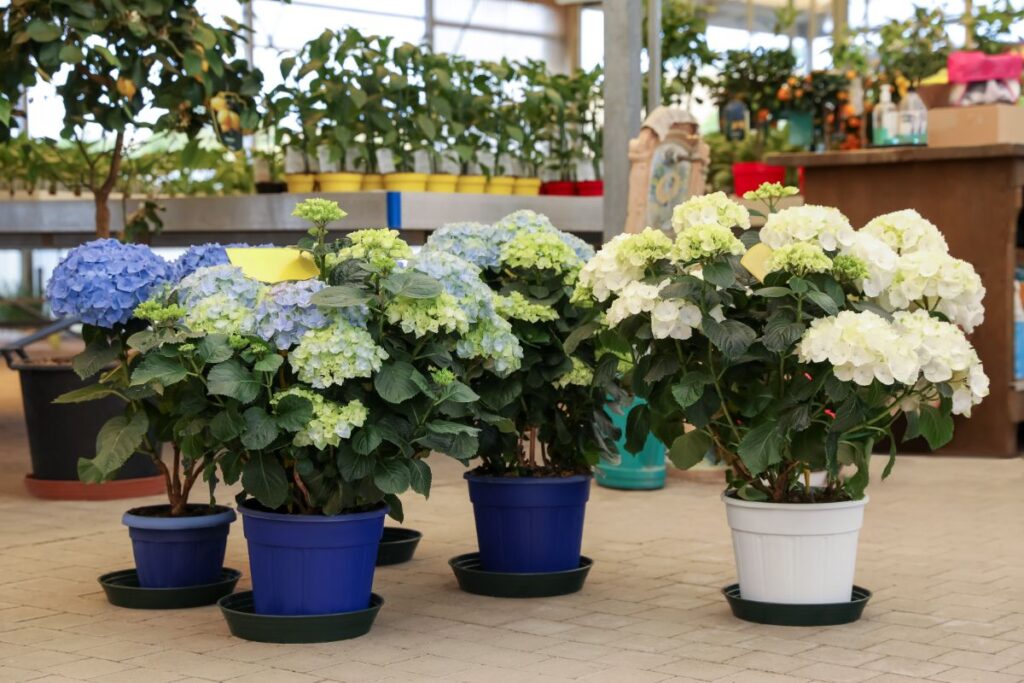
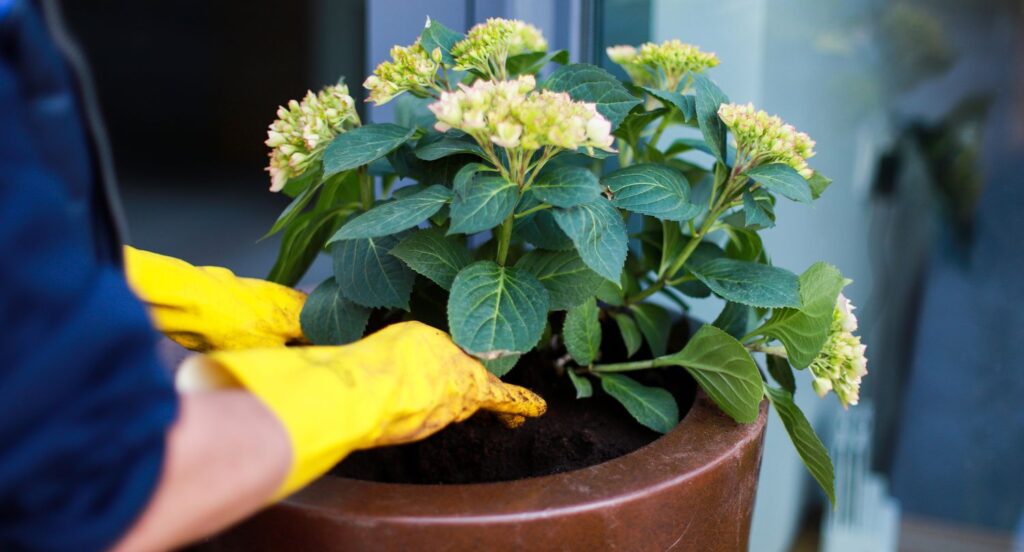
Step 8: Transplanting Rooted Hydrangeas
Once roots are well-developed, cuttings can be moved to permanent containers or garden beds:
- Prepare Soil: Use nutrient-rich, well-draining soil or a mix suitable for hydrangeas.
- Planting Depth: Bury the root ball fully, leaving the top leaves above soil.
- Water Thoroughly: Ensure roots have good contact with soil and remain hydrated.
- Acclimate Gradually: If moving outdoors, gradually expose cuttings to sunlight and environmental conditions.
Proper transplanting helps new plants establish quickly and thrive in their new environment.

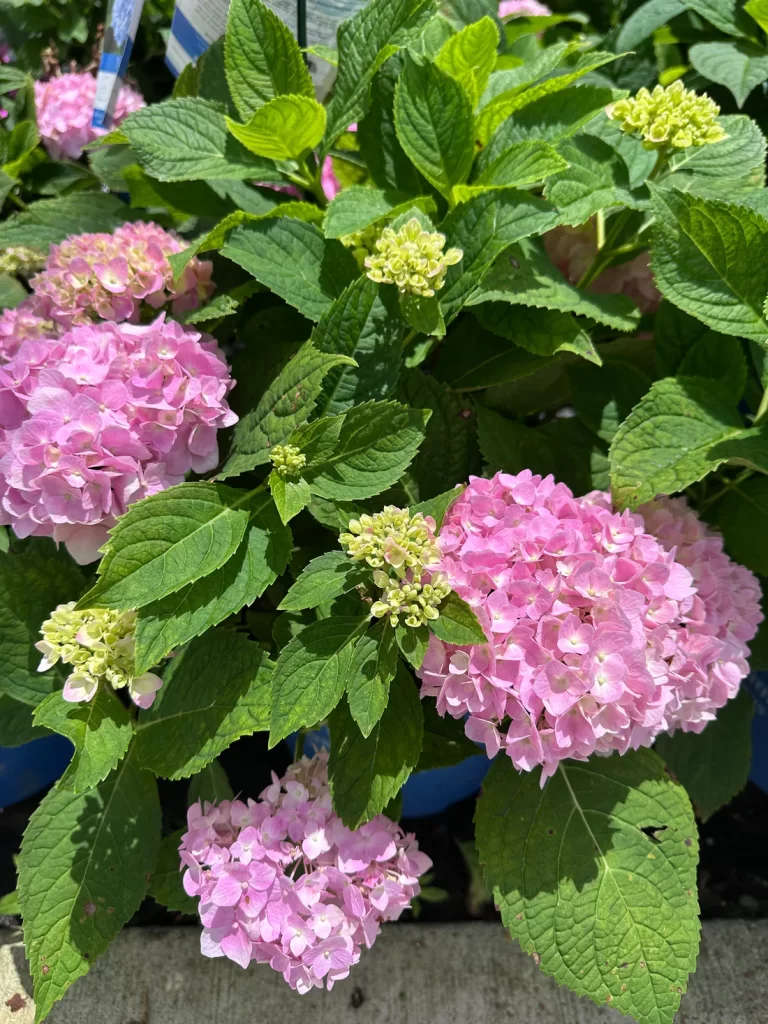
Step 9: Long-Term Care for Newly Rooted Hydrangeas
Caring for hydrangeas after rooting ensures vigorous growth and vibrant blooms:
- Watering: Keep soil consistently moist, especially during dry periods.
- Mulching: Add a layer of mulch to retain moisture and regulate soil temperature.
- Fertilizing: Use a balanced fertilizer or compost after 2–3 weeks to encourage growth.
- Pruning: Remove dead or damaged stems to direct energy to healthy shoots.
- Pest Control: Monitor for common pests like aphids or spider mites and treat naturally if needed.
Long-term care transforms cuttings into healthy, flourishing hydrangea plants.
Step 10: Tips for Success
- Use healthy parent plants to ensure strong, disease-free cuttings.
- Always sterilize tools to prevent infections.
- Maintain humidity and avoid direct sun during rooting.
- Avoid overcrowding cuttings to ensure proper airflow.
- Use rooting hormones for faster and more consistent results.
- Be patient—rushed cuttings often fail.
- Monitor regularly and remove any weak or diseased cuttings.
Following these tips ensures high success rates and strong, healthy hydrangea plants.
Benefits of Propagating Hydrangeas at Home
- Cost Savings: Multiply your plants without purchasing new ones.
- Consistent Blooms: Maintain the parent plant’s flower color and form.
- Satisfaction: Enjoy the process and the success of growing new plants.
- Sustainability: Reduce waste and reuse cuttings from healthy plants.
- Learning Experience: Gain valuable gardening skills and knowledge about plant growth.
Propagation is a practical and enjoyable way to enhance your garden with minimal investment.
Conclusion
Propagating and rooting hydrangea cuttings at home is a rewarding process that allows gardeners to expand their collection and enjoy beautiful blooms year after year. By selecting healthy cuttings, preparing them properly, creating a supportive environment, and providing consistent care, you can successfully grow strong, vibrant hydrangea plants.

From semi-hardwood cuttings to the final transplant, following these step-by-step instructions ensures high success rates and healthy plant growth. With patience, attention, and proper techniques, you’ll soon have flourishing hydrangeas that brighten your garden, patio, or indoor space.
Start today, and experience the joy of propagating your favorite hydrangeas, turning a simple cutting into a thriving, beautiful plant.