Hydroponics is a revolutionary gardening method that allows you to grow plants without soil, using nutrient-rich water instead. While hydroponics might sound complex, setting up a simple system at home is easier than you think. With the right knowledge, tools, and a little patience, you can enjoy fresh vegetables, herbs, and even flowers all year round.
In this guide, we’ll reveal all the secrets to making easy hydroponics at home, from choosing the right system to maintaining healthy plants. By the end, you’ll have the confidence to start your own indoor or balcony hydroponic garden.
Why Hydroponics at Home?
Hydroponics offers numerous benefits over traditional soil gardening:
- Faster Growth: Plants absorb nutrients directly from water, promoting faster growth.
- Space-Saving: Ideal for small apartments, balconies, or urban spaces.
- Water-Efficient: Uses up to 90% less water than soil gardening.
- No Soil Needed: Eliminates pests, weeds, and soil-borne diseases.
- Year-Round Gardening: Grow fresh produce regardless of the season.
- Better Yields: Plants are healthier and more productive due to controlled nutrition.
These advantages make hydroponics perfect for both beginners and experienced gardeners.
Step 1: Choosing the Right Hydroponic System
The first secret to easy hydroponics is selecting a system that fits your space and goals. Common home hydroponics systems include:

- Deep Water Culture (DWC): Plants float in nutrient-rich water with air stones providing oxygen. Ideal for leafy greens and herbs.
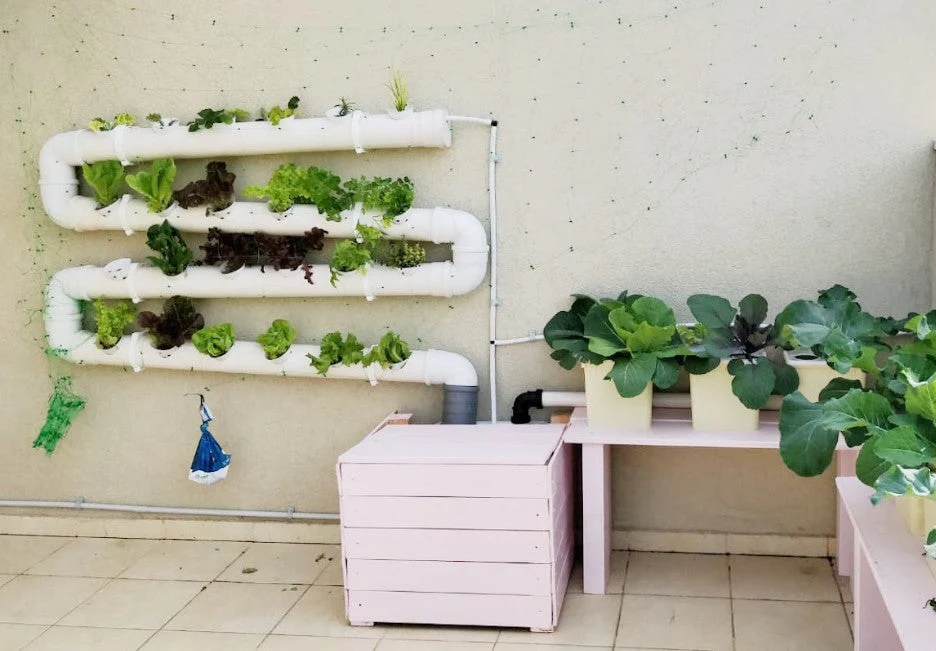
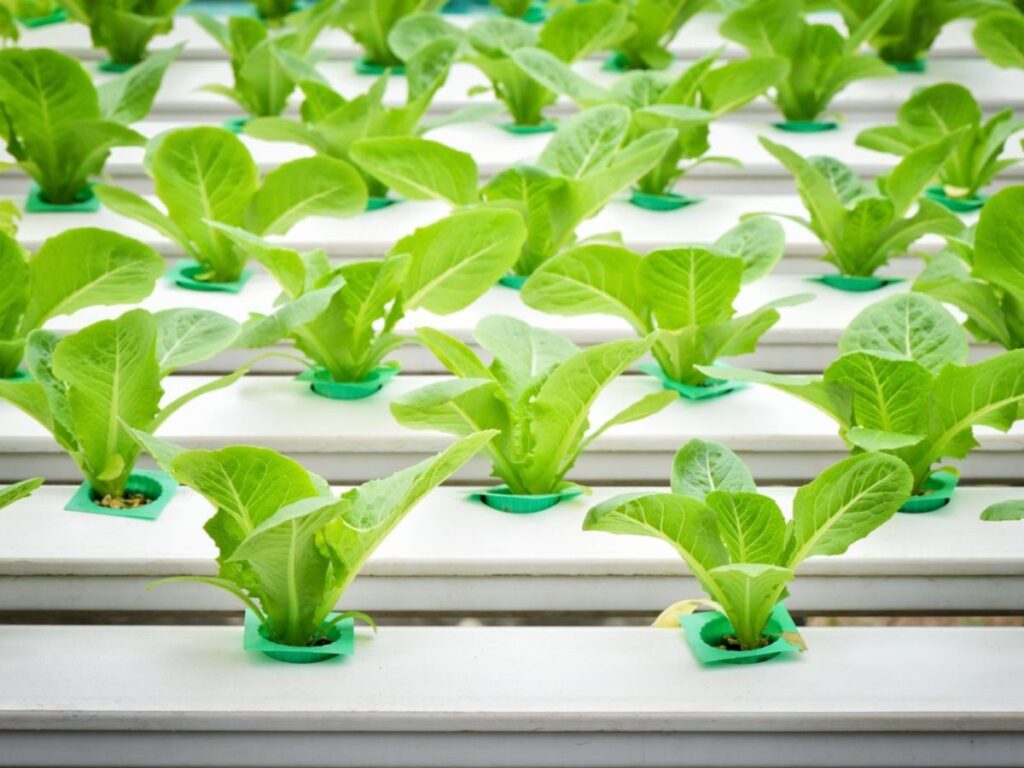
- Nutrient Film Technique (NFT): Thin streams of water flow over plant roots in channels. Great for lettuce, spinach, and strawberries.
- Wick System: Simple and passive system where a wick draws nutrients from the reservoir to the plant. Suitable for beginners and small herbs.
- Kratky Method: A low-maintenance, non-circulating system where roots grow in a nutrient solution with air exposure. Perfect for beginners.
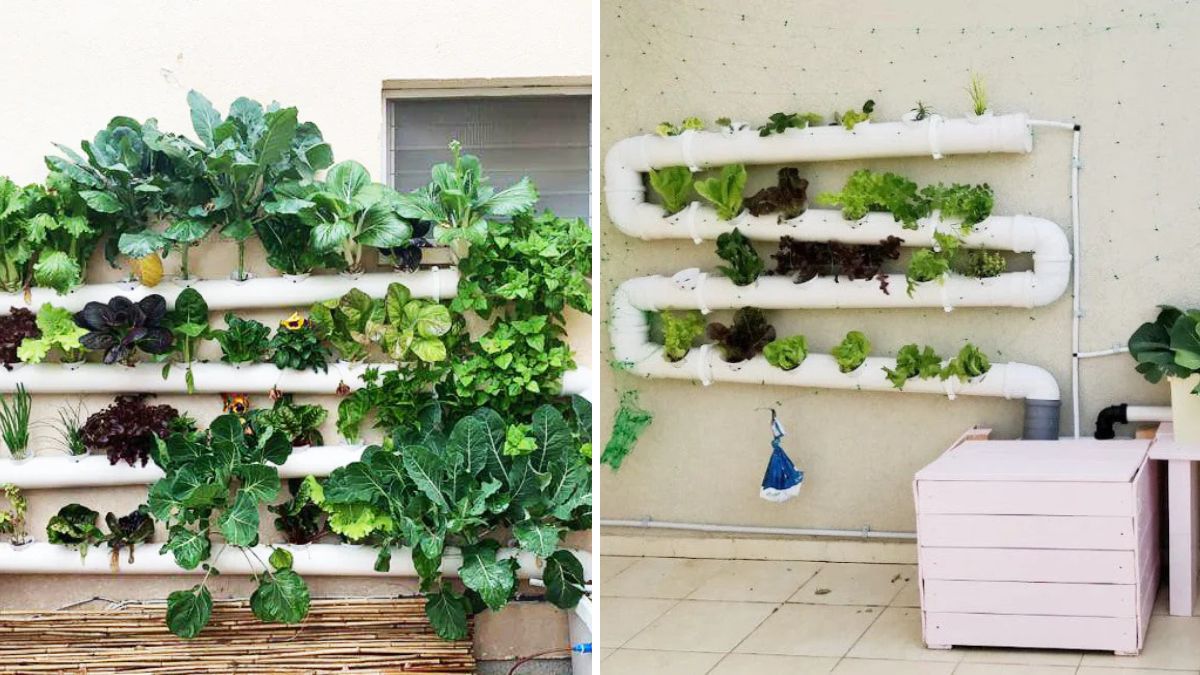
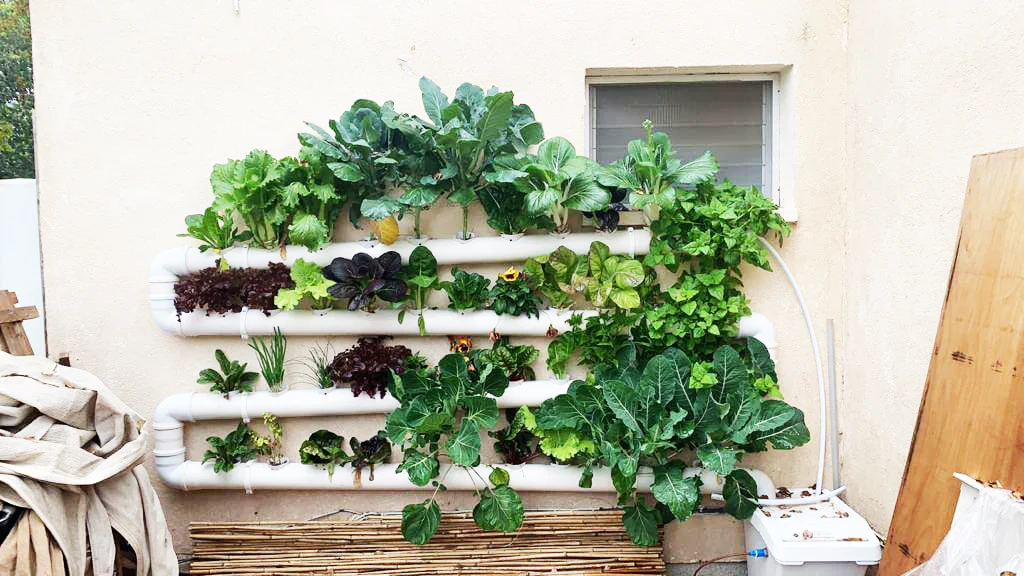
- Vertical Hydroponics: Space-saving towers that allow plants to grow upwards, maximizing yield in small areas.
For beginners, the wick or Kratky method is easiest to start with, requiring minimal equipment and maintenance.
Step 2: Gather Materials
Once you choose a system, gather materials. Most hydroponics setups require:
- Containers or reservoirs (plastic bins, buckets, or trays)
- Net pots or small perforated cups to hold plants
- Growing medium (rockwool, coco coir, perlite, or clay pellets)
- Hydroponic nutrient solution (available online or homemade)
- Air pump and air stones (for DWC and NFT systems)
- pH test kit and pH adjusters
- Timer for automated water or light cycles (optional)
- Seeds or seedlings
Having all materials ready ensures a smooth setup and faster success.
Step 3: Prepare the Nutrient Solution
Hydroponics relies on nutrient-rich water, which contains all the essential minerals plants need:
- Macronutrients: Nitrogen (N), Phosphorus (P), Potassium (K)
- Secondary Nutrients: Calcium (Ca), Magnesium (Mg), Sulfur (S)
- Micronutrients: Iron, Zinc, Copper, Manganese, Molybdenum, Boron
Mix the solution according to the instructions on commercial hydroponic fertilizers or use homemade solutions from compost teas, seaweed extracts, and mineral supplements.

Secret Tip: Check pH regularly (ideal range 5.5–6.5) to ensure nutrient absorption. Adjust using pH-up (potassium hydroxide) or pH-down (phosphoric acid).
Step 4: Start with Easy Plants
For beginners, it’s best to start with plants that root quickly and grow well in hydroponics:
- Leafy Greens: Lettuce, spinach, kale, arugula
- Herbs: Basil, mint, cilantro, parsley
- Small Vegetables: Cherry tomatoes, peppers, cucumbers
- Flowers: Marigolds, pansies (for fun experiments)
Starting with fast-growing plants gives quick results, keeps motivation high, and teaches you the basics of hydroponic care.
Step 5: Planting Seeds or Seedlings
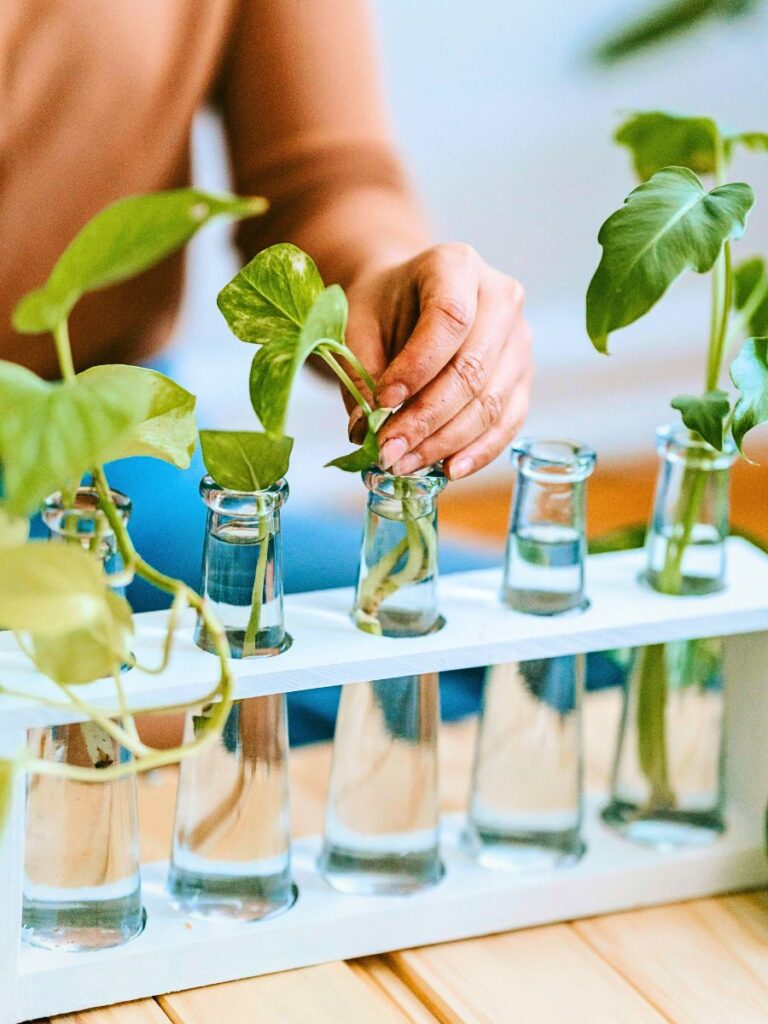
- Germinate Seeds: Use rockwool cubes, cotton, or paper towels to start seeds. Keep moist and warm until roots emerge.
- Transfer to System: Place germinated seedlings into net pots with growing medium. Ensure roots have contact with nutrient solution.
- Spacing: Avoid overcrowding. Roots need space and air circulation to grow strong.
Proper planting prevents stress and ensures plants grow rapidly in hydroponics.
Step 6: Maintain Optimal Conditions
Hydroponics is all about control. Maintain these conditions for healthy plants:

- Water Level: Keep nutrient solution at the recommended height. Roots should be partially submerged.
- Temperature: Ideal water temperature: 65–75°F (18–24°C). Air temperature: 70–80°F (21–27°C).
- Light: Provide 12–16 hours of light per day using natural sunlight or LED grow lights.
- Oxygenation: Use air pumps or air stones for DWC systems to supply oxygen to roots.
- Nutrient Monitoring: Check solution regularly and top up nutrients as plants grow.
Monitoring these factors is the secret to fast growth, strong roots, and abundant yields.
Step 7: Troubleshooting Common Problems
Even easy hydroponics can encounter issues. Here’s how to handle them:
- Yellow Leaves: Usually nitrogen deficiency. Check nutrient solution and adjust.
- Root Rot: Caused by stagnant water or low oxygen. Use air stones or increase circulation.
- Algae Growth: Cover the reservoir and avoid direct sunlight on water.
- Pests: Keep plants clean and monitor for aphids or spider mites.
Early detection and prompt action keep your hydroponic garden healthy.
Step 8: Harvesting Your Plants
One of the joys of hydroponics is quick harvests:
- Leafy Greens: Can be harvested in 3–4 weeks. Pick outer leaves first to allow continuous growth.
- Herbs: Snip regularly; encourages bushy growth.
- Vegetables: Harvest when fruits reach full size for best flavor.
Hydroponics allows multiple harvests from the same plant, maximizing productivity.

Step 9: Cleaning and Maintenance
Regular maintenance ensures long-term success:
- Clean Reservoirs and Trays: Prevent algae, pathogens, and buildup.
- Replace Nutrient Solution: Change every 2–3 weeks for optimal nutrition.
- Inspect Roots: Healthy roots are white; brown or slimy roots indicate problems.
- Check pH and EC: Ensure nutrients remain in the ideal range for absorption.
Routine care keeps your hydroponic system efficient and productive.
Step 10: Advanced Secrets for Home Hydroponics
Once you’re comfortable, you can experiment with these tips to optimize growth:
- Vertical Hydroponics: Grow more plants in less space by stacking channels.
- Companion Planting: Combine compatible plants to improve growth and flavor.
- Automation: Use timers for lights and pumps to save effort.
- CO₂ Supplementation: Boost growth rates for fast-growing vegetables.
- Cloning: Propagate new plants from cuttings in your hydroponic system.
These secrets can transform your small home setup into a high-yield, modern indoor garden.
Conclusion
Hydroponics is no longer a mystery—it’s an easy, practical, and rewarding way to grow plants at home. By choosing the right system, preparing a nutrient-rich solution, selecting easy plants, and maintaining optimal conditions, you can enjoy fresh, healthy, and fast-growing produce year-round.

Whether you have a balcony, kitchen corner, or small indoor space, easy hydroponics allows you to take control of your garden, maximize space, and harvest nutrient-rich vegetables and herbs. Follow these secrets, experiment with different plants, and soon you’ll discover the full potential of home hydroponics.
Start today, and turn your home into a thriving, green oasis with fresh, healthy plants grown using the secrets of easy hydroponics!