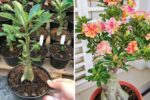
Gardening isn’t just about planting and nurturing—it’s also about planning for the future. One of the most rewarding skills a gardener can master is collecting and storing seeds. By saving seeds from your healthiest plants, you can grow a sustainable garden year after year, save money, and preserve your favorite plant varieties. In this guide, we’ll share step-by-step tips, tricks, and hacks to collect and store seeds successfully, ensuring your garden continues to thrive season after season.
Why Collect and Store Seeds?
Seed saving is more than a gardening hack—it’s an investment in your garden’s future. Here are some key reasons to collect seeds:
- Cost-effective: Buying seeds every season can be expensive; saving your own seeds reduces costs.
- Preserve varieties: Save seeds from your favorite plants to maintain unique traits and flavors.
- Sustainable gardening: Seed saving reduces dependence on commercial seed suppliers and encourages biodiversity.
- Early start: Having your own seeds ready lets you start planting as soon as the season begins.
- Educational and fun: Seed collecting is a great way to teach kids about plant life cycles and sustainability.
Whether you grow vegetables, flowers, or herbs, seed saving is a skill that adds value to your garden.
Step 1: Identify Plants for Seed Saving
Not all plants produce viable seeds, so start with the right candidates:
- Vegetables: Tomatoes, peppers, beans, peas, lettuce, spinach, and carrots.
- Herbs: Basil, cilantro, parsley, dill, and mint (although mint seeds are tricky).
- Flowers: Sunflowers, marigolds, zinnias, cosmos, and portulaca.
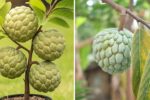
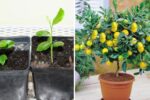
- Fruits: Melons, pumpkins, cucumbers, and strawberries (strawberry seeds are tiny and need special care).
Tip: Choose healthy, disease-free plants with the traits you want to preserve, as these qualities will carry into the next generation.
Step 2: Wait for Seeds to Mature

Patience is key when saving seeds. Harvest too early, and seeds may not germinate.
- Vegetables: Allow fruits to ripen fully on the plant. For example, tomatoes should be completely red before collecting seeds.
- Flowers: Let seed pods dry and turn brown naturally. Do not pull seeds prematurely.
- Beans and peas: Harvest when pods are dry, crisp, and brown.
- Fruits: For melons or pumpkins, wait until the fruit is fully ripe.
Tip: If you live in a rainy region, consider harvesting seeds before the first heavy rains to prevent mold or seed rot.
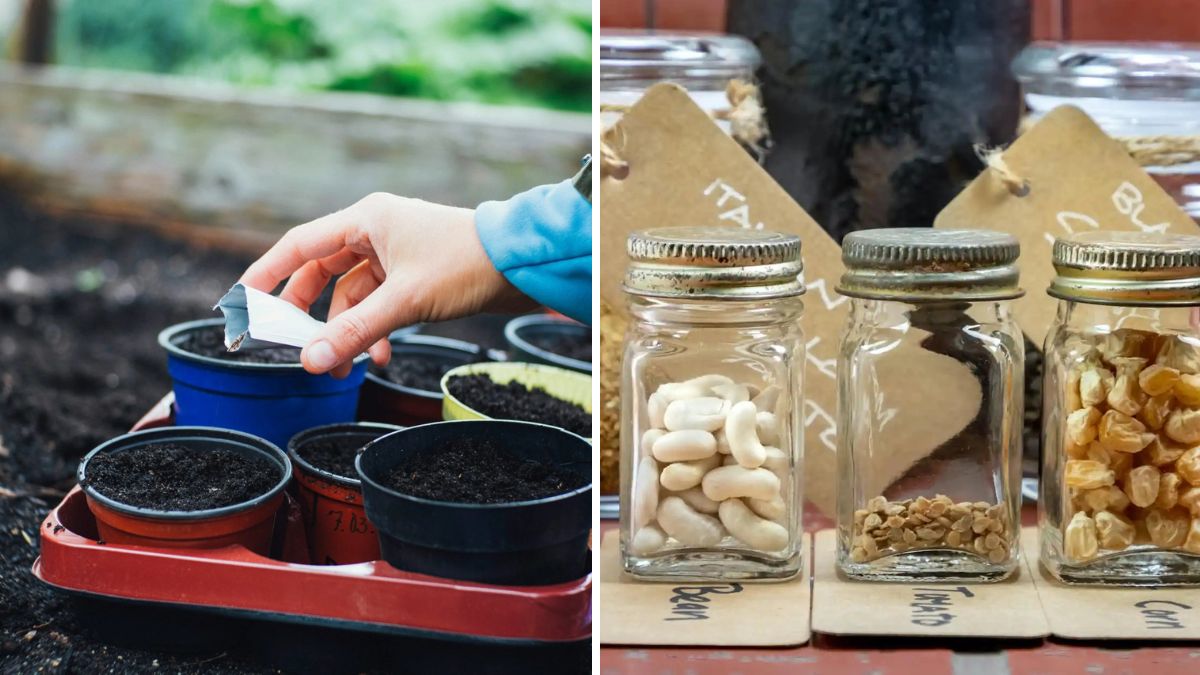
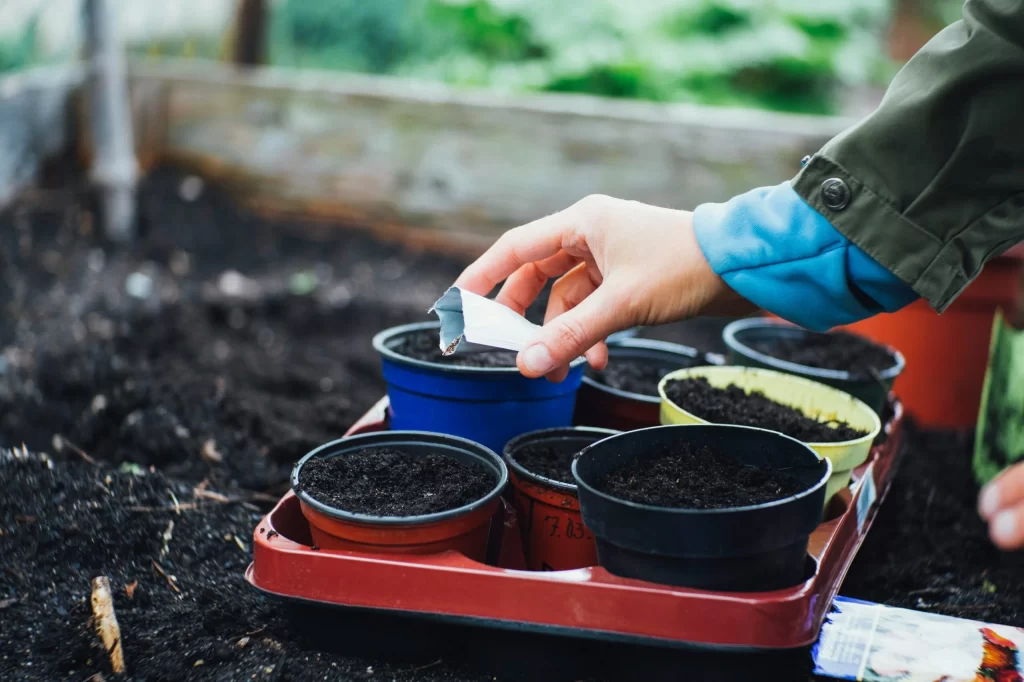
Step 3: Collect Seeds Properly
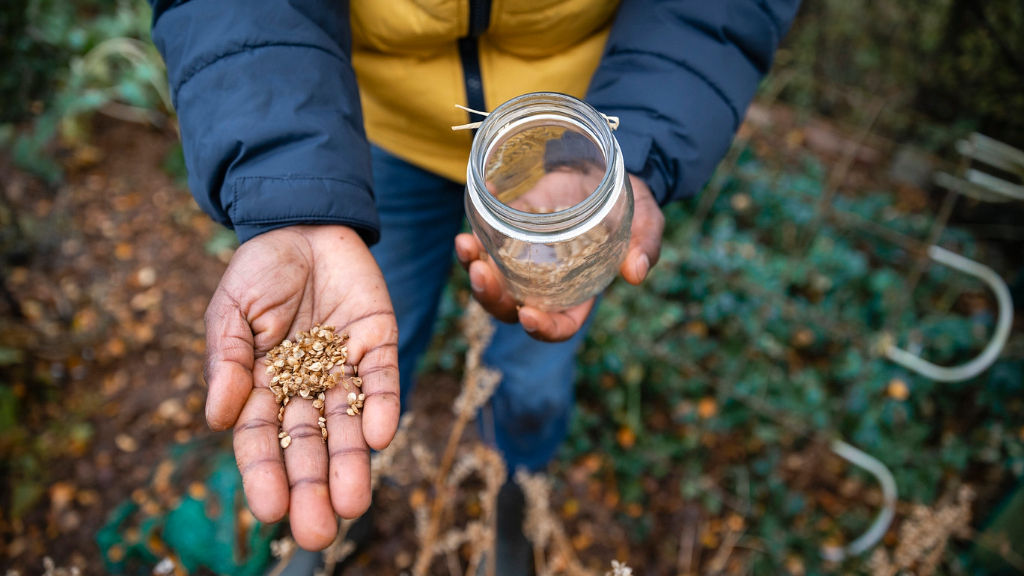
Collecting seeds correctly ensures higher germination rates:
- Dry pods: Gently crush dry pods to release seeds.
- Fruits: Scoop out seeds from ripe fruits like tomatoes, cucumbers, or melons.
- Flowers: Shake seed heads over a clean plate or paper to collect small seeds.
- Legumes: Split bean and pea pods carefully to extract seeds.
Tip: Use a clean bowl or envelope for collection to avoid contamination from dirt or pests.
Step 4: Clean Seeds
Cleaning seeds is essential for preventing mold and disease:
- Tomatoes: Scoop seeds and rinse to remove pulp. Dry on paper towels for a few days.
- Beans and peas: Remove pods and any debris. Let seeds dry completely before storage.
- Flowers: Separate seeds from husks and chaff by winnowing or gently blowing away debris.
Tip: Avoid washing seeds of plants like carrots or parsnips—simply dry them thoroughly.
Step 5: Dry Seeds Completely
Proper drying is critical for seed longevity:
- Spread seeds in a single layer on a paper towel, plate, or mesh tray.
- Place in a cool, dry, and shaded area with good air circulation.
- Avoid direct sunlight, which can damage seeds.
- Drying can take anywhere from a few days to a couple of weeks, depending on seed type and humidity.
Tip: Test dryness by biting a seed gently—it should be hard and break easily, not soft or flexible.
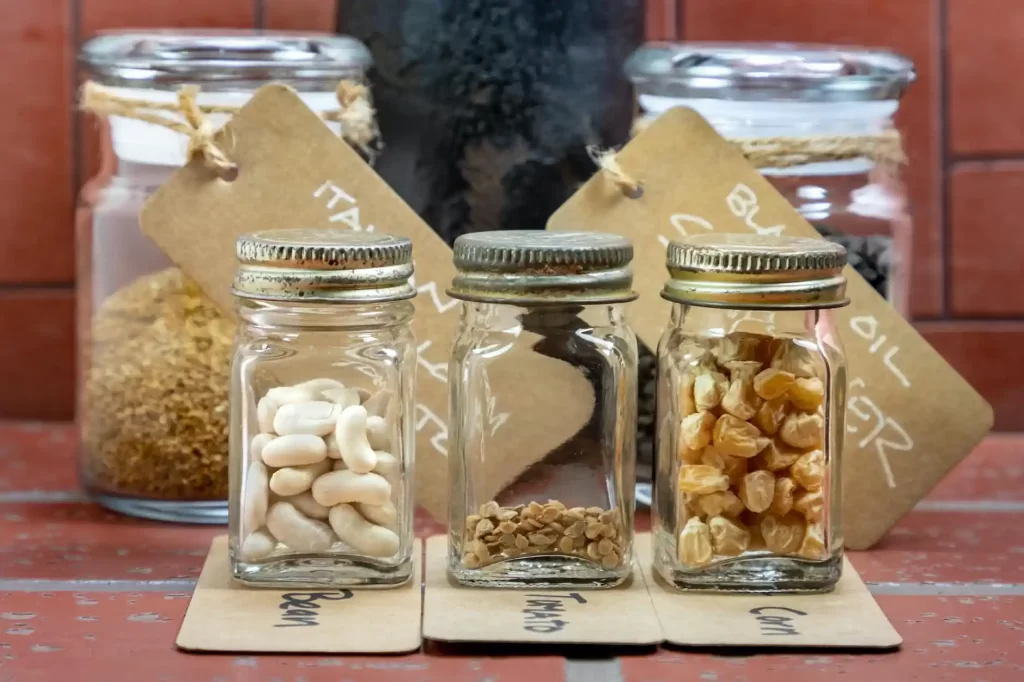
Step 6: Label Seeds
Organization is key to successful seed storage:
- Use small envelopes, jars, or plastic bags.
- Label with the plant name, variety, and date of collection.
- Consider adding notes about plant traits, germination tips, or storage conditions.
Tip: Keeping detailed records helps you track which varieties perform best in your garden.

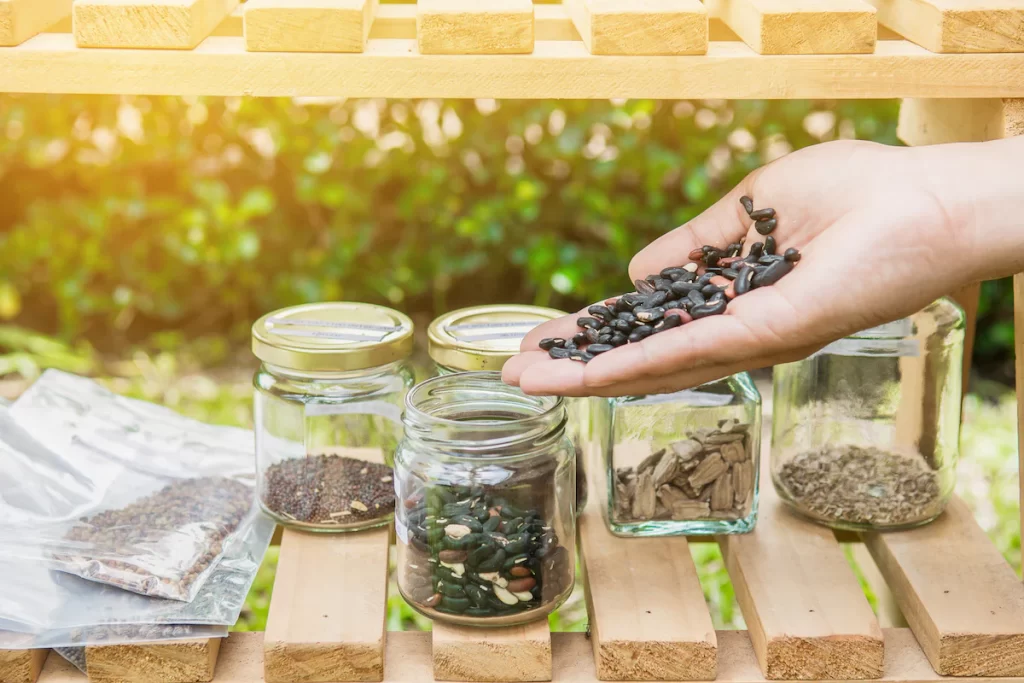
Step 7: Store Seeds Properly
Proper storage extends seed viability and ensures a strong germination rate:
- Containers: Use paper envelopes, glass jars, or airtight containers.
- Environment: Store in a cool, dark, and dry place. Temperature fluctuations and moisture reduce viability.
- Optional: Add silica gel packets to jars to absorb excess moisture.
- Freezing: Some seeds (like beans and peas) can be stored in the freezer for long-term preservation, but make sure they are fully dry to avoid damage.
Tip: Avoid storing seeds in the fridge if humidity is high—moisture can cause mold.
Step 8: Germination Testing
Before planting stored seeds, test germination to ensure viability:
- Place 5–10 seeds on a damp paper towel.
- Fold and place in a plastic bag or container to retain moisture.
- Keep in a warm, light area and check after a few days.
- Count how many seeds sprout. This helps estimate how many to plant.
Tip: Replace old or low-germination seeds to maintain a healthy garden.
Step 9: Rotate and Refresh Seeds
Seeds don’t last forever—longevity varies by plant:
- Annuals: Most last 1–3 years.
- Biennials: Usually 2–4 years.
- Perennials: Can last 3–5 years or more.
Tip: Rotate stored seeds regularly, and always collect new seeds from the healthiest plants each season to maintain vigor.
Step 10: Gardening Hacks for Seed Success
- Use natural drying aids: Spread seeds on a mesh or screen to improve airflow.
- Separate by type: Store small seeds and large seeds separately to avoid crushing or mixing.
- Repurpose containers: Old jars, envelopes, or even egg cartons make excellent storage solutions.
- Date everything: This simple habit saves confusion and prevents planting expired seeds.
- Keep a seed journal: Track collection dates, storage methods, and germination results for better success year after year.
These hacks make seed saving easier, more organized, and more successful.
Conclusion
Collecting and storing seeds is one of the most empowering gardening skills. Not only does it save money and preserve your favorite plant varieties, but it also allows you to plan a sustainable, self-sufficient garden. By following these steps—choosing healthy plants, waiting for seed maturity, collecting, cleaning, drying, labeling, and storing—you can ensure your garden thrives season after season.
Seed saving also connects you to the natural cycle of plants, giving you a deeper appreciation for the life and growth of your garden. With a little practice, organization, and care, you’ll have a stockpile of healthy seeds ready to sprout new life in your garden year after year.
Start today, and turn your garden into a sustainable, colorful paradise—one seed at a time!