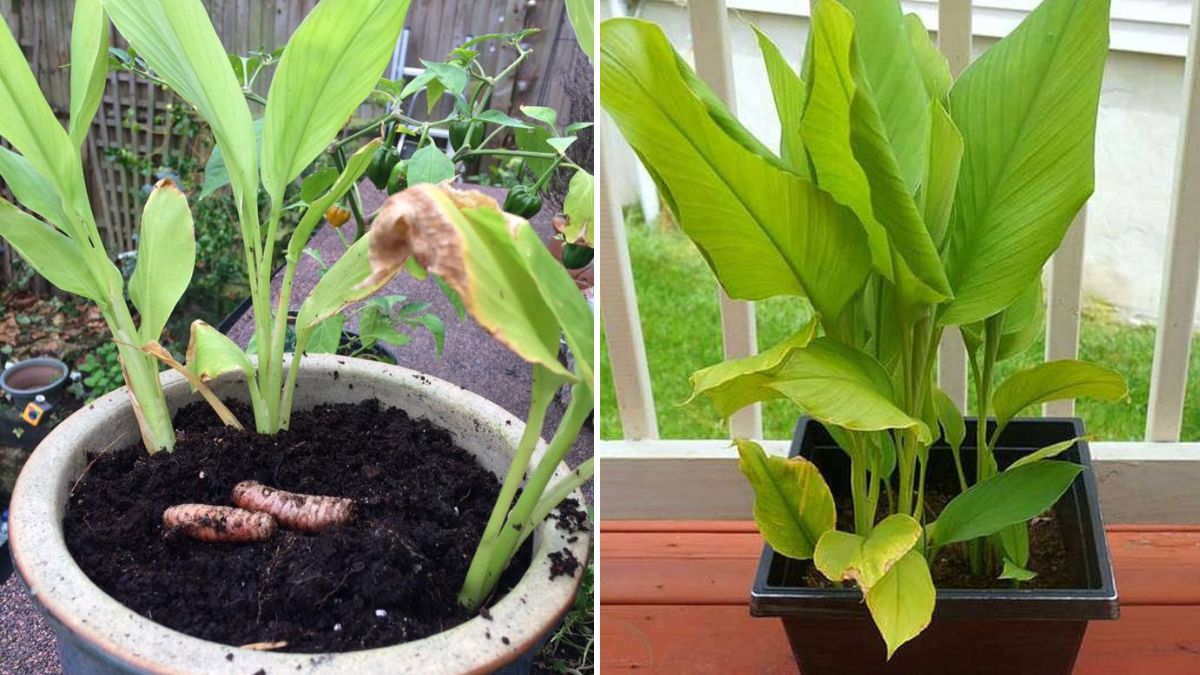
Turmeric, known as Haldi in India, is not only a staple spice in kitchens worldwide but also a powerful medicinal herb. Packed with antioxidants and anti-inflammatory properties, turmeric has been celebrated for centuries for its health benefits. Growing turmeric at home in pots is surprisingly easy and rewarding, even for beginners. With the right techniques, you can cultivate your own golden rhizomes, ensuring fresh, chemical-free turmeric for your kitchen and wellness needs. This comprehensive guide provides full updates, step-by-step instructions, and tips to grow turmeric successfully in containers.
1. Why Grow Turmeric in Pots?
Growing turmeric in pots offers multiple benefits:
- Space-efficient: Ideal for apartments, balconies, and small gardens.
- Controlled growth: You can manage soil quality, watering, and sunlight for optimal results.
- Easy harvesting: Pots make it simple to monitor rhizome development and harvest without disturbing the entire garden.
- Chemical-free: Homegrown turmeric is fresh and free from harmful pesticides or fertilizers.
For beginners, pot cultivation is perfect as it provides control over the growth environment and ensures a healthy harvest.
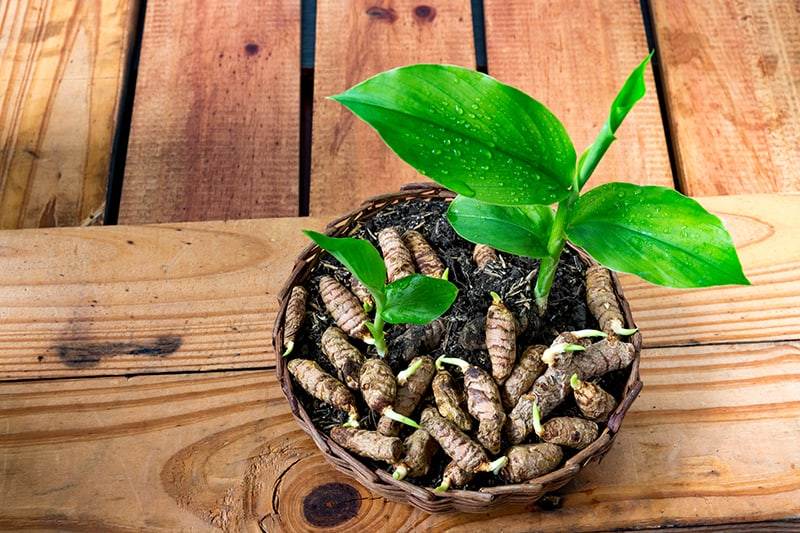
2. Selecting the Right Turmeric Rhizomes
Turmeric is grown from rhizomes, not seeds. Choosing healthy rhizomes is the first step:
- Quality: Select firm, disease-free rhizomes with visible buds or “eyes.”
- Varieties: Popular varieties include ‘Erode,’ ‘Madras,’ and ‘Alleppey.’ Choose a variety suited to your climate.
- Freshness: Fresh, plump rhizomes have higher chances of sprouting. Avoid shriveled or soft rhizomes.
Starting with high-quality rhizomes ensures faster sprouting and a higher yield.

3. Preparing Rhizomes for Planting
Proper preparation encourages healthy growth:
- Cutting (optional): Large rhizomes can be divided into pieces, each with 1–2 buds. Allow them to dry for 1–2 days to form a protective callus.
- Pre-soaking: Soak rhizomes in water for 12–24 hours to promote sprouting.
- Inspection: Discard any rhizomes with signs of mold or rot.
These steps improve the success rate and ensure robust, vigorous plants.
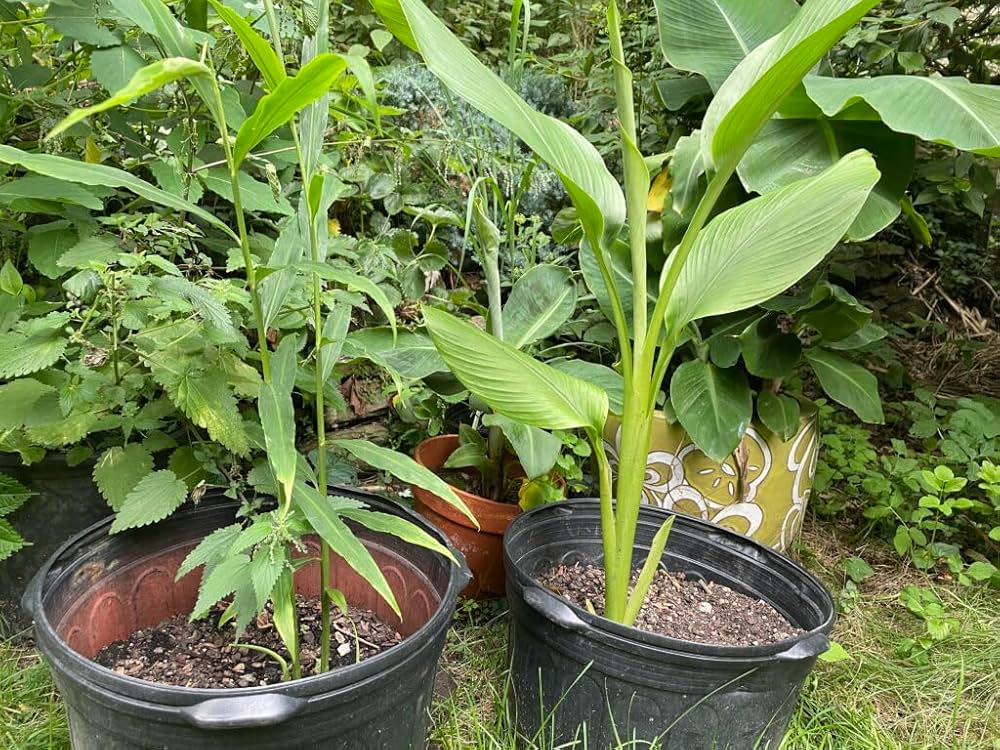
4. Choosing the Right Container
Turmeric requires a deep container for rhizome development:
- Size: A pot at least 12–15 inches deep and wide is ideal for 1–2 rhizomes. Larger containers can accommodate more plants.
- Material: Plastic, ceramic, or clay pots work well. Plastic retains moisture longer, while clay provides better aeration.
- Drainage: Ensure multiple drainage holes to prevent waterlogging and root rot.
A suitable container allows rhizomes to expand and produces a healthy yield.
5. Preparing the Soil
Turmeric thrives in nutrient-rich, well-draining soil:

- Soil mix: Combine garden soil, compost, and sand in a 2:1:1 ratio for aeration and fertility.
- pH level: Slightly acidic to neutral soil (pH 6–7) is ideal.
- Fertilization: Add organic compost or well-rotted manure for optimal growth.
Good soil ensures strong roots, vibrant leaves, and higher rhizome production.
6. Planting Turmeric in Pots
Planting turmeric correctly is essential for a healthy harvest:
- Depth: Place rhizomes 2–3 inches deep with buds facing upwards.
- Spacing: If planting multiple rhizomes in a single pot, maintain 6–8 inches between them.
- Watering: Lightly water after planting to settle the soil. Avoid soggy conditions, which can rot rhizomes.
Turmeric rhizomes typically sprout in 2–3 weeks under ideal conditions.
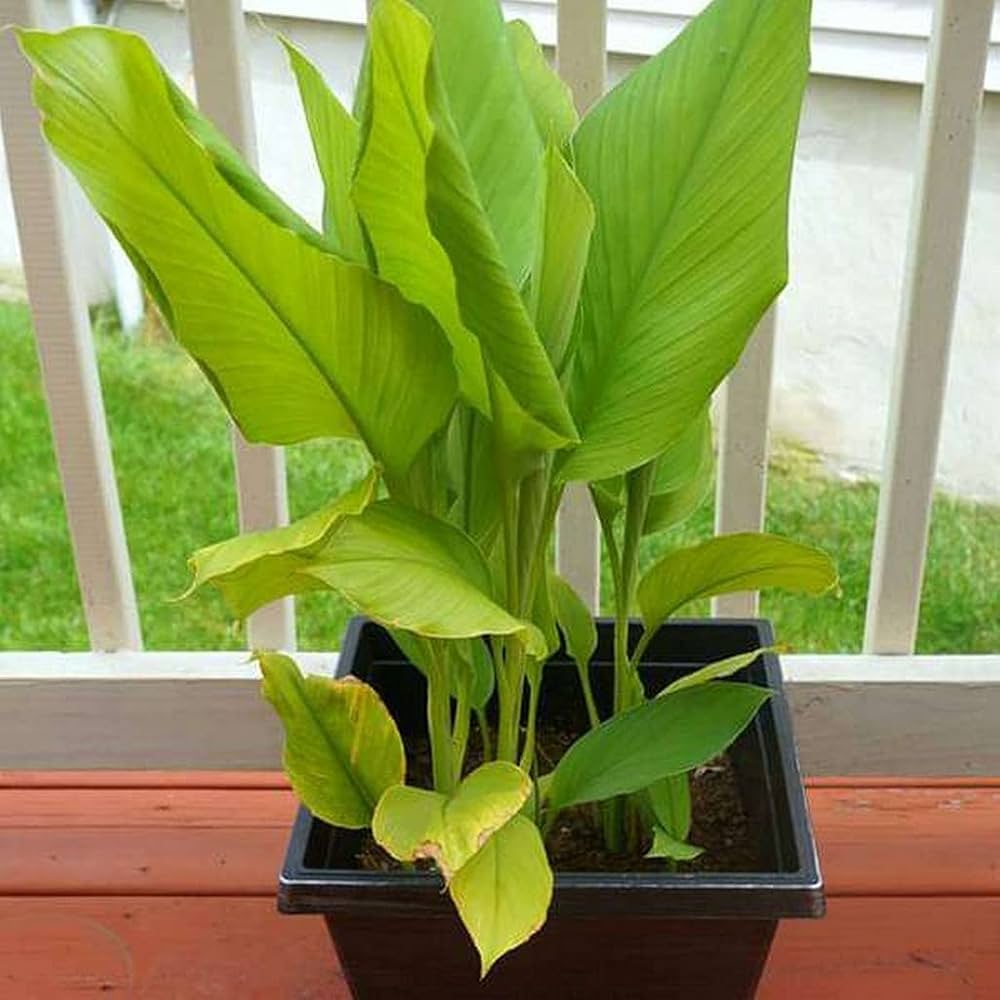
7. Light and Temperature Requirements
Turmeric thrives in warm and partially sunny conditions:
- Sunlight: Place pots in a location with 5–6 hours of sunlight daily. Partial shade in hot climates protects leaves from scorching.
- Temperature: Ideal temperature ranges between 20–30°C (68–86°F).
- Indoor growth: If growing indoors, place pots near a sunny window or use grow lights to provide sufficient light.
Adequate warmth and sunlight encourage rapid sprouting and healthy leaf growth.

8. Watering and Care
Proper watering and care are essential for healthy turmeric growth:
- Moisture: Keep the soil consistently moist but not waterlogged.
- Frequency: Water every 2–3 days, increasing in hot, dry weather.
- Mulching: Apply a layer of mulch to retain moisture, suppress weeds, and regulate soil temperature.
Consistent care ensures vigorous growth and larger, more robust rhizomes.
9. Fertilizing Turmeric in Pots
Turmeric is a heavy feeder, especially in pots:
- Organic fertilizers: Apply compost or vermicompost every 4–6 weeks.
- Liquid fertilizer: Use diluted organic liquid fertilizer every 2–3 weeks for quick nutrient absorption.
- Balanced feeding: Avoid excessive nitrogen, which encourages leafy growth over rhizome formation.
Proper fertilization ensures healthy plants with strong stems and nutrient-rich rhizomes.
10. Pruning and Leaf Management
While turmeric does not require heavy pruning, occasional maintenance helps:

- Removing yellow leaves: Trim yellow or damaged leaves to improve airflow.
- Supporting growth: If pots are large, gently stake plants to prevent falling over as they grow tall.
Healthy foliage ensures robust rhizome development and reduces the risk of fungal diseases.
11. Pest and Disease Management
Turmeric is generally hardy, but some issues may arise:
- Common pests: Aphids, scale insects, and nematodes. Spray neem oil or mild soap solutions as needed.
- Diseases: Rhizome rot and leaf spot can occur in waterlogged or poorly drained soil.
- Prevention: Ensure good drainage, avoid overwatering, and remove affected leaves promptly.
Monitoring and timely intervention keep your turmeric plants healthy and productive.
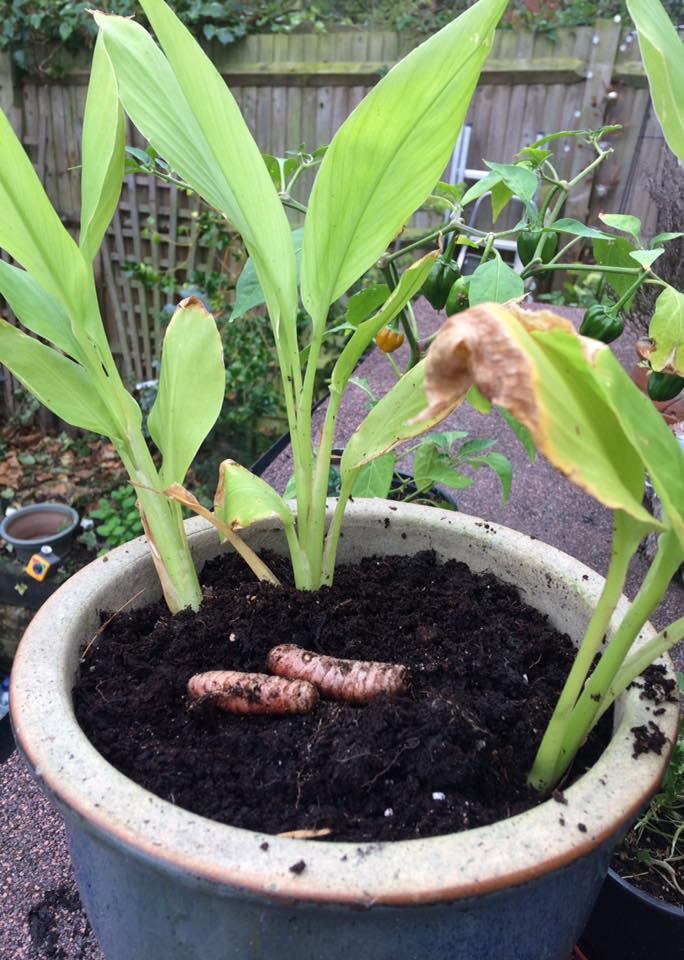
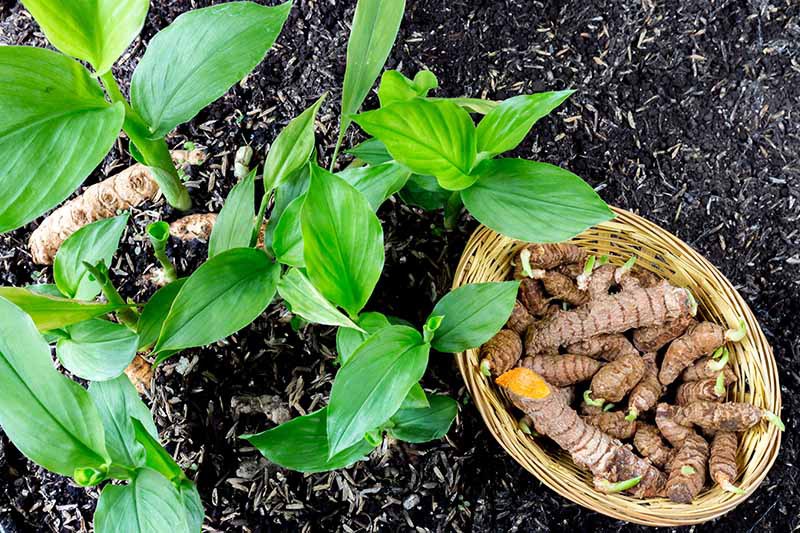
12. Harvesting Turmeric
Turmeric takes time to mature but is worth the wait:
- Harvesting time: Typically 8–10 months after planting, when leaves start turning yellow and dry.
- Harvesting method: Carefully lift the entire plant from the pot and separate rhizomes. Wash thoroughly to remove soil.
- Curing: Dry rhizomes in a shaded, ventilated area for 1–2 weeks before storage or use.
Homegrown turmeric rhizomes are fresher, more flavorful, and richer in nutrients than store-bought varieties.

13. Tips for Beginners
- Pot rotation: Move pots to ensure even sunlight exposure.
- Succession planting: Plant new rhizomes every 2–3 months for a continuous supply.
- Container care: Refresh soil annually and repot as needed to maintain fertility.
- Companion plants: Turmeric grows well alongside ginger or lemongrass in pots.
Following these tips ensures a successful turmeric harvest for beginners and experienced gardeners alike.
Conclusion
Growing turmeric (Haldi) in pots is a rewarding, space-efficient way to enjoy this golden spice at home. From selecting healthy rhizomes to proper planting, watering, fertilization, and harvesting, every step contributes to a successful yield. With careful attention to sunlight, soil, and care, beginners can cultivate healthy, aromatic turmeric plants that provide fresh rhizomes year-round.
By following this complete guide with full updates, anyone can enjoy the satisfaction of growing their own turmeric in pots, turning simple containers into a golden garden of health and flavor. Start your turmeric-growing journey today and experience the joy of homegrown Haldi!