
Strawberries are one of the most beloved fruits worldwide. Sweet, juicy, and fragrant, these little red delights are perfect for desserts, smoothies, jams, and snacking. While many people buy strawberry plants from nurseries, growing strawberries from seeds can be a rewarding and cost-effective experience, even for beginners. With patience, care, and the right techniques, you can cultivate your own strawberry plants and enjoy fresh, homegrown berries. This guide provides full updates and step-by-step instructions to grow strawberries from seed successfully.
1. Why Grow Strawberries from Seed?
Growing strawberries from seeds has several advantages:
- Cost-effective: Seeds are inexpensive compared to nursery plants.
- Variety selection: You can choose from different strawberry varieties suited to your climate and taste preferences.
- Homegrown freshness: Enjoy fresh, organic strawberries free from chemicals and pesticides.
- Satisfying experience: Nurturing plants from seeds offers a sense of accomplishment and learning.
Though it requires patience—strawberries take longer to fruit from seeds—the process is rewarding and educational for gardeners of all levels.
2. Selecting Quality Strawberry Seeds

The first step to success is choosing high-quality seeds:
- Fresh seeds: Check the expiration date; fresh seeds have higher germination rates.
- Varieties: Popular types include:
- June-bearing: Produces berries once a year, large and flavorful.
- Ever-bearing: Yields berries two to three times a season.
- Day-neutral: Produces small to medium berries continuously during the growing season.
- Organic seeds: Opt for untreated or organic seeds for healthier seedlings.
Good seeds improve the chances of strong seedlings and bountiful harvests.

3. Pre-Treating Strawberry Seeds for Germination
Strawberry seeds require special preparation for successful germination:
- Cold stratification: Strawberry seeds need a cold period to mimic winter conditions. Place seeds in a damp paper towel inside a ziplock bag in the refrigerator for 2–4 weeks.
- Soaking: After cold stratification, soak seeds in lukewarm water for 2–4 hours before planting.
- Scarification (optional): Lightly rub the seed surface with fine sandpaper to help water absorption.
These steps improve germination rates and help seeds sprout uniformly.
4. Choosing the Right Growing Medium
Strawberries need light, well-draining soil for healthy growth:
- Soil mix: Combine seed-starting mix or garden soil with compost and perlite. Avoid heavy clay soil, which retains too much water.
- pH level: Slightly acidic soil (pH 5.5–6.5) is ideal.
- Containers: Use seed trays, small pots, or cell packs for starting seeds indoors.
Healthy soil ensures strong roots and vigorous seedlings.
5. Planting Strawberry Seeds
Planting strawberry seeds correctly is essential for successful germination:

- Sowing depth: Sprinkle seeds on the soil surface; do not cover with soil as they need light to germinate.
- Spacing: Leave a small gap between seeds to prevent overcrowding.
- Watering: Mist the soil gently to avoid washing away seeds.
- Humidity: Cover the container with a clear plastic lid or wrap to maintain moisture.
Strawberry seeds usually germinate in 1–6 weeks, depending on variety and environmental conditions.
6. Light and Temperature Requirements
Strawberries need the right light and warmth to grow strong:
- Sunlight: Once seedlings emerge, provide 12–16 hours of bright light daily using a sunny windowsill or grow lights.
- Temperature: Ideal germination occurs at 18–22°C (64–72°F).
- Indoor care: Rotate seedlings regularly to ensure even growth and prevent leggy stems.
Proper light and temperature ensure strong, healthy seedlings that are ready for transplantation.
7. Watering and Moisture Control
Maintaining proper moisture is crucial for strawberry seedlings:
- Keep soil moist: Water gently when the soil surface feels dry, but avoid overwatering.
- Avoid soggy soil: Excess water can cause mold or root rot.
- Humidity control: Seedlings benefit from consistent humidity during early growth stages.
Balanced watering ensures healthy growth and reduces the risk of fungal issues.

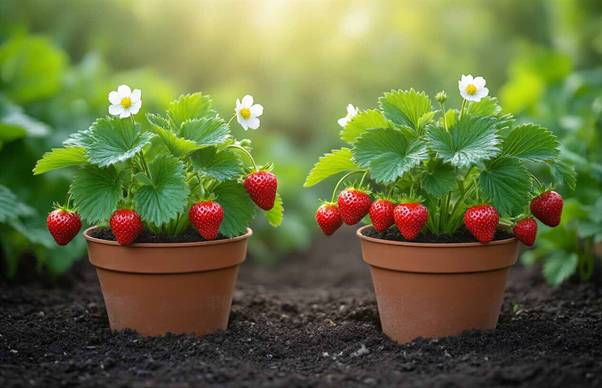
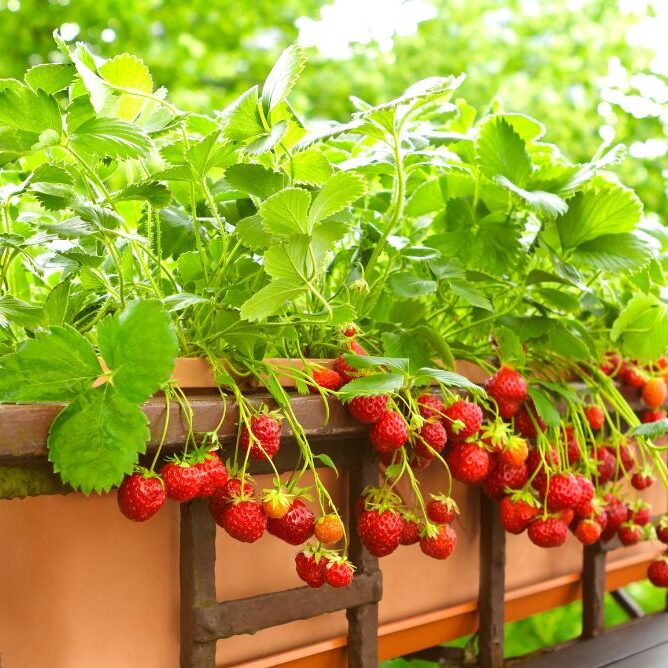
8. Transplanting Seedlings
Once seedlings develop 3–4 true leaves, they are ready for transplanting:
- Hardening off: Gradually expose seedlings to outdoor conditions over 7–10 days to reduce transplant shock.
- Containers or garden beds: Choose pots with drainage holes or raised beds with well-draining soil.
- Spacing: Plant seedlings 8–12 inches apart for proper airflow and growth.
- Watering: Water immediately after transplanting to help seedlings settle.
Careful transplanting encourages strong roots and healthy plant establishment.
9. Fertilizing Strawberry Plants
Strawberries are moderate feeders and benefit from balanced nutrients:
- Initial fertilization: Use compost or organic fertilizer at planting.
- Ongoing feed: Apply a balanced liquid fertilizer every 2–3 weeks to promote leaf and fruit development.
- Avoid over-fertilization: Excess nitrogen leads to lush foliage but reduces fruit yield.
Proper feeding ensures healthy plants and sweeter, juicier berries.
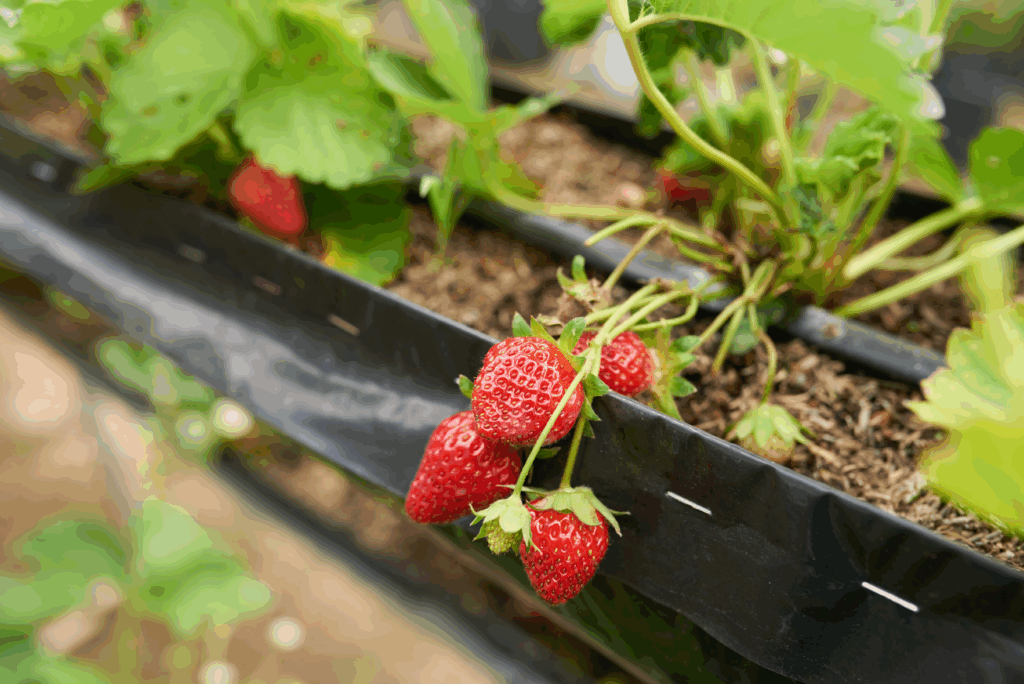
10. Pruning and Maintenance
Pruning and care help maximize fruit production:

- Remove runners: Cut runners if you want larger berries on the main plant. Allow a few runners if you want to propagate new plants.
- Dead leaves: Remove yellow or damaged leaves to improve airflow and reduce disease.
- Mulching: Apply straw or organic mulch around plants to retain moisture and keep fruits clean.
Routine maintenance improves fruit quality and prolongs plant life.
11. Pest and Disease Management
Strawberries can attract pests and diseases if not monitored:
- Common pests: Aphids, spider mites, slugs, and birds. Use organic sprays, neem oil, or physical barriers.
- Diseases: Powdery mildew, leaf spot, and root rot may occur in humid or poorly drained conditions.
- Preventive care: Proper spacing, airflow, and clean soil help prevent problems.
Early detection and treatment ensure a healthy, productive crop.
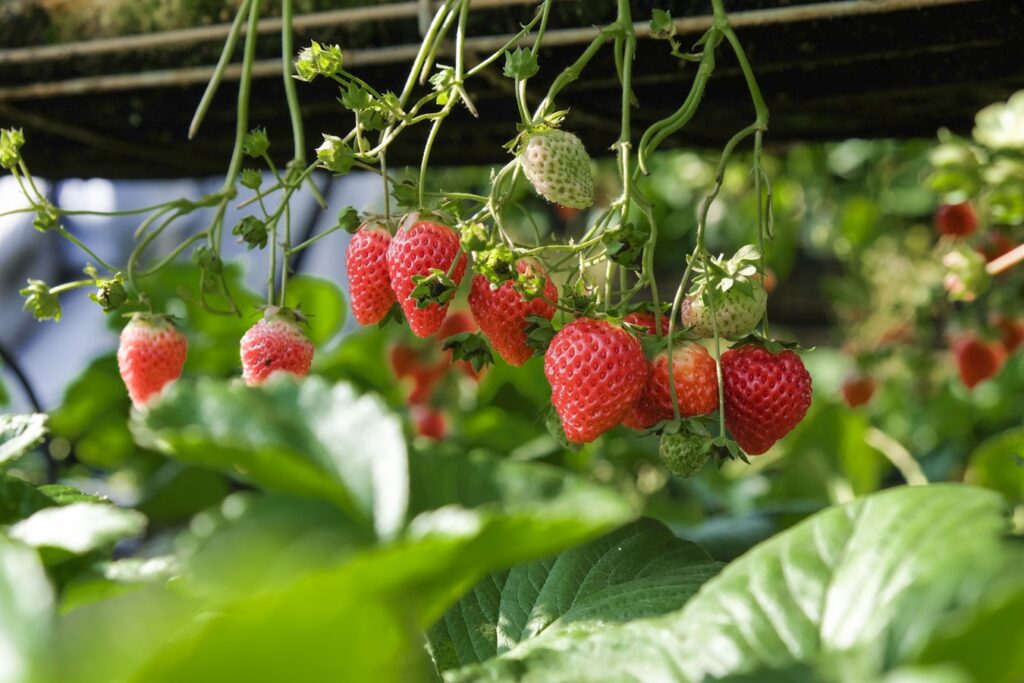
12. Harvesting Strawberries
The most exciting part—harvesting!
- Timing: Strawberries are ready to harvest when fully red, fragrant, and firm.
- Frequency: Pick fruits regularly to encourage continuous production.
- Storage: Consume fresh or store in the refrigerator for 2–3 days. Avoid washing until just before eating to preserve shelf life.
Homegrown strawberries taste far better than store-bought and reward your patience.

13. Tips for Beginners
- Succession planting: Sow new seeds every few weeks to maintain continuous harvest.
- Label varieties: Track growth and harvest timing for different types.
- Container gardening: Use hanging baskets or vertical planters for small spaces.
- Patience: Strawberries from seeds take 4–6 months to produce fruit, but the results are worth the wait.
Following these tips helps beginners grow a productive, healthy strawberry garden.
Conclusion
Growing strawberries from seeds is a fun, rewarding, and cost-effective way to enjoy fresh, homegrown berries. From selecting quality seeds to sowing, germination, transplanting, and harvesting, every step contributes to a thriving strawberry garden. With proper care, sunlight, watering, and maintenance, even beginners can cultivate sweet, juicy strawberries in pots or garden beds.
By following this complete guide with full updates, you can enjoy a bountiful harvest of delicious strawberries, turning your garden or balcony into a fruit-filled paradise. Start your strawberry-growing journey today and experience the unmatched joy of picking your own homegrown berries!