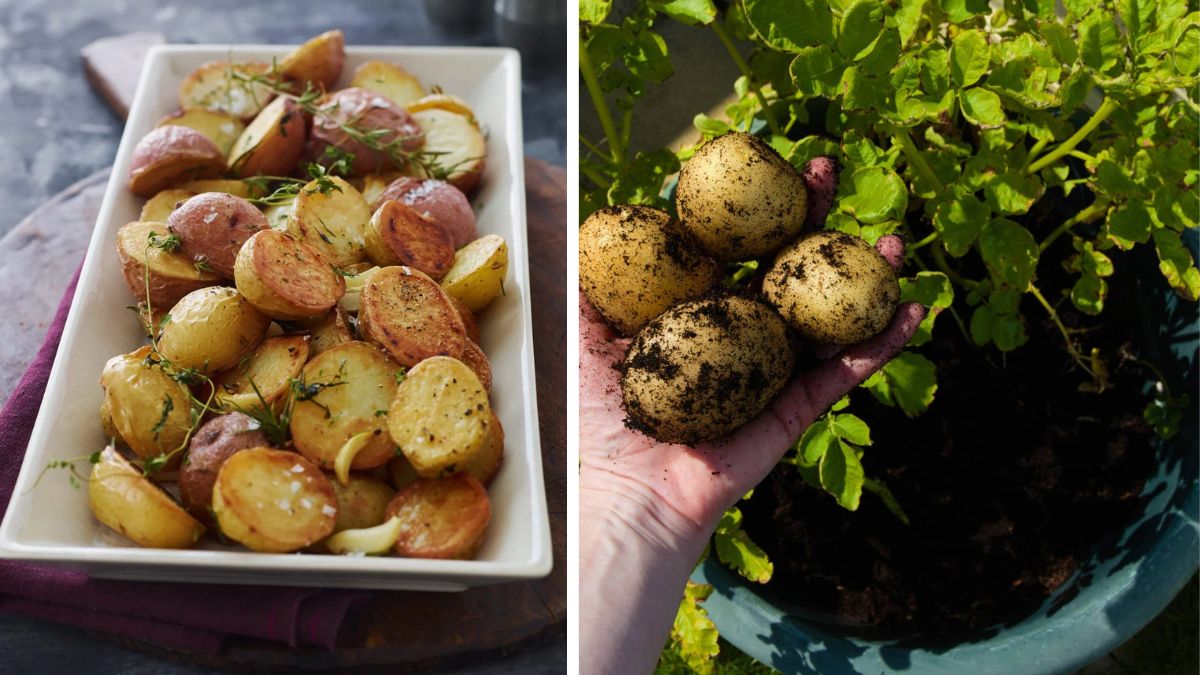
Few garden crops are as rewarding to grow as the humble potato. From creamy mashed potatoes and crispy fries to hearty soups and stews, these versatile tubers are a cornerstone of comfort food around the world. But beyond their culinary appeal, potatoes are also one of the easiest and most productive vegetables to grow right in your backyard. With just a little preparation, patience, and care, you can harvest baskets of homegrown spuds that taste fresher and richer than anything from the store.
If you’ve ever wondered how to grow perfect potatoes in your backyard, this guide is your go-to companion. Let’s dig into every step—from preparing the soil to harvesting your golden crop.
1. Choosing the Right Potato Varieties
The first step to a perfect potato harvest is selecting the right variety. Potatoes come in several types, each suited for different climates, cooking uses, and growing conditions.
- Early Varieties: These mature quickly, usually within 60–80 days. Perfect for smaller gardens or regions with short growing seasons. Examples include Red Norland, Yukon Gold, and Irish Cobbler.
- Mid-Season Varieties: Take around 80–100 days to mature and often yield larger harvests. Try Kennebec or Chieftain for balanced flavor and texture.
- Late Varieties: These take 100–120 days to mature but store exceptionally well. Russet Burbank and German Butterball are top choices for long-term storage.
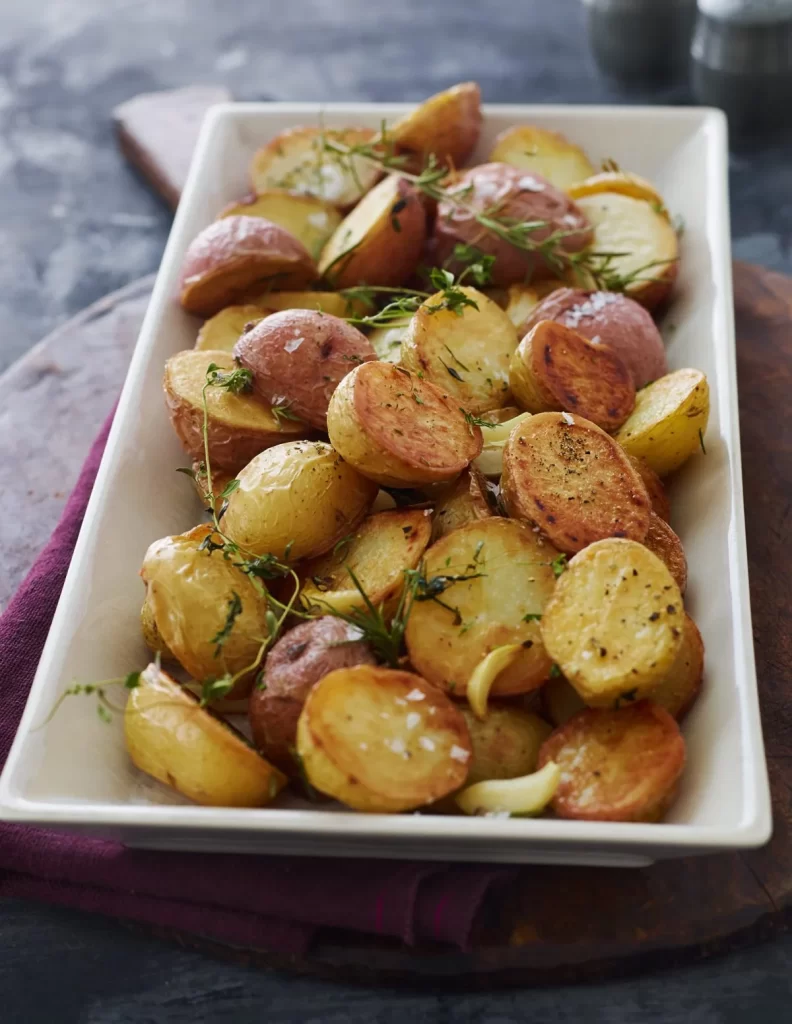
Choose a variety that fits your local climate and kitchen preferences. If you love fluffy baked potatoes, go with russets. For creamy soups or roasted dishes, waxy potatoes like Yukon Gold shine.
2. Preparing the Perfect Planting Site
Potatoes love well-draining, loose, and fertile soil with a slightly acidic pH between 5.5 and 6.5. They need room to grow underground, so compact or clay-heavy soils can stunt their development.

Here’s how to prepare the ideal planting site:
- Loosen the soil: Dig or till to a depth of about 10–12 inches to allow the tubers to expand freely.
- Add organic matter: Mix in compost, aged manure, or leaf mold to enrich the soil and improve its texture.
- Avoid fresh manure: It can cause scab disease and make tubers misshapen.
- Pick a sunny spot: Potatoes need at least 6–8 hours of direct sunlight daily to thrive.
If your backyard soil is too heavy or poor, don’t worry—you can still grow great potatoes in raised beds or large containers filled with a mix of garden soil and compost.
3. Using Certified Seed Potatoes
While it might be tempting to plant store-bought potatoes, it’s best to use certified seed potatoes from a reputable supplier. Store-bought ones are often treated with chemicals to prevent sprouting and can carry diseases.
Before planting:
- Cut large seed potatoes into pieces, each with at least one or two “eyes” (sprouting points).
- Let them dry for 24–48 hours to form a protective callus over the cut surface. This reduces the risk of rot.
This small preparation step can dramatically increase your yield and reduce the chance of disease.

4. Planting Potatoes the Right Way
Timing is everything. Potatoes are cool-weather crops, so plant them 2–4 weeks before your area’s last expected frost.
There are two main methods for planting:
A. Traditional Trench Method
- Dig trenches about 6–8 inches deep and 2–3 feet apart.
- Place seed potatoes cut side down and eyes up, about 12 inches apart in the trench.
- Cover with 3–4 inches of soil initially.
- As the plants grow, gradually fill in the trench (“hilling up”) to cover the stems, leaving only the top leaves exposed.
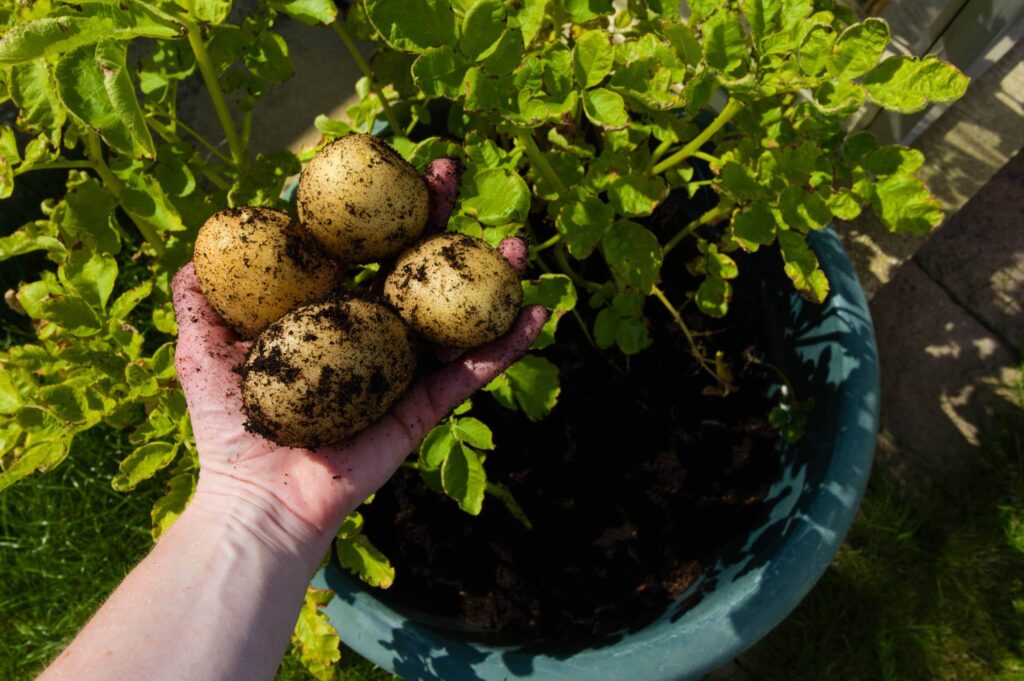
B. Container or Bag Method
If space is tight, grow potatoes in large containers or potato grow bags. Start with 4–6 inches of soil, place your seed potatoes on top, and cover lightly. As they grow, keep adding soil or compost to cover the stems.
This method is great for patios and small backyards—and harvesting is as simple as tipping out the container!
5. Watering and Feeding for Maximum Growth
Potatoes need consistent moisture—especially during tuber formation, which happens about 3–6 weeks after planting. Uneven watering can cause irregular tuber growth or scab.

- Water deeply: Provide about 1–2 inches of water per week, adjusting for rainfall.
- Morning watering: Always water in the morning to reduce disease risk.
- Mulch: Use straw or dry leaves to retain moisture and keep the soil cool.
For feeding, potatoes are moderate feeders. A balanced fertilizer like 10-10-10 (N-P-K) works well. Apply it once when planting and again when the plants are about 6–8 inches tall. Avoid excessive nitrogen, as it encourages lush leaves but fewer tubers.
6. Hilling: The Secret to Perfect Potatoes
Hilling is the process of mounding soil around the base of potato plants as they grow. It prevents sunlight from reaching the tubers (which turns them green and toxic) and encourages more tuber formation along the buried stems.
Hill your plants when they reach 6–8 inches tall, pulling soil up around them until only the top leaves are visible. Repeat this every 2–3 weeks until the plants start to flower.
This simple practice can double your yield and produce cleaner, better-shaped potatoes.
7. Pest and Disease Management
Potatoes can face a few challenges in the garden, but good prevention keeps them healthy:

- Colorado Potato Beetles: Handpick them and their eggs (orange clusters under leaves). Neem oil or insecticidal soap can help.
- Aphids and Leafhoppers: Spray with mild soapy water or encourage beneficial insects like ladybugs.
- Late Blight: Avoid overhead watering and space plants for air circulation. Rotate crops and avoid planting potatoes where tomatoes or peppers grew the previous year.
Practicing crop rotation—changing where you plant potatoes each year—reduces soil-borne diseases and improves soil health.
8. Signs It’s Time to Harvest
Harvest time depends on the variety and your intended use:
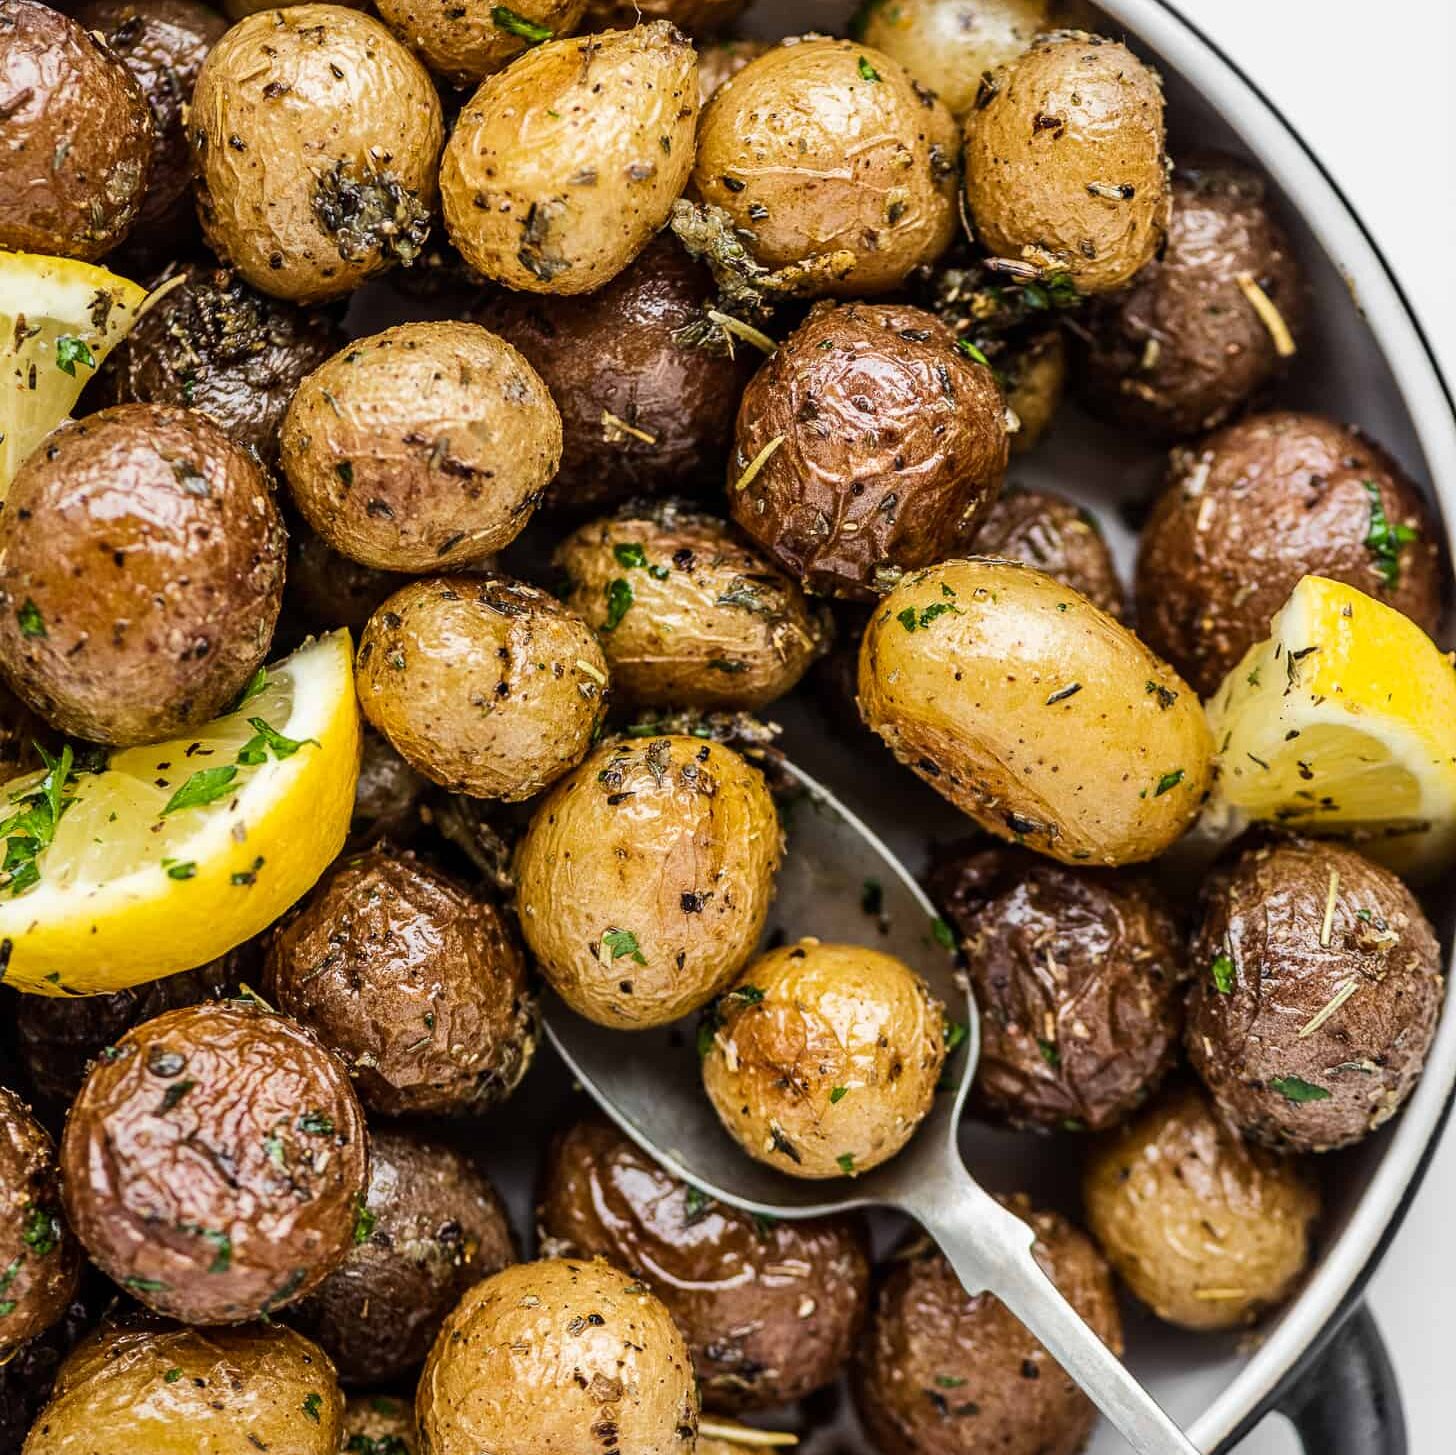
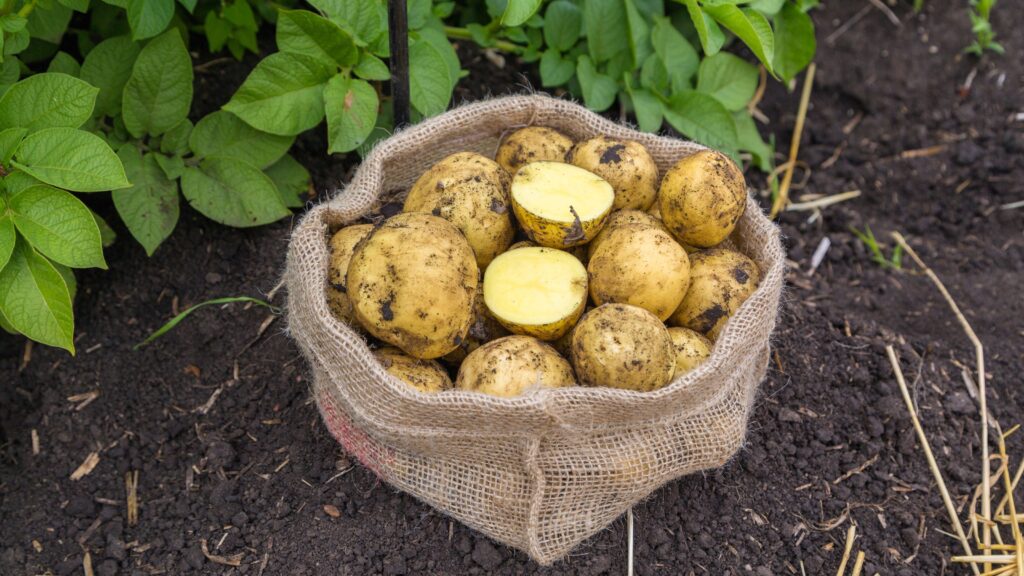
- New Potatoes: These small, tender tubers can be harvested 2–3 weeks after flowering, while the plants are still green.
- Mature Potatoes: For storage potatoes, wait until the foliage turns yellow and dies back. Then gently dig up the tubers with a garden fork.
Handle them carefully to avoid bruising. Let the potatoes cure in a cool, dark, and well-ventilated area for 1–2 weeks before storing. This toughens their skins and extends shelf life.
9. Storing Your Potato Harvest
Proper storage keeps your hard-earned potatoes fresh for months.
- Store them in a dark, cool (40–50°F / 4–10°C) place—like a basement or pantry.
- Keep them out of the fridge; cold temperatures can turn starch into sugar, affecting flavor.
- Avoid storing them near onions, which emit gases that cause sprouting.
Check your stored potatoes occasionally and remove any that show signs of rot or sprouting to prevent spoilage.

10. Sustainable Gardening Tips for Potato Success
Growing potatoes can also be part of a sustainable gardening routine:
- Compost your potato plants after harvest (if disease-free).
- Save small, healthy tubers as seed for next season.
- Use mulch and drip irrigation to conserve water.
- Rotate crops annually to maintain soil fertility and reduce pests.
These eco-friendly practices not only yield healthier plants but also nurture your backyard ecosystem.
Conclusion: From Soil to Supper
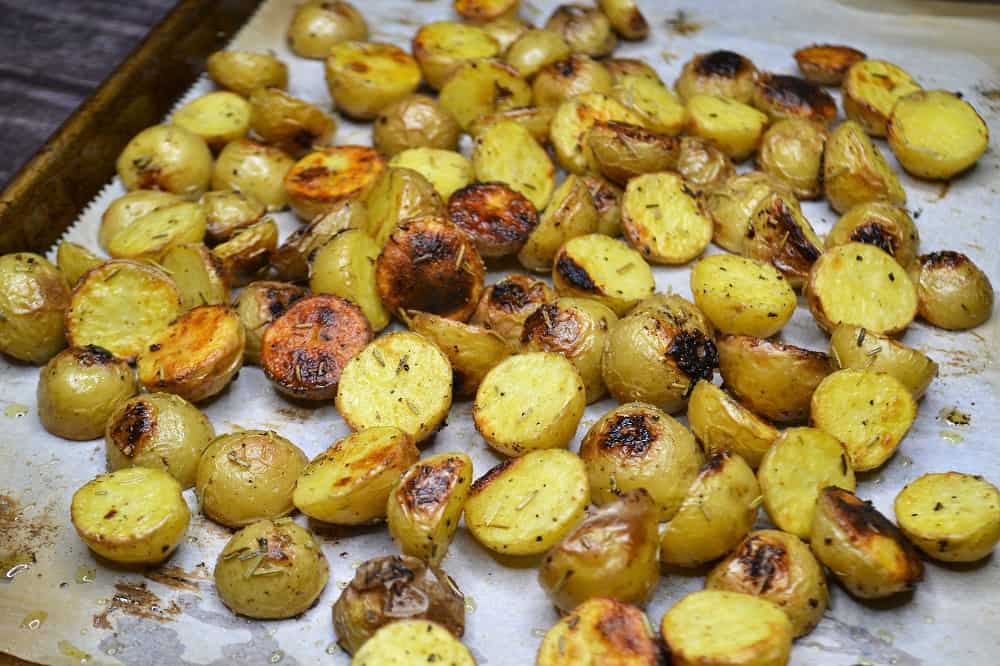
There’s something deeply satisfying about digging into the soil and uncovering your first batch of homegrown potatoes. Each tuber is a reward for your patience and care—a direct connection between garden and table. Whether you prefer crispy roasted potatoes, buttery mash, or golden fries, nothing compares to the flavor of potatoes you’ve grown yourself.
By choosing the right varieties, enriching your soil, watering consistently, and staying vigilant against pests, you can master the art of backyard potato gardening. With these tips, your next harvest will be golden, delicious, and truly perfect—proof that a little space and a lot of love can go a long way in your garden.