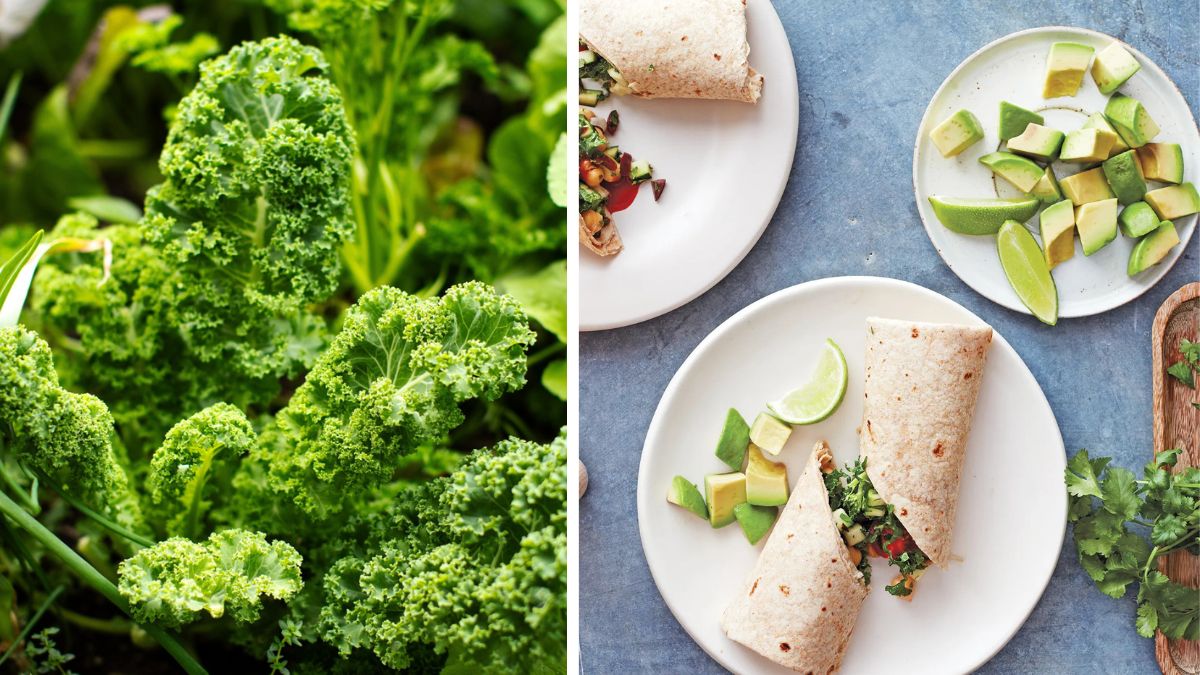
There’s nothing quite like the crunch and flavor of a freshly made veggie wrap — crisp lettuce, juicy tomatoes, aromatic herbs, and colorful veggies all rolled into a wholesome meal. Now, imagine crafting that wrap entirely from ingredients grown in your own garden. A salad garden brings freshness to your kitchen year-round, giving you a constant supply of nutrient-rich, homegrown produce perfect for wraps, sandwiches, and salads. Whether you have a backyard plot or just a few containers on a sunny balcony, you can grow your own wrap-worthy vegetables with ease.
This comprehensive guide will walk you through everything you need to know about growing a salad garden — from choosing the best plants and designing your space to harvesting, storing, and using your greens for delicious, healthy veggie wraps.
1. Why Grow a Salad Garden?
A salad garden is not only practical but also deeply satisfying. Instead of buying wilted greens and overpriced herbs from the store, you can step outside and pick crisp lettuce and vibrant veggies moments before you eat.
Here are some of the top benefits:
- Unmatched Freshness: Garden-grown veggies retain their natural flavor and crunch.
- Nutrient Density: The shorter the time between harvest and consumption, the more nutrients your veggies retain.
- Cost-Effective: Growing your own greens saves money over time, especially if you eat salads or wraps often.
- Sustainability: You reduce food waste, packaging, and carbon emissions.
- Customization: You can grow varieties that perfectly suit your wrap recipes — spicy arugula, buttery lettuce, or colorful cherry tomatoes.
2. Choosing the Perfect Location
Your salad garden doesn’t require much space — just sunlight and well-draining soil. Choose a location that gets at least 6 hours of sunlight daily. A kitchen-side plot, raised bed, or even window boxes can work beautifully.
If you’re growing in containers, make sure they have good drainage holes. Use light, nutrient-rich potting soil mixed with compost to provide your plants the best start.
Pro Tip: Salad gardens love cooler temperatures, so partial shade during the hottest hours of the day can help prevent your greens from wilting or bolting too quickly.

3. The Best Veggies and Herbs for Wraps

When it comes to veggie wraps, texture, flavor, and freshness are key. Here’s a breakdown of the best salad garden crops to grow:
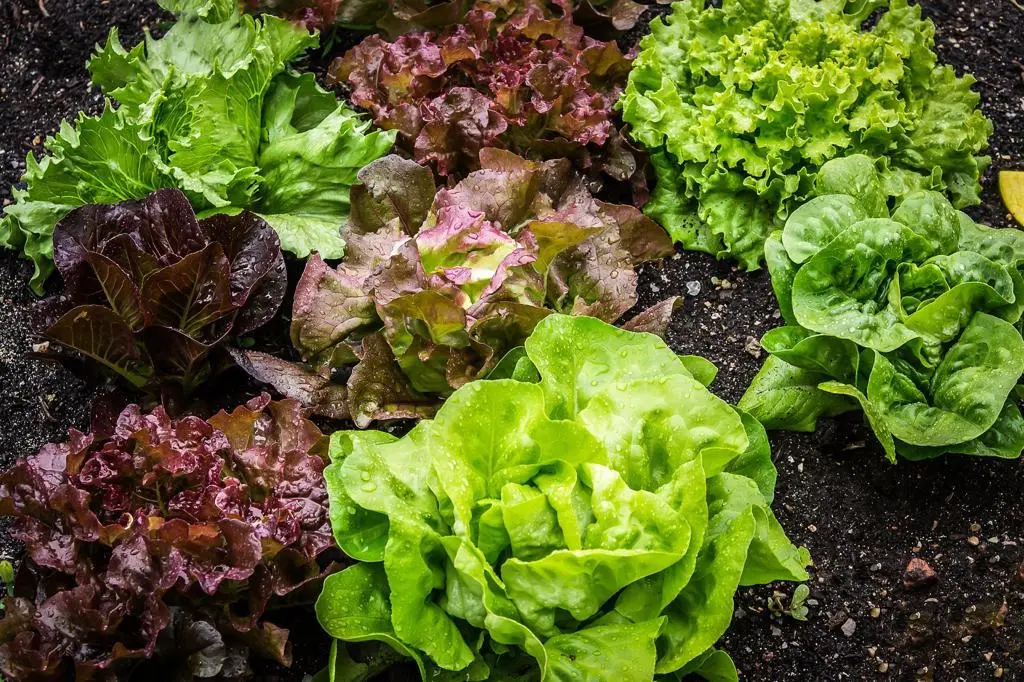
Lettuce
The foundation of any wrap. Go for varieties like Romaine, Butterhead, or Leaf lettuce.
- Planting: Sow seeds directly in the soil ¼ inch deep.
- Care: Keep soil moist, and harvest leaves regularly to encourage new growth.
- Harvest Time: 30–45 days after sowing.
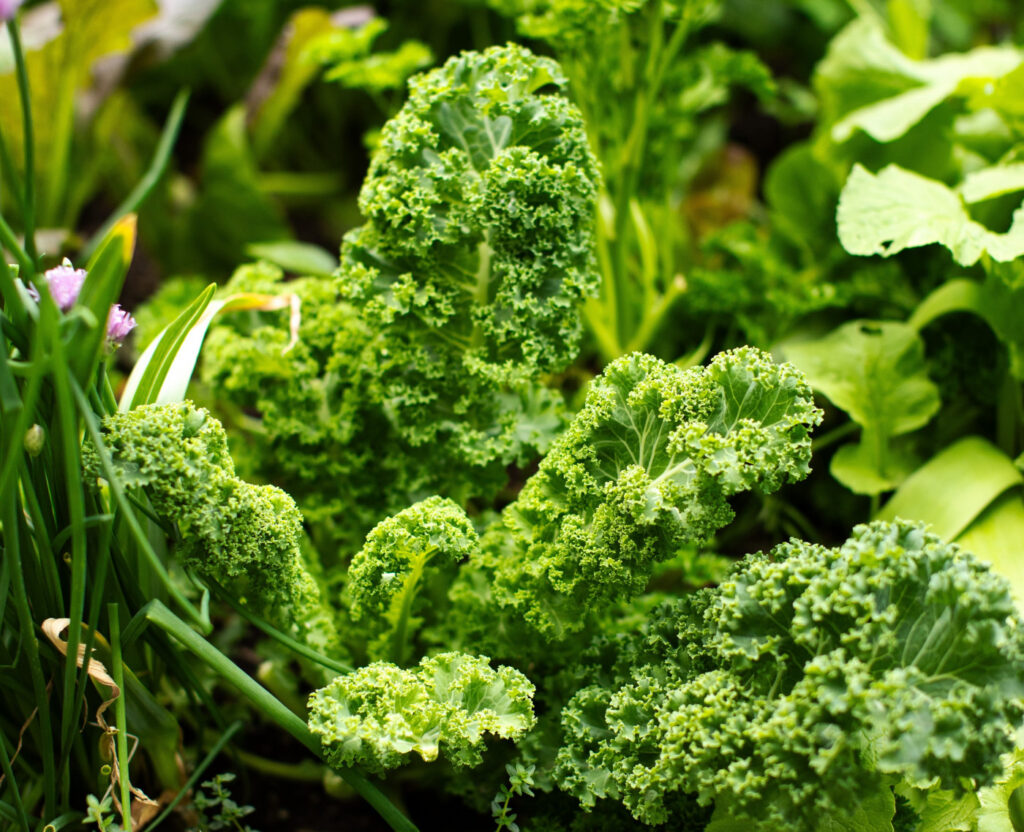
Spinach and Kale
These nutrient-packed greens add flavor and resilience to your wraps.
- Spinach: Thrives in cool weather; plant in early spring or fall.
- Kale: Hardy and long-lasting, great for year-round growing.
- Care Tip: Water consistently and mulch to retain soil moisture.
Tomatoes
Cherry or grape tomatoes add sweetness and juiciness to veggie wraps.
- Varieties: ‘Sweet 100,’ ‘Sungold,’ or ‘Tiny Tim’ for containers.
- Planting: Start indoors, then transplant to full sun when soil warms.
- Care: Stake or cage for support and water deeply once or twice a week.
Cucumbers
Perfect for a refreshing crunch.
- Varieties: Try ‘Salad Bush’ or ‘Patio Snacker’ for small spaces.
- Planting: Sow seeds directly into warm soil or large containers.
- Support: Use trellises or stakes to save space and improve air circulation.
Bell Peppers
Colorful and sweet, bell peppers elevate any veggie wrap.
- Varieties: Red, yellow, or orange peppers for visual appeal and taste.
- Planting: Start indoors 8–10 weeks before transplanting outdoors.
- Care: Peppers love warmth; keep soil evenly moist and add compost midseason.
Herbs (Basil, Cilantro, Parsley, Mint)
Fresh herbs transform a simple wrap into something gourmet.

- Planting: Grow in small pots near your kitchen for easy access.
- Care: Trim often to encourage bushy growth and prevent flowering.
- Bonus: Basil and mint repel certain pests naturally.
Carrots and Radishes
Add texture and a burst of flavor.
- Planting: Sow directly into soil; they grow best in loose, sandy soil.
- Harvest: Pick carrots when finger-sized and radishes after 3–4 weeks.
4. Designing Your Salad Garden
Whether you have a small balcony or a spacious backyard, garden design matters.
For Small Spaces:
Use vertical gardening techniques — hanging baskets, tiered planters, or railing boxes. Mix greens, herbs, and small veggies together for a lush mini-ecosystem.
For Raised Beds or Ground Gardens:
Group plants by their sunlight and watering needs. For instance:
- Lettuce and spinach together (cool-season greens).
- Tomatoes, peppers, and basil in sunny spots.
- Herbs like mint and parsley near walkways for quick harvesting.
Rotate crops every season to maintain healthy soil and reduce pests.
5. Soil Preparation and Planting Tips
Healthy soil equals healthy plants. Before planting, loosen the soil 6–8 inches deep and mix in compost or aged manure for nutrients.
For container gardens, use a light, well-aerated mix with compost and perlite. Avoid heavy garden soil that compacts easily.

Watering:
Salad greens have shallow roots and need regular moisture. Water early in the morning and avoid splashing leaves to prevent fungal growth.
Fertilizing:
Use organic fertilizers or compost tea every few weeks. Avoid too much nitrogen — it encourages leafy growth but can reduce flavor.
6. Natural Pest Control for a Healthy Salad Garden
You don’t want to use chemicals on food you’ll eat raw. Thankfully, natural methods work wonders:
- Companion Planting: Grow marigolds or nasturtiums near veggies to repel aphids and whiteflies.
- Neem Oil Spray: A safe, organic pesticide that deters most pests.
- Hand Picking: For small gardens, manually remove insects like caterpillars or beetles.
- Mulching: Reduces weeds and keeps soil moist.
Encouraging beneficial insects like ladybugs and bees also helps maintain balance in your garden.
7. Harvesting for Maximum Freshness
The joy of a salad garden is in its continuous harvest. You can pick what you need, when you need it.
- Lettuce and Spinach: Harvest outer leaves regularly and let the center grow back.
- Tomatoes and Peppers: Pick when fully colored for best flavor.
- Herbs: Snip from the top to encourage new growth.
- Root Veggies: Gently pull out carrots and radishes once mature — don’t let them overgrow and turn woody.
Always harvest in the morning when leaves are crisp and hydrated for the best texture in wraps.
8. Storing and Using Your Fresh Produce
Freshly picked greens should be washed in cool water and dried thoroughly. Store them in airtight containers with paper towels to absorb moisture — this keeps them fresh for up to a week.

Tomatoes and peppers are best stored at room temperature until ripe. Herbs can be stored upright in a glass of water or frozen in olive oil cubes for later use.
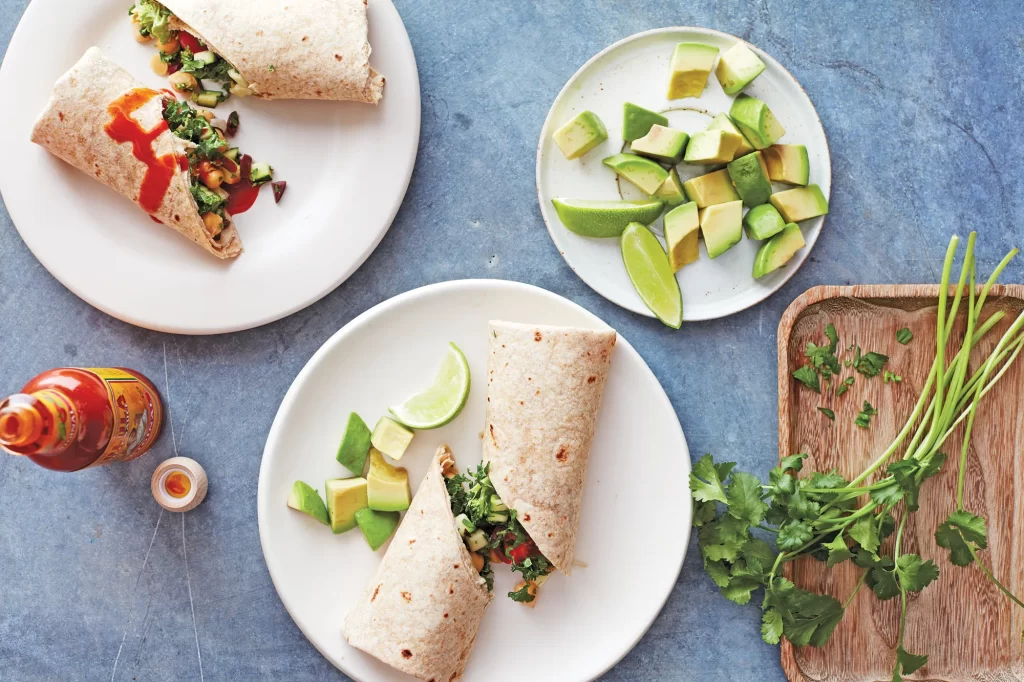
Now comes the fun part — assembling your veggie wraps!
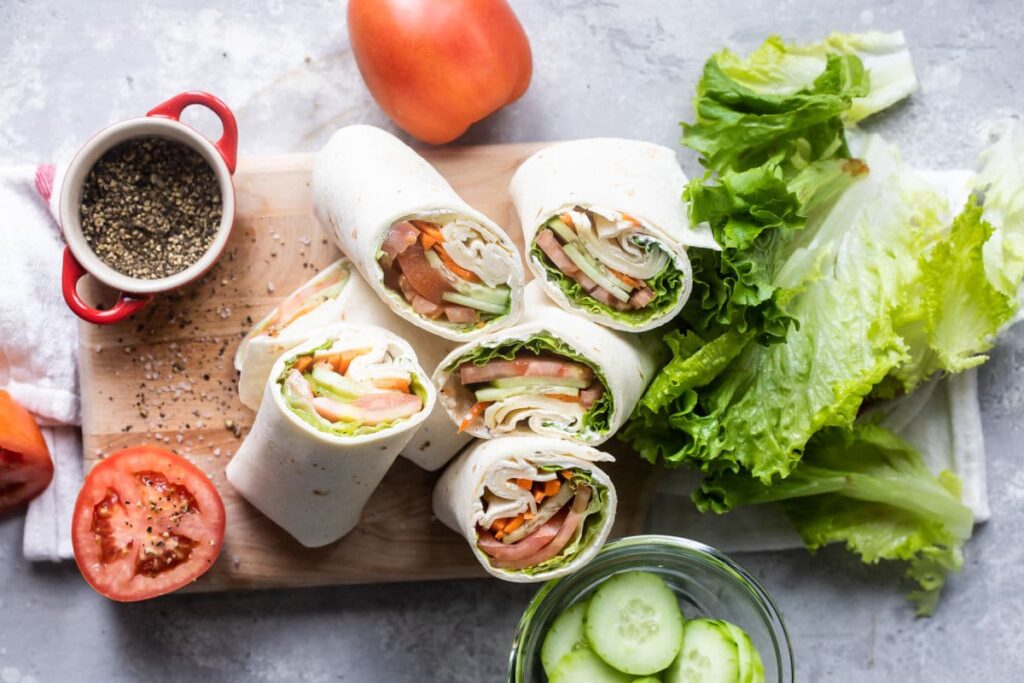
9. Creating the Perfect Fresh Veggie Wrap
With your garden harvest ready, try this simple wrap idea:
Ingredients:
- Whole wheat or spinach tortilla
- Fresh lettuce leaves
- Sliced tomatoes and cucumbers
- Julienned carrots and peppers
- A handful of spinach or kale
- Fresh basil or mint leaves
- Hummus or Greek yogurt spread
Instructions:
- Spread your base (hummus or yogurt) evenly on the wrap.
- Layer greens first, followed by tomatoes, cucumbers, and peppers.
- Add herbs for extra aroma.
- Roll tightly, slice diagonally, and enjoy your garden-fresh wrap!
It’s colorful, crunchy, and packed with homegrown goodness.
10. A Lifestyle of Health and Sustainability
Growing your own salad garden for veggie wraps isn’t just about saving money — it’s a lifestyle choice. You’re embracing sustainability, healthy eating, and self-sufficiency. The satisfaction of preparing a meal with ingredients you’ve grown yourself brings a sense of connection to nature that’s deeply fulfilling.

Even if you start small — a pot of lettuce here, a vine tomato there — you’ll be amazed at how quickly your kitchen transforms into a fresh-food paradise.
Conclusion: From Seed to Wrap, Every Bite Tells a Story
Your salad garden is more than a collection of plants — it’s a living pantry that nourishes both body and soul. By growing your own greens, veggies, and herbs, you’re ensuring that every wrap you make is bursting with flavor, nutrition, and pride.
So grab a packet of seeds, find a sunny corner, and start planting. In just a few weeks, you’ll be harvesting the freshest, crunchiest ingredients for your homemade veggie wraps — a perfect blend of garden freshness and culinary creativity, straight from your own backyard.