There’s something incredibly comforting about a warm, creamy bowl of mashed potatoes — soft, buttery, and soul-soothing. Whether it’s the centerpiece of a cozy dinner or the side dish that steals the show, mashed potatoes are the ultimate comfort food. But what if those fluffy, golden spuds came straight from your own backyard or kitchen garden?
Growing potatoes at home isn’t just rewarding — it’s surprisingly easy, budget-friendly, and the best way to guarantee freshness and quality. When you nurture your own crop, you control everything from soil health to harvest time, ensuring that your mashed potatoes are as wholesome and flavorful as they can be.
Welcome to Kitchen Gardening 101, where we’ll explore how to grow perfect potatoes in small spaces and turn them into irresistibly creamy mashed potato bowls that elevate every meal.
1. Why Grow Potatoes at Home?
Potatoes are among the most forgiving crops for beginners. They don’t require perfect soil, can thrive in containers or garden beds, and yield abundantly with minimal care. But the biggest benefit? The taste difference.
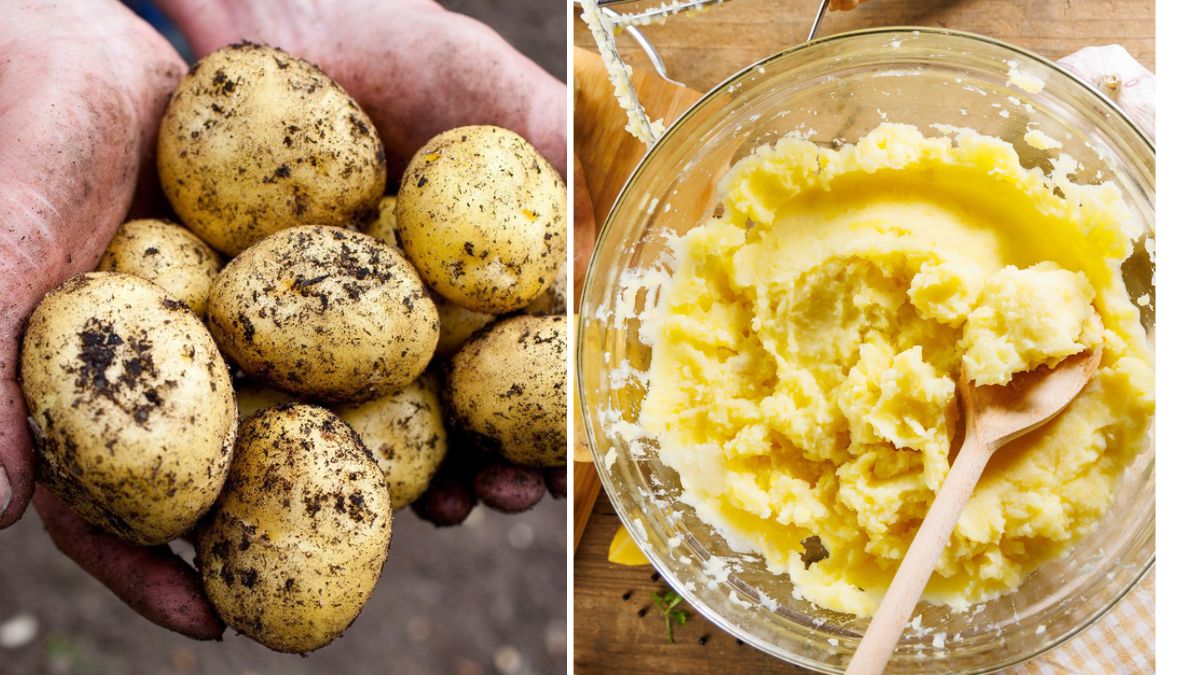
Homegrown potatoes are fresher, more flavorful, and creamier than store-bought ones. Because they haven’t been stored for weeks or treated with sprout inhibitors, they cook faster and mash smoother. Plus, growing your own helps reduce food miles, cuts down on packaging waste, and gives you a hands-on connection to your food — from soil to spoon.
Mashed potato bowls made from your garden’s bounty bring a deeper level of satisfaction. They’re farm-fresh comfort in every bite.

2. Choosing the Right Potato Varieties for Mashing
Not all potatoes are created equal when it comes to texture and flavor. For mashed potato bowls, you want high-starch or all-purpose varieties that produce a smooth, fluffy mash.
Top Choices:
- Russet Potatoes: The classic choice for mashing — fluffy, light, and perfect for absorbing butter and cream.
- Yukon Gold: Slightly waxy, buttery flavor, and creamy texture — ideal for richer, golden-colored mashed potatoes.
- Kennebec: Balanced starch and moisture, excellent for both mashing and frying.
- Maris Piper: Popular in the UK, these make velvety smooth mashed potatoes.
Pro Tip: Use certified seed potatoes from a nursery instead of grocery store potatoes, which may be chemically treated and less likely to sprout.
3. Preparing the Soil — The Foundation of Flavor
Healthy soil grows flavorful potatoes. Potatoes thrive in loose, well-draining, slightly acidic soil with plenty of organic matter.
How to Prepare:
- Choose the Right Spot: Find a sunny area that receives at least 6 hours of direct sunlight daily.
- Loosen the Soil: Dig 10–12 inches deep to give the tubers space to expand.
- Enrich the Bed: Mix compost, leaf mold, or aged manure to improve soil texture and nutrition.
- Check pH: Potatoes prefer slightly acidic soil (pH 5.0–6.5). This also reduces the risk of scab disease.
Container Tip: No garden space? No problem. Potatoes grow beautifully in large containers, fabric grow bags, or even old buckets with drainage holes.

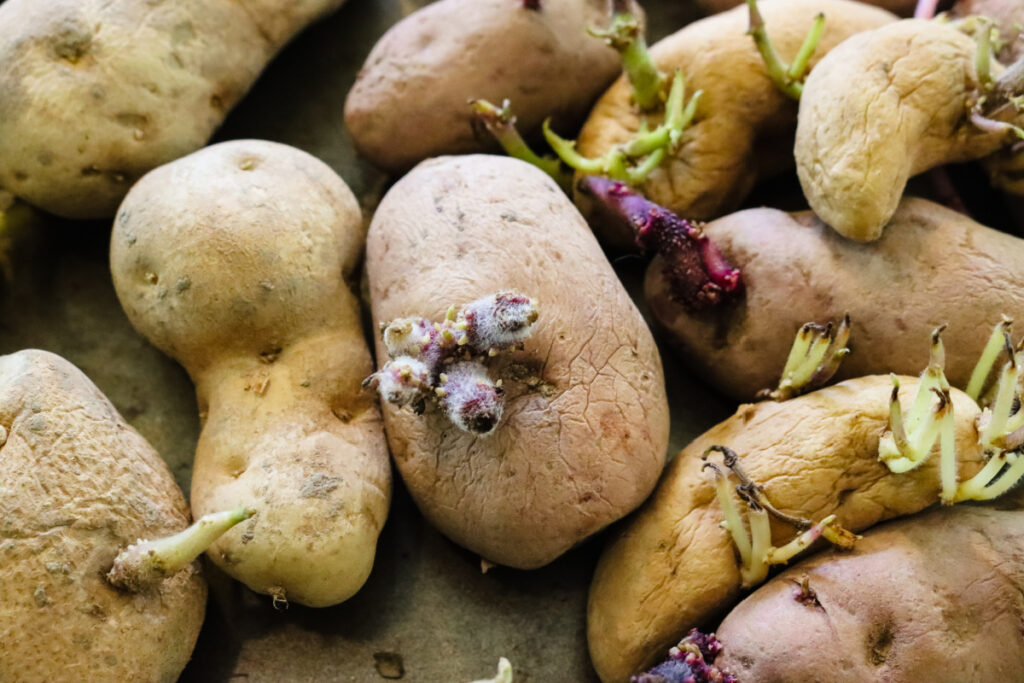
4. Pre-Sprouting (Chitting) Seed Potatoes
To give your crop a head start, pre-sprout your seed potatoes — a process called “chitting.”
Steps:
- Place seed potatoes in a tray or egg carton with the “eyes” (sprouting points) facing up.
- Keep them in a cool, bright place for 2–3 weeks until the sprouts reach about 1 inch long.
- Once chitted, they’re ready to plant outdoors.
This process helps the plants establish faster and produce earlier, stronger tubers.
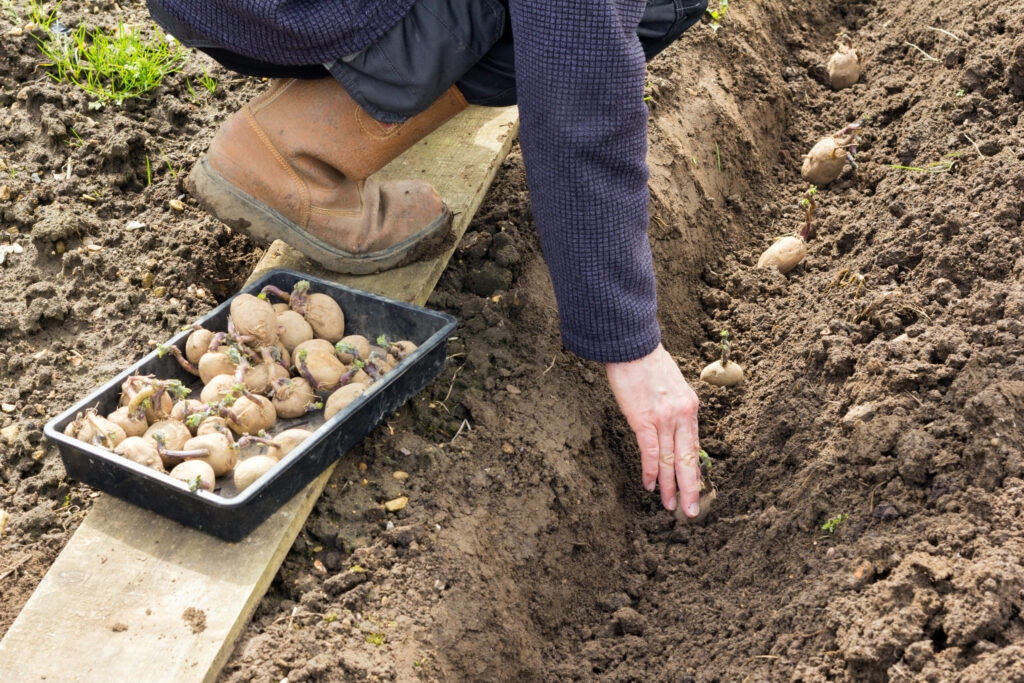
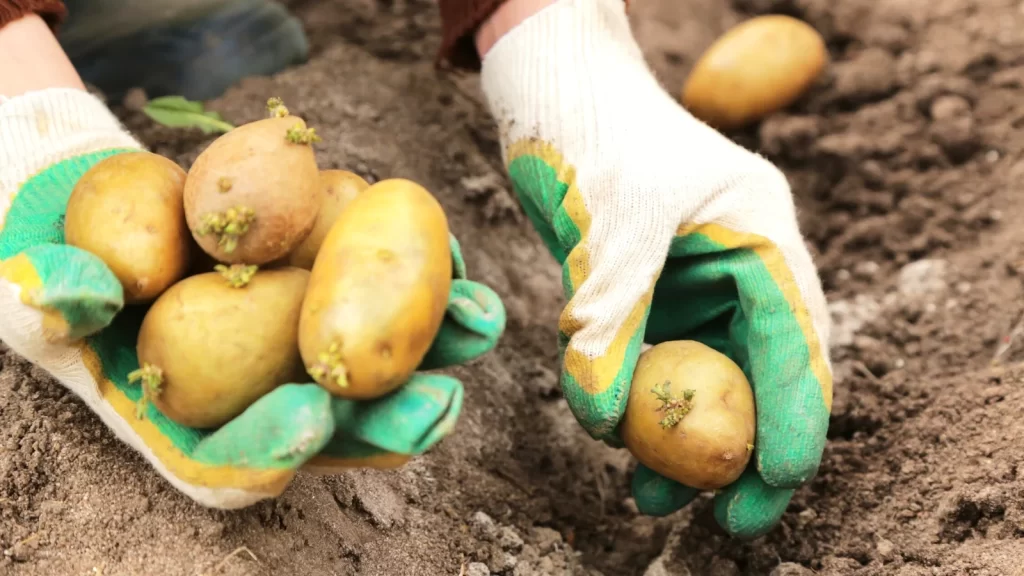
5. Planting Your Potatoes
Potatoes can be planted in the ground, raised beds, or containers — depending on your space and climate.
In-Ground Method:
- Dig trenches about 6–8 inches deep and 2–3 feet apart.
- Place seed potatoes 12 inches apart, with sprouts facing upward.
- Cover with 3–4 inches of soil initially.
- As plants grow, keep hilling — mounding more soil around the base to protect developing tubers from sunlight and greening.
Container or Grow Bag Method:
- Add 4 inches of potting mix at the bottom.
- Place 2–3 seed potatoes and cover with soil.
- Once sprouts appear, continue adding soil as the plants grow until the container is nearly full.
This method is perfect for small balconies or patios.
6. Watering and Feeding for Creamy Results
Consistent watering is crucial for tender, flavorful potatoes.

- Water Regularly: Keep the soil moist but not soggy. Uneven watering can cause deformities or cracks.
- Deep Watering: Encourage deep roots by watering thoroughly once or twice a week instead of light, frequent watering.
- Fertilizing: Feed plants with a balanced fertilizer or compost tea every 3–4 weeks. Avoid too much nitrogen — it promotes leafy growth at the expense of tubers.
- Mulching: Add straw, dried leaves, or grass clippings to retain moisture and suppress weeds.
7. Pest and Disease Management
Even a small potato garden can attract pests, but natural solutions work wonders.
Common Pests:
- Colorado Potato Beetles: Handpick them or spray with neem oil.
- Aphids: A soapy water spray can help.
- Slugs and Snails: Use crushed eggshells or organic pellets as barriers.
Preventive Tips:
- Rotate crops annually to prevent soil-borne diseases.
- Avoid planting potatoes where tomatoes or peppers were grown the previous season.
- Ensure good drainage to avoid rot.
8. Harvesting Your Potatoes
You’ll know it’s harvest time when the plants begin to yellow and die back.
How to Harvest:
- Wait 2–3 weeks after the foliage dies to allow skins to toughen.
- Carefully dig around the base using a garden fork or your hands to avoid bruising.
- Let the potatoes dry for a few hours in a cool, shaded spot.
- Store them in a well-ventilated, dark area to prevent sprouting.
New Potatoes: If you prefer tender, smaller tubers, you can harvest them early — about 8–10 weeks after planting.

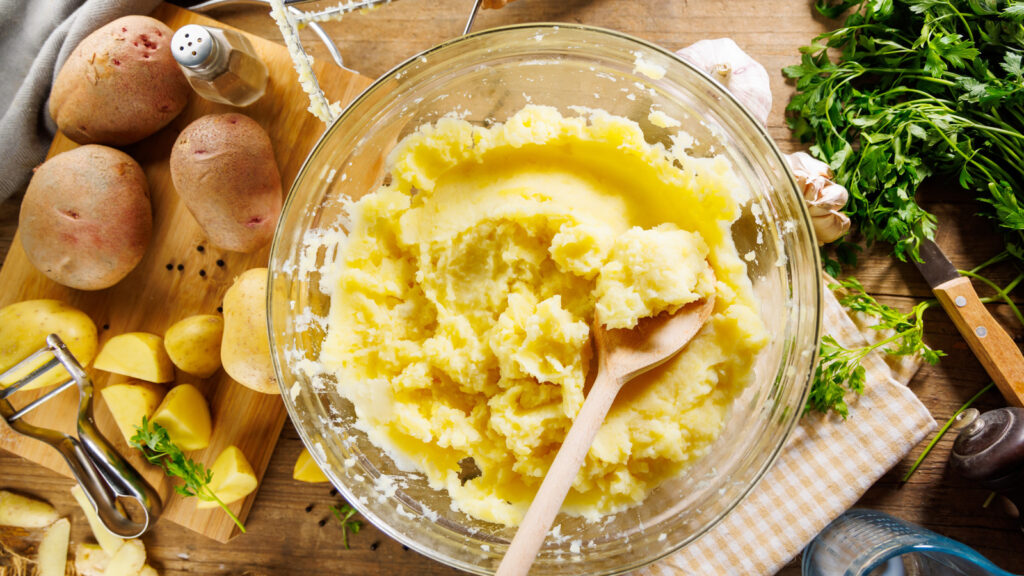
9. Making the Perfect Mashed Potato Bowl
Once you’ve harvested your garden-grown spuds, it’s time to turn them into silky, comforting mashed potato bowls.
Step 1: Prep and Cook
- Wash and peel your potatoes (or leave skins on for a rustic texture).
- Cut into chunks for even cooking.
- Boil in salted water for 15–20 minutes until tender.
- Drain well and let steam escape for 2 minutes — this ensures fluffier mash.
Step 2: Mash Like a Pro
- Use a potato masher or ricer for a lump-free texture.
- Add warm milk (or plant-based alternative) and butter (or olive oil) gradually until you reach desired creaminess.
- Season with salt and pepper to taste.
Optional Add-ins for Extra Flavor:
- Roasted garlic or caramelized onions
- Cream cheese or sour cream
- Fresh herbs like parsley or chives
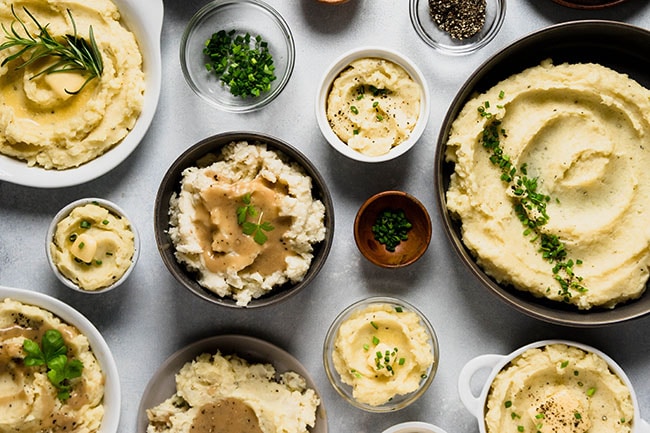
10. Creative Vegetarian Mashed Potato Bowl Ideas
Mashed potato bowls are the ultimate blank canvas — perfect for layering with colorful, plant-based ingredients. Here are a few delicious combinations:
A. Classic Veggie Comfort Bowl:
- Creamy mashed potatoes
- Roasted carrots, broccoli, and peas
- Gravy or melted cheese on top
B. Mediterranean Bowl:
- Mashed potatoes with olive oil and garlic
- Toppings: sautéed spinach, sun-dried tomatoes, feta (or vegan feta), and olives
C. Southwest Style:
- Mashed potatoes with cumin and smoked paprika
- Toppings: black beans, corn, salsa, avocado, and shredded cheese
D. Breakfast Bowl:
- Creamy mash base
- Add scrambled eggs or tofu, mushrooms, and wilted spinach
E. Protein-Packed Bowl:
- Mashed potatoes
- Lentil stew or chickpeas
- Topped with roasted sweet peppers and tahini drizzle
Pro Tip: For a healthy twist, swap part of the butter for Greek yogurt or mashed avocado for creamy texture and extra nutrition.

11. Tips for Kitchen Garden Success
- Start Small: Even one grow bag can produce 5–10 pounds of potatoes.
- Regular Harvests: Plant new potatoes every few weeks for a continuous supply.
- Compost Everything: Potato peels and kitchen scraps can go right back into your compost to nourish the next batch.
- Observe and Adjust: Every garden has its microclimate. Watch how your potatoes respond and tweak watering or sun exposure accordingly.
12. The Joy of Garden-to-Table Cooking
Growing your own potatoes isn’t just about the harvest — it’s about the experience. Watching sprouts emerge, tending to the plants, and finally turning those spuds into a creamy mashed bowl connects you to your food in a meaningful way.
When you spoon into that warm, buttery mash, you’re not just eating dinner — you’re tasting the care and patience that went into growing it. Every bite is fresher, every flavor more vivid, and every meal more satisfying.
13. Final Thoughts
From planting tiny seed potatoes to savoring a steaming bowl of homemade mash, the journey of kitchen gardening is both simple and deeply rewarding. Growing your own potatoes empowers you to cook healthier, fresher, and more sustainable meals — right from your backyard or balcony.
So grab a few seed potatoes, a sunny corner, and your favorite pot — and let your kitchen garden be the source of endless comfort bowls. Because when it comes to food, nothing beats the taste of something you’ve grown with your own hands.